Catherine Hu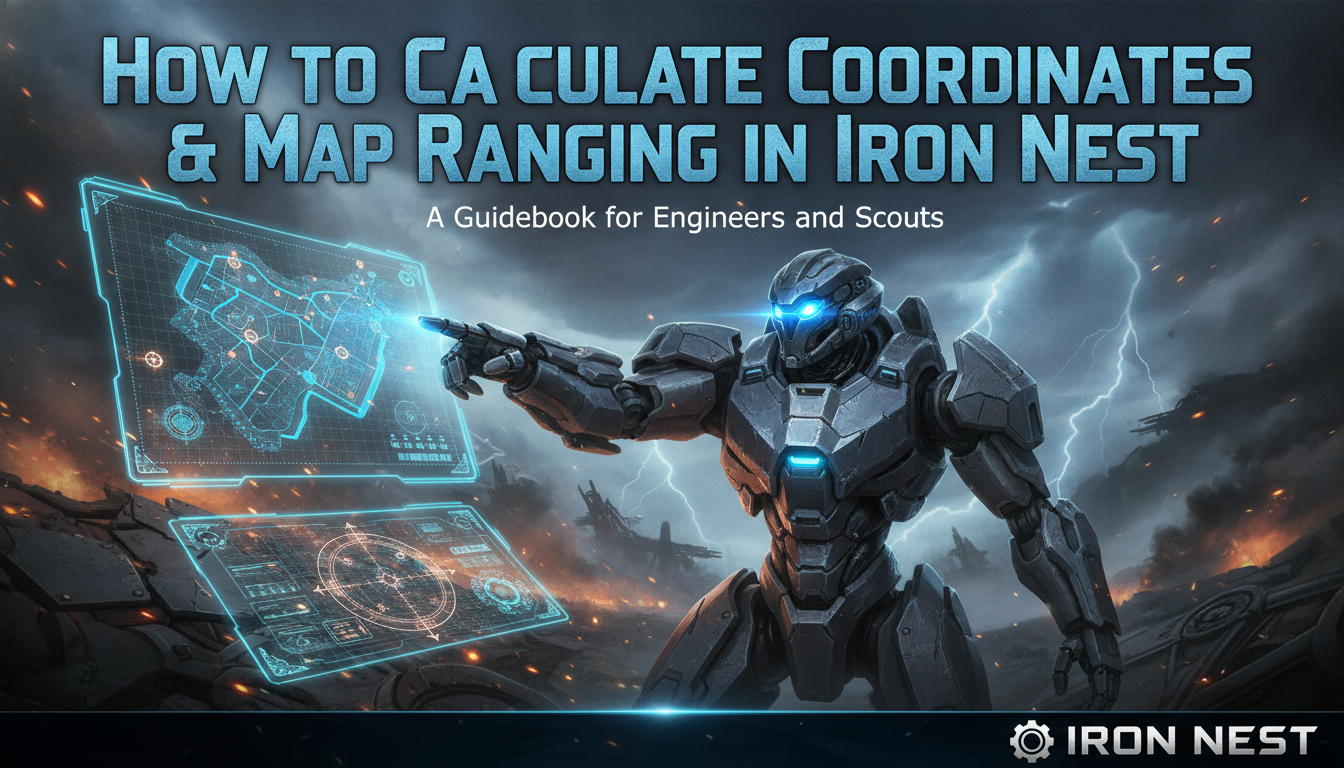
Blowing up the wrong grid because your intersecting vectors are off by a millimeter? Staring blankly at Recon Photos while High Command screams at you over the radio? If you are missing shots in IRON NEST: Heavy Turret Simulator, you are not just wasting 5,000-ton shells; you are failing the frontline. The transition from arcade shooters to a brutal dieselpunk heavy-artillery simulator hits hard when you realize you actually have to do the math to gunlay those colossal cannons.
Editor’s Note: The learning curve in IRON NEST: Heavy Turret Simulator is incredibly steep. During my first few hours with the demo, I kept overshooting targets because I misunderstood how the spotters reported their vectors on the interactive Tactical Map. Once I learned how to properly draw the intersection lines and adjust for Minute Of Angle (MOA) during the “test and adjust” phases, my hit rate skyrocketed. Mastering these calculations requires strict adherence to the cartographic tools, not an engineering degree.
TL;DR: The Short Answer
To calculate coordinates and map ranging accurately in IRON NEST: Heavy Turret Simulator, follow this strict operational flow:
- Step 1: Locate Your Spotters. Identify the two forward spotters on your Main Cartographic Board based on High Command’s initial briefing.
- Step 2: Draw the Vectors. Draw a straight vector line from Spotter A matching their reported bearing, then draw a second vector from Spotter B.
- Step 3: Find the Intersection. The point where both vectors intersect is your rough target coordinate.
- Step 4: Input the Grid. Translate that intersection point into the X/Y coordinates required by the turret’s Hydraulic Gunlaying System.
- Step 5: Fire, Test, and Adjust. Fire a Ranging Shell. Use the resulting Recon Photos to apply minor Minute Of Angle (MOA) corrections before firing the main salvo.
Table of Contents
- TL;DR: The Short Answer
- The Mechanics of Map Ranging in IRON NEST
- Step-by-Step Guide: Calculating Coordinates
- Advanced Targeting: Recon Photos & Star Shells
- Environmental Variables: Wind Speed & Shell Drop-Off
- Bypass the Math: The XMODhub Solution
- Frequently Asked Questions
- Final Verdict: Mastering the Big Guns
The Mechanics of Map Ranging in IRON NEST
Before you even touch the hydraulic controls of your 5,000-ton turret, you must understand what IRON NEST: Heavy Turret Simulator demands of you. This is not a point-and-click game. It is a tactical problem-solving experience where the interactive Tactical Map is your most critical tool.
The core gameplay loop revolves around triangulating enemy positions using limited intelligence. Because you are stuck inside a massive bunker operating the gun, you have zero direct line of sight to the battlefield. You rely entirely on radio chatter, spotter reports, and rudimentary cartography.
When High Command orders a strike, they do not give you a clean GPS ping. Instead, they give you the positions of friendly spotters and the direction (bearing) those spotters are looking to see the target. If you mess up the map ranging phase, your shell will impact an empty field—or worse, a friendly trench. Understanding the relationship between the Big Board, the Spotter Vectors, and the physical constraints of your war machine is the only way to succeed.
Step-by-Step Guide: Calculating Coordinates
Accuracy is everything. Follow this detailed breakdown to ensure your manual control of the turret yields devastating blows instead of embarrassing misses.
1. Analyzing the Initial Briefing
When new orders arrive, immediately turn to your Tactical Map. High Command will provide the grid references for your forward spotters. Plot these points on the map using your pins. Accuracy here is vital; if your starting points are off, the entire calculation will fail.
2. Plotting the Intersecting Vectors
The spotters will radio in with the bearing (angle) of the enemy target relative to their position.
- Take your drawing tool and anchor it to Spotter A.
- Extend a long vector line across the map matching the exact bearing reported.
- Repeat this process for Spotter B.
Where these two long vector lines cross is the mathematical location of the target. This intersection is the bedrock of your map ranging process.
3. Translating the Map to the Turret
Once you have the intersection point, you must convert it into actionable data for the turret. Read the X (horizontal) and Y (vertical) coordinates from the grid where the intersection occurred.
Now, move to the massive mechanisms of the gun. You must manually strain the hydraulics to match these coordinates. This involves adjusting the azimuth (horizontal rotation) and the elevation (vertical angle) of the cannon. The heavier the shell type selected, the more the gunlaying process will fight you, so ensure your coordinate inputs are exact before locking the firing sequence.
4. The “Test and Adjust” Phase
The game accurately simulates the complexities of artillery fire. Your first shot will rarely be a perfect bullseye due to environmental variables and slight deviancies in shell drop-off. In many missions, you are required to fire a Ranging Shell first.
Once the Ranging Shell lands, High Command will provide scrolling text updates on where it impacted relative to the target (e.g., “Impact 50 meters North, 20 meters West”). You must now return to the gunlaying controls and apply these micro-adjustments. This is where understanding Minute Of Angle (MOA) and manual correction becomes mandatory.
Advanced Targeting: Recon Photos & Star Shells
As the complexity ramps up in procedurally generated objectives, the basic cartographic map will not be enough. You will start dealing with obscured terrain and moving armor columns.
To refine your coordinates, you must utilize auxiliary tools. After a Ranging Shell lands, you will occasionally receive Recon Photos. These photos help fill in the blank spots on your map, giving you a rough idea of the topography. If you see the target is actually nestled behind a ridge, you must adjust your elevation to alter the shell’s trajectory arc, ensuring it drops onto the target rather than slamming into the hillside.
For night missions, calling in airplanes or firing Star Shells is crucial. Star Shells illuminate a specific grid square for a limited time, allowing spotters to provide highly accurate, updated vectors. Timing the illumination perfectly with your manual turret loading sequence is a hallmark of a top-tier Operator.
For those looking to push their skills to the absolute limit and survive the relentless onslaught of end-game scenarios, refining these manual calculations is just the beginning. To truly master the battlefield and optimize your operational efficiency, you should consult our comprehensive guide on How to Survive Challenge Mode in Iron Nest: High-Score Tips.
Environmental Variables: Wind Speed & Shell Drop-Off
Even if you calculate coordinates Iron Nest flawlessly on the Tactical Map, atmospheric conditions will actively sabotage your trajectory. Beginning in Chapter 3, High Command introduces the Weather Station Module, forcing you to calculate crosswinds and barometric pressure before locking your Hydraulic Gunlaying System.
Wind deflection scales dramatically depending on the specific ordnance loaded into the breach. A heavy projectile cuts through crosswinds effectively but suffers from aggressive shell drop-off, requiring higher elevation adjustments. Conversely, lighter illumination rounds will be blown significantly off target if wind vectors are ignored.
Shell Type Elevation & Wind Adjustment Chart
Use the following ballistic data to adjust your base X/Y coordinates before firing. Always cross-reference the current wind speed reported by your spotters.
| Ordnance Type | Base Weight | Wind Deflection (Per 10 Knots) | Elevation Adjustment Offset |
|---|---|---|---|
| High-Explosive (HE) | 2,500 lbs | Moderate (+2 MOA) | +5 Degrees |
| Armor-Piercing (AP) | 4,000 lbs | Low (+0.5 MOA) | +2 Degrees |
| Ranging Shell | 1,200 lbs | Extreme (+4 MOA) | +8 Degrees |
| Star Shells | 800 lbs | Extreme (+5 MOA) | +12 Degrees |
To properly apply this data: if a 10-knot crosswind is blowing East and you are firing a High-Explosive (HE) shell, you must manually adjust your azimuth 2 MOA to the West to compensate for the drift.
Bypass the Math: The XMODhub Solution
Look, calculating intersecting vectors and manually dialing in hydraulics for every single procedurally generated objective can become exhausting. If you just want to experience the dieselpunk aesthetics and watch the frontline crumble without doing advanced trigonometry, there is a better way.
Skip the frustration of missing targets by millimeters and let XMODhub handle the heavy lifting. XMODhub offers powerful, undetected enhancements for IRON NEST: Heavy Turret Simulator, allowing you to bypass the tedious calculations and focus on the explosive results.
Achieve perfect accuracy in three simple steps:
- Download XMODhub: Install the secure, lightweight client on your PC.

- Auto-Detect IRON NEST: Heavy Turret Simulator: Launch the game, and XMODhub will instantly recognize it.
- Toggle Cheats: Activate features like “Auto-Calculate Coordinates,” “Instant Gunlaying,” or “No Shell Drop-Off.”
Stop struggling with the Big Board. Let XMODhub turn you into an infallible artillery commander instantly.
Download IRON NEST: Heavy Turret Simulator Trainer Now
Frequently Asked Questions
Does shell type affect coordinate calculation in IRON NEST: Heavy Turret Simulator?
Yes. Different shells have different weights and aerodynamic properties. While the X/Y coordinates on the Tactical Map remain the same, you must adjust the gun’s elevation differently for a heavy Armor-Piercing Shell compared to a lighter High-Explosive Shell to account for the altered drop-off rate.
What should I do if my spotter vectors do not intersect?
If the lines drawn from Spotter A and Spotter B run parallel or diverge, you have misread the reported bearings. Clear your Tactical Map, listen to the radio transmission logs again, and redraw the vectors with precise angles.
Can I completely automate the turret reloading?
In the vanilla game, no. The manual control of the 5,000-ton turret is a core feature. You must always engage the hydraulics and loading mechanisms by hand unless you are utilizing external tools like XMODhub to streamline the process.
Why did my shell miss even though the map coordinates were perfect?
In later missions, the game introduces environmental factors like wind and deviancy over extreme distances. This is why the “test and adjust” phase exists. You must rely on Recon Photos and Ranging Shells to correct these minute discrepancies before firing for effect.
Final Verdict: Mastering the Big Guns
Successfully calculating coordinates and mastering IRON NEST map ranging requires patience, precision, and a willingness to learn basic triangulation. By properly plotting your Spotter Vectors, understanding the intersection points, and meticulously adjusting your Hydraulic Gunlaying System based on recon feedback, you can dominate the battlefield. The transition from an empty map to a perfectly executed artillery strike is one of the most rewarding tactical problem-solving loops in modern gaming.
However, if the relentless manual calculations are ruining your enjoyment of the dieselpunk destruction, XMODhub is the ultimate shortcut. With support for over 5,000 single-player PC games, XMODhub does not just fix your heavy artillery plotting problems in IRON NEST: Heavy Turret Simulator. Whether you are manipulating resource economies in IRON NEST: Heavy Turret Simulator, surviving the harsh winters in Frostpunk, or building massive defensive perimeters in They Are Billions, XMODhub gives you the power to play the game exactly how you want. Download XMODhub today and take absolute control of the war machine.
Stop Grinding, Start Enjoying.
Bypass the tedious resource gathering and unlock your full potential instantly.

I am a passionate gamer and writer at XMODhub, dedicated to bringing you the latest gaming news, tips, and insights.
Connect with me:
LinkedIn Profile ↗