Catherine Hu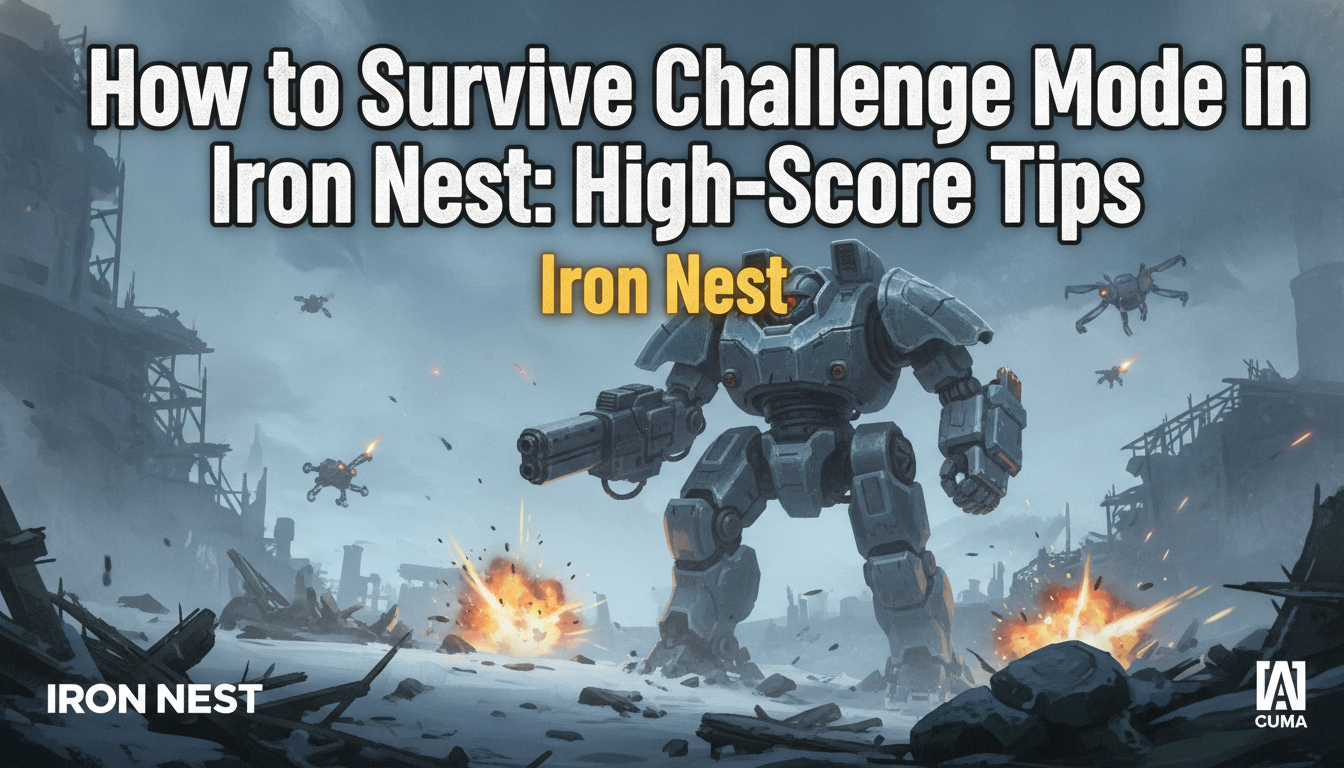
You’ve plotted the coordinates, drawn the vectors, and fired the 5,000-ton cannon—only to hear the sickening hiss of blown hydraulics or the silence of a missed target, ending your Challenge Mode run in disgrace. Surviving Challenge Mode in IRON NEST: Heavy Turret Simulator isn’t just about fast math on the tactical map; it’s a brutal test of endurance, mechanical management, and prioritization under extreme pressure. If you are consistently failing past the third wave or struggling to breach the high-score threshold, you are likely mismanaging your machine’s secondary systems while focusing too much on the boom.
Editor’s Note: Challenge Mode strips away the safety nets of the campaign. During my initial runs, I kept burning out the cooling systems by firing consecutive high-angle shots without bleeding the pressure valves. High scores don’t come from just hitting targets; they come from hitting them efficiently without destroying your own turret in the process.
TL;DR: The Short Answer
To survive and achieve high scores in the Challenge Mode of IRON NEST: Heavy Turret Simulator, you must balance rapid target acquisition with meticulous mechanical upkeep.
- Pre-Calculate Vectors: Don’t wait for the spotter’s full report. Draw initial vectors the moment the first coordinate drops.
- Manage Heat & Pressure: Never fire if hydraulics exceed 85% strain. Always vent pressure between shots.
- Prioritize Fast Movers: Eliminate light, mobile targets first to build your combo multiplier; heavy targets can wait.
- Use Minute of Angle (MOA): Account for windage and drop-off on shots taking longer than 15 seconds of flight time.
- Conserve Shell Types: Use standard high-explosive (HE) for clusters and save armor-piercing (AP) strictly for armored command units.
Table of Contents
- TL;DR: The Short Answer
- Understanding the Challenge Mode Scoring System
- Phase 1: Tactical Map Mastery & Spotter Synergy
- Phase 2: The Art of Gunlaying & MOA Corrections
- Phase 3: Vital Machine Management (Keeping the Beast Alive)
- The XMODhub Shortcut: Dominate the Leaderboards Instantly
- Advanced Target Prioritization & Shell Economy
- Frequently Asked Questions
- Final Verdict: The Path to Heavy Artillery Supremacy
Understanding the Challenge Mode Scoring System
Before diving into the dials and levers of your dieselpunk monstrosity, you need to understand how IRON NEST: Heavy Turret Simulator calculates your score in this procedural gauntlet.
The Multiplier Economy
Unlike the campaign, where completing the objective is enough, Challenge Mode relies heavily on a combo multiplier. This multiplier increases based on:
- Speed of execution: The time from receiving coordinates to shell impact.
- Accuracy rating: Direct hits score exponentially higher than splash damage kills.
- Machine health: Taking unnecessary wear and tear on your turret (like blowing a fuse or redlining the hydraulics) applies severe score penalties at the end of each wave.
Procedural Escalation
Because the objectives are procedurally generated, no two runs are identical. However, the escalation follows a pattern. Wave 1 will test your basic vectoring. Wave 5 will introduce multiple spotters with conflicting data. By Wave 10, you are dealing with extreme wind variables, moving targets, and simultaneous system failures inside the cabin.
Phase 1: Tactical Map Mastery & Spotter Synergy
Your survival begins on the big board. The tactical map is your only window to the outside world.
Triangulation Speed-Run
When a spotter calls in a position, they provide a bearing and an estimated distance. The rookie mistake is waiting for the second spotter to confirm before drawing lines.
Instead, instantly draw a long vector from Spotter A’s position. When Spotter B radios in, draw their vector. Where they intersect is your target zone. To maximize your speed score, you should be spinning the azimuth dials on the turret while drawing the second vector with your other hand (if you are fast enough on the mouse).
Filtering Bad Intel
In later waves of Challenge Mode, High Command or panicked spotters might feed you corrupted coordinates. Always check the terrain contour lines on your map. If the intersection puts an enemy armored column in the middle of a deep lake or halfway up a sheer cliff face, the data is flawed. Recalibrate based on the nearest logical chokepoint before wasting a 20-second flight-time shell.
Phase 2: The Art of Gunlaying & MOA Corrections
Aiming a 5,000-ton turret is not point-and-shoot; it is a heavy-artillery simulation that demands respect for physics.
Mastering the Dials
You have three primary controls for gunlaying: Azimuth (horizontal rotation), Elevation (vertical angle), and Charge (propellant amount).
To hit moving targets, you must lead them. Calculate the shell’s flight time (usually between 10 to 25 seconds depending on elevation and charge). If a convoy is moving East at a steady pace, intersect their path on the map and lay the gun for that future position.
Minute of Angle (MOA) and Environmental Factors
IRON NEST: Heavy Turret Simulator flirts with extreme realism. While the early game is forgiving, Challenge Mode introduces severe drop-off and windage.
You must adjust your Minute of Angle (MOA). The game provides correction tables inside the cabin. If the target is at maximum range (requiring a flight time over 20 seconds), you must calculate the drop-off and add micro-adjustments to your elevation dials. Failure to do so will result in the shell landing harmlessly in the dirt just short of the target, breaking your combo multiplier.
Phase 3: Vital Machine Management (Keeping the Beast Alive)
You can be the fastest mathematician on the tactical board, but if your turret breaks down, your run is over. The interior of the cabin is filled with hundreds of dials, levers, and gauges that demand your attention.
The Hydraulic Crisis
The most common run-killer in Challenge Mode is hydraulic failure. Rotating a colossal war machine generates immense strain. If you slam the azimuth controls from extreme left to extreme right without pausing, you will spike the hydraulic pressure.
To maintain a high score without taking damage penalties, you must learn the rhythm of the machine. Move in deliberate increments. If the pressure gauge hits the yellow zone, stop and bleed the valves. If you want a deep dive into keeping these specific systems running under pressure, check out our dedicated guide on How to Prevent Hydraulic Overheating in Iron Nest to master the thermal management loop.
Loading and Firing Protocols
Every action has a consequence. Loading a shell requires engaging the auto-loader, sealing the breech, and priming the charge.
- Never prime the charge early: If you prime the cannon and then spend 45 seconds adjusting your vectors on the map, the heat from the engine room will begin to cook the propellant, leading to a catastrophic misfire.
- The Recoil Management: Firing is deafening and violent. The recoil will physically shake the cabin, often knocking dials slightly out of alignment. Always reset and verify your elevation zero after a maximum-charge shot before laying the gun for the next target.
Steam Deck Considerations
If you are playing IRON NEST: Heavy Turret Simulator on the Steam Deck, managing the cabin requires heavy use of the trackpads and custom radial menus. Map your most crucial emergency valves (like the hydraulic bleed and emergency cooling flush) to the back grip buttons (L4/R4) to save precious seconds when the cabin alarms start blaring.
The XMODhub Shortcut: Dominate the Leaderboards Instantly
Let’s be brutally honest: Challenge Mode in IRON NEST: Heavy Turret Simulator is exhausting. Managing vectors, windage, and hundreds of dials while alarms scream at you isn’t for everyone. If you just want to experience the deafening roar of the guns, see the massive explosions, and secure your place on the high-score leaderboards without the migraine-inducing math, there is a better way.
Enter XMODhub. Why stress over blown hydraulics and missed MOA calculations when you can bypass the grind entirely?
XMODhub provides safe, undetected, and highly customizable modifications for IRON NEST: Heavy Turret Simulator. You can toggle features like:
- Auto-Calculated Vectors: Instantly snaps your azimuth and elevation dials to the exact correct coordinates.
- Infinite Hydraulics/No Overheat: Spin the 5,000-ton turret as fast as you want without ever blowing a valve.
- Instant Shell Travel: Remove the 20-second flight time and instantly obliterate targets the moment you pull the trigger.
Getting started takes less than a minute:
- Download XMODhub: Install the lightweight client from the official site.

- **Auto-Detect IRON NEST: Heavy Turret Simulator:** Launch the game, and XMODhub will automatically sync with your Steam or Epic Games installation.
- Toggle Cheats: Use the in-game overlay to activate Auto-Aim and Infinite Cooling. Watch your Challenge Mode score skyrocket to the top tier effortlessly.
Download IRON NEST: Heavy Turret Simulator Trainer Now
Advanced Target Prioritization & Shell Economy
Surviving the later waves of Challenge Mode requires strict discipline over your Ammunition Reserves. You cannot afford to waste heavy ordnance on low-value targets. As a veteran artilleryman, you must categorize incoming threats and match them with the optimal ballistic response. Using the wrong shell not only wastes precious loading time but can completely shatter your Combo Multiplier.
Here is the definitive target prioritization matrix to keep your run alive past Wave 10:
| Target Class | Recommended Shell Type | Threat Level | Priority Action |
|---|---|---|---|
| Light Recon Convoy | High-Explosive (HE) | Low | Eliminate first. These fast movers are perfect for building your Combo Multiplier quickly. |
| Artillery Battery | Counter-Battery (CB) Airburst | High | Immediate threat. Suppress with CB Airburst before they lock onto your turret’s coordinates. |
| Armored Dreadnought | Armor-Piercing (AP) | Extreme | Track vectors carefully, wait for a clear Minute of Angle (MOA), and fire at maximum charge. |
| Bunker Network | High-Explosive Squash Head (HESH) | Medium | Low mobility. Save for last when your Hydraulic Pressure has stabilized. |
Steam Deck Performance Tuning for Challenge Mode
For those commanding their artillery on the go, optimizing your Steam Deck is non-negotiable. Challenge Mode runs can easily stretch past the 45-minute mark, turning your device into a space heater if left unchecked.
To maximize battery life and maintain a stable frame rate during heavy explosion physics, lock your Steam Deck TDP to 11W and cap the refresh rate to 40Hz. More importantly, enable Gyro to Mouse behavior in the Steam Input settings. When you are making those final, microscopic Elevation and Azimuth dial adjustments for a 25-second flight time shot, physically tilting the Steam Deck provides infinitely more precision than relying solely on the analog sticks or trackpads.
Frequently Asked Questions
What happens if I ignore the spotter’s windage reports in Challenge Mode?
Ignoring windage reports will result in your shells drifting significantly off-target, especially on shots with a flight time exceeding 15 seconds. This will break your accuracy multiplier and waste valuable time, usually leading to a failed wave as enemy forces advance.
Can I repair blown hydraulics during a Challenge Mode wave?
Yes, but it is incredibly time-consuming. You have to physically move to the rear of the cabin, shut down the primary pump, and manually crank the auxiliary pressure valve. Doing this will almost certainly ruin your speed score for that wave. It is always better to prevent the overheat in the first place.
Is there a best shell type to use for high scores?
High scores require efficiency. Use High-Explosive (HE) shells for clustered soft targets to get multi-kills. Save your heavy Armor-Piercing (AP) rounds strictly for heavily fortified bunkers or command dreadnoughts. Using AP on infantry wastes resources and lowers your final wave grade.
Why did my cannon misfire even though my coordinates were perfect?
Misfires in IRON NEST: Heavy Turret Simulator are usually mechanical, not mathematical. You likely either forgot to fully seal the breech lever before firing, or you left the charge primed for too long while the cabin temperature was redlining, causing the propellant to degrade.
Final Verdict: The Path to Heavy Artillery Supremacy
Surviving Challenge Mode in IRON NEST: Heavy Turret Simulator is the ultimate test of a virtual artilleryman. It demands a flawless synchronization of tactical map awareness, precise mathematical gunlaying, and relentless mechanical babysitting. By pre-calculating your vectors, managing your hydraulic strain, and mastering the Minute of Angle corrections, you can push your 5,000-ton dieselpunk beast to output devastating, high-scoring barrages.
However, if the brutal learning curve of 1990s-inspired simulation mechanics is testing your patience rather than your skills, remember that you don’t have to suffer. XMODhub is the ultimate equalizer, boasting a massive ecosystem that supports over 5,000 single-player titles. Whether you are manipulating resource economies in IRON NEST: Heavy Turret Simulator, surviving the harsh winters in Frostpunk, or building massive defensive perimeters in They Are Billions, XMODhub gives you the power to play the game exactly how you want. Take command, eliminate the grind, and let the heavy guns roar on your own terms.
Stop Grinding, Start Enjoying.
Bypass the tedious resource gathering and unlock your full potential instantly.

I am a passionate gamer and writer at XMODhub, dedicated to bringing you the latest gaming news, tips, and insights.
Connect with me:
LinkedIn Profile ↗

 Nancy Miller