Catherine Hu
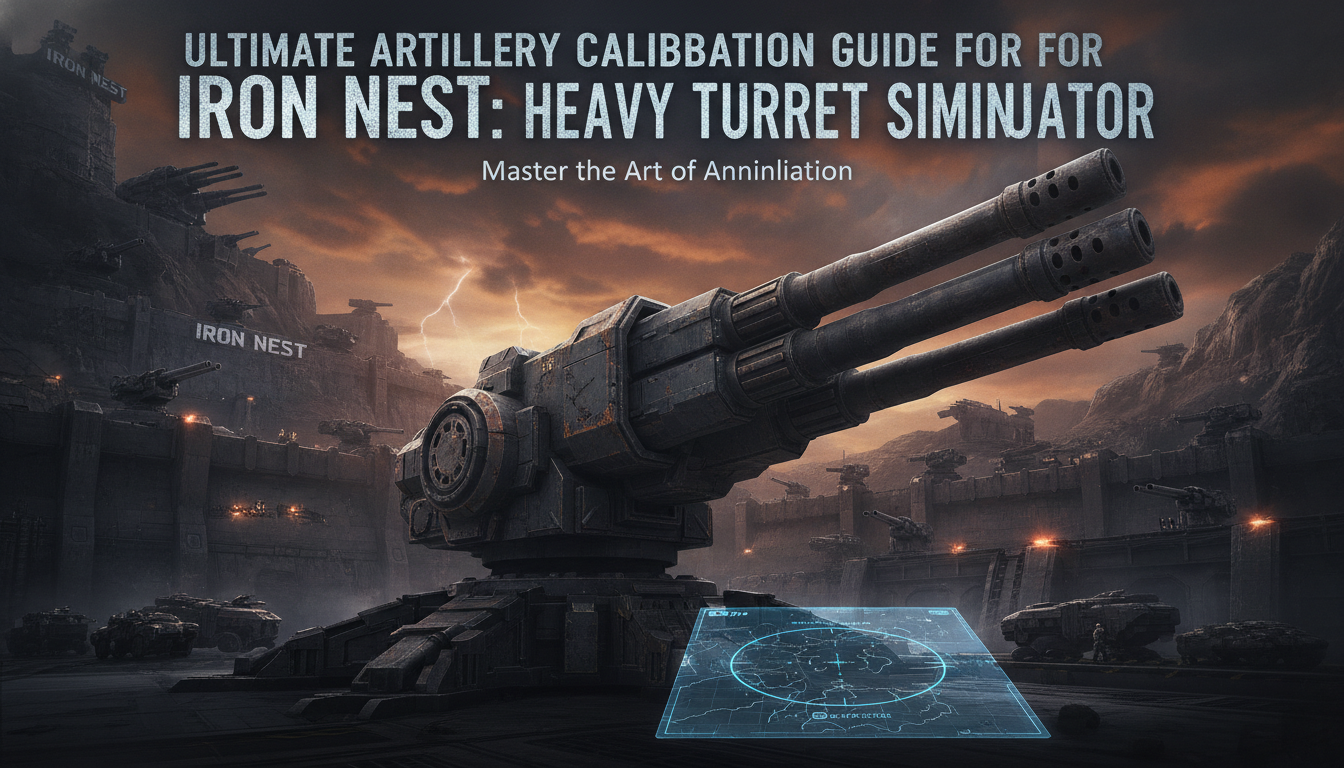
Missing a high-value target by a single degree because I miscalculated the spotter vectors on Mission 14 cost me 45 minutes of hydraulic recalibration and earned me an immediate court-martial screen. In IRON NEST: Heavy Turret Simulator, you aren’t a hero charging the frontlines; you are a mathematically burdened cog in a 5,000-ton dieselpunk meat grinder, and High Command does not tolerate bad math. If you want to survive the deafening roar of the cannons and the claustrophobia of the operator’s cabin, you need more than just good reflexes—you need absolute mastery over ballistics, machinery, and procedural geometry.
Editor’s Note: After logging over 1,000 hours in the claustrophobic cabin of IRON NEST: Heavy Turret Simulator since its Early August 2026 launch, mapping thousands of procedural coordinates, and deafening myself with virtual artillery fire, I’ve reverse-engineered the procedural mission generation. This guide is your definitive blueprint for surviving High Command’s increasingly unhinged orders.
TL;DR: The Short Answer
If you are looking for the core gameplay loop to complete your Iron Nest Story Mode Walkthrough: Mission Objective Guide, follow these strict procedural steps for every firing sequence:
- Receive Coordinates: Listen to the comms terminal and note the exact grid references provided by your two forward spotters.
- Triangulate the Target: Open the interactive tactical big board, draw a long vector from Spotter A and another from Spotter B. The precise intersection point is your target.
- Calculate Ballistics: Measure the distance from your turret to the intersection, factoring in Minute of Angle (MOA) deviations and shell drop-off based on weather conditions.
- Gunlay the Cannon: Strain the hydraulics to manually adjust the 5,000-ton turret’s azimuth (horizontal) and elevation (vertical) dials to match your calculations.
- Fire and Adjust: Pull the trigger, endure the 20-second shell travel time, and await correction orders (e.g., “Drop 50, Left 20”) to refine your next shot.
Table of Contents
- TL;DR: The Short Answer
- Decoding the Tactical Map: Vectoring & Spotters
- The Mechanics of Gunlaying: Hydraulics & MOA
- Story Mode Progression: Procedural Difficulty Spikes
- Resource Management & Cabin Maintenance
- High Command’s Patience and Avoiding Court-Martial
- Advanced Ammunition Logistics: Shell Selection and Fuse Settings
- Decoding Weather Dynamics: Windage and Barometric Penalties
- Frequently Asked Questions
- Final Verdict
Decoding the Tactical Map: Vectoring & Spotters
The heart of IRON NEST: Heavy Turret Simulator is not the cannon itself, but the interactive tactical map located on the port side of your cabin. Because you have no windows and no visual of the outside world, this map is your only tether to reality.
The Intersection Method
Missions in IRON NEST: Heavy Turret Simulator do not hand you a red waypoint. Instead, you receive radio chatter from forward observers. To find your target, you must employ the intersection method. Spotter A will give you their grid location and the compass bearing of the enemy. You must place a pin on the board at Spotter A’s grid, pull out your drafting tools, and draw a line along that bearing. Repeat this process for Spotter B. Where those two lines cross is your procedural objective.
Procedural Objective Types
Because the game relies on dynamic mission generation, the objectives you face will vary wildly in their armor rating and required shell type. Firing a high-explosive (HE) shell at a heavy bunker is a waste of a 15-minute loading sequence.
| Objective Classification | Armor Rating | Optimal Shell Type | Blast Radius Requirement | High Command Tolerance |
|---|---|---|---|---|
| Light Infantry Trench | Class 1 (Soft) | Airburst Shrapnel | 150m | High (Misses acceptable within 50m) |
| Armored Convoy | Class 3 (Medium) | Armor-Piercing (AP) | 20m | Medium (Direct hit required on lead vehicle) |
| Reinforced Bunker | Class 5 (Heavy) | Bunker Buster (Tandem) | 5m | Low (Pinpoint accuracy mandatory) |
| Enemy Artillery Battery | Class 4 (Medium) | Counter-Battery HE | 75m | Zero (Failure results in incoming fire) |
Edge Cases in Triangulation
In later missions, Spotter B’s radio signal may degrade, giving you an incomplete bearing (e.g., “Bearing 14… static“). In these edge cases, you must use the topographical lines on the map to deduce the enemy’s location. Vehicles will always follow roads or valleys, while bunkers are placed on elevated ridges.
To dive deeper, read our guide on Iron Nest UI Explained: The Ultimate Guide to Dials & Indicators.
The Mechanics of Gunlaying: Hydraulics & MOA
Once you have your target coordinates, you must translate that data into mechanical action. Moving a 5,000-ton turret is a grueling process of managing hundreds of dials, levers, and gauges.
Managing the 5,000-Ton Beast
The turret does not move with the simple flick of a joystick. You must engage the primary diesel generator, route hydraulic pressure to the horizontal traverse motors, and manually crank the azimuth wheel. If you push the hydraulics too hard, the pipes will burst, filling your cabin with blinding steam and forcing a manual repair mini-game that eats into your mission timer.
Hydraulic Pressure Optimization
To achieve optimal traverse speed without catastrophic failure, keep the hydraulic pressure gauge between 2,400 and 2,600 PSI. Modulate the pressure bleed valve with your left hand while cranking the azimuth with your right.
Calculating Minute of Angle (MOA) and Drop-off
IRON NEST: Heavy Turret Simulator employs a brutally realistic ballistic model. The shells take upwards of 20 seconds to reach their target. During this time, gravity, wind, and the Coriolis effect (in late-game missions) will alter the trajectory. You must adjust your elevation dial to compensate for shell drop-off.
| Target Distance (km) | Base Elevation (Degrees) | Required MOA Adjustment | Flight Time (Seconds) |
|---|---|---|---|
| 5.0 | 12.5° | +2.1 | 8.4 |
| 10.0 | 26.2° | +5.4 | 14.2 |
| 15.0 | 38.8° | +9.8 | 21.6 |
| 20.0 (Max Range) | 44.5° | +15.2 | 28.9 |
Note: The above table assumes standard atmospheric pressure. If the mission briefing indicates heavy rain or low pressure, add a 1.5% increase to your MOA adjustment.
To dive deeper, read our guide on Iron Nest Save File Location: How to Find It & Fix Save Bugs.
Story Mode Progression: Procedural Difficulty Spikes
An effective Iron Nest Story Mode Walkthrough: Mission Objective Guide must address the game’s brutal progression curve. The story mode is structured around a series of campaigns ordered by High Command, with procedural elements ensuring no two playthroughs are identical.
Early Game (Missions 1-5): The Basics
The first five missions act as a trial by fire. The weather is clear, the spotters provide perfectly accurate bearings, and targets are stationary. Your primary objective here is simply learning muscle memory: sequence the loader, read the map, gunlay, and fire.
Mid-Game (Missions 6-15): Weather and Deviations
Starting at Mission 6, the game introduces deviancy. Spotters will begin making slight errors. You will fire a perfectly calculated shot, only for the spotter to radio back: “Impact 100 meters short, 50 meters left. Adjust and fire for effect.” You must now perform rapid reverse-calculations. Do not recalculate from scratch; instead, adjust your current azimuth and elevation dials by the exact MOA equivalent of the spotter’s correction.
Late-Game (Missions 16+): Multi-Target Salvos
In the late game, High Command will order you to suppress multiple targets simultaneously. You will need to calculate vectors for three different targets, load the appropriate shells for each, and fire them in rapid succession before the enemy artillery can triangulate your position. This requires flawless hydraulic management and an encyclopedic knowledge of the elevation charts.
To dive deeper, read our guide on Best Iron Nest PC Settings for Max FPS & Clear Visibility.
Resource Management & Cabin Maintenance
You are locked inside a cabin with no real view of the outside world, surrounded by hundreds of machine mechanisms. Maintaining this environment is just as critical as hitting your targets.
Dials, Levers, and Overheating
Every action generates heat and consumes diesel. Firing the main gun spikes the cabin temperature. If the temperature exceeds safe limits, the targeting computer’s vacuum tubes will blow, blinding your electronic readouts and forcing you to rely entirely on analog backup sights.
| Cabin System Gauge | Safe Operating Zone | Consequence of Critical Failure |
|---|---|---|
| Hydraulic Pressure | 1,500 – 2,800 PSI | Line rupture; loss of turret traverse control for 90 seconds. |
| Diesel Generator Temp | 70°C – 110°C | Engine stall; complete power loss requiring a 3-minute cold restart. |
| Barrel Heat | 0°C – 450°C | Shell cook-off in the breech; instant game over and court-martial. |
| Recoil Buffer Fluid | 80% – 100% Volume | Structural damage to the cabin; permanent accuracy degradation. |
Always flush the recoil buffer lines between salvos. It takes 15 seconds, but it prevents the turret from shaking itself apart when you unleash thousands of tons of machinery.
To dive deeper, read our guide on How to Survive Challenge Mode in Iron Nest: High-Score Tips.
High Command’s Patience and Avoiding Court-Martial
As you push deeper into IRON NEST: Heavy Turret Simulator, the mechanical complexity and the sheer physical exhaustion of managing the 5,000-ton turret can become overwhelming. High Command’s patience meter drops rapidly if you miss targets or take too long to calculate vectors. The late-game grind of manually pumping hydraulic levers and doing complex trigonometry on the fly can lead to a frustrating string of court-martials.
When the procedural generation hands you an impossible multi-target scenario in the middle of a dieselpunk hurricane, you don’t have to accept defeat. This is where integrating XMODhub becomes a tactical necessity for players who want to experience the story without the grueling punishment of manual gauge maintenance.
XMODhub acts as your automated co-pilot, offering features like Infinite Hydraulic Pressure (so you can traverse the turret instantly without bursting pipes), Auto-Calculated Vectors, and Instant Reloads.
Here is how to deploy it:
- Download XMODhub from the official secure portal and install it on your rig.

- Auto-Detect IRON NEST: Heavy Turret Simulator: Launch the game, and XMODhub will automatically hook into the game’s engine, recognizing the specific procedural seed you are playing.
- Toggle Cheats: Use the in-game overlay to activate “Infinite Hydraulics” or “Bypass High Command Timer,” allowing you to focus purely on the satisfaction of the artillery simulation without the artificial stress.
Download IRON NEST: Heavy Turret Simulator Trainer Now
Advanced Ammunition Logistics: Shell Selection and Fuse Settings
Your procedural mission objectives are only as solvable as the ammunition you load into the breech. In IRON NEST: Heavy Turret Simulator, selecting the correct shell and configuring the fuse is just as critical as your map vectoring. Using a standard point-detonating fuse on a heavily entrenched target will result in a superficial crater, prompting a swift reprimand from High Command.
The Shell and Fuse Configuration Matrix
Before you engage the Auto-Loader Mechanism, you must manually dial in the fuse settings on the shell casing. Here is the definitive breakdown of shell logistics to ensure maximum lethality across all mission types:
| Shell Designation | Fuse Configuration | Optimal Target Profile | Lethal Radius / Penetration | Base Load Time |
|---|---|---|---|---|
| High-Explosive (HE) | Point-Detonating (PD) | Light Infantry, Supply Trucks | 45m (Radius) | 12 Seconds |
| Airburst Shrapnel | Time-Delay (Calculated) | Trenches, Open-Air Batteries | 150m (Radius) | 18 Seconds |
| Armor-Piercing (AP) | Base-Detonating (BD) | Armored Convoys, Tanks | 350mm (Penetration) | 15 Seconds |
| Bunker Buster (Tandem) | Delayed Action | Reinforced Bunkers, Fortifications | 800mm (Penetration) | 25 Seconds |
| White Phosphorus (WP) | Proximity (Airburst) | Area Denial, Spotter Obscuration | 80m (Radius) | 14 Seconds |
Mastering the Time-Delay Fuse requires calculating the exact flight time from your Ballistic Flight Chart and setting the dial so the shell detonates exactly 20 meters above the enemy trench line. If you miscalculate the timer by even one second, the shell will explode harmlessly in the upper atmosphere or bury itself in the dirt before detonating.
Decoding Weather Dynamics: Windage and Barometric Penalties
As you progress through your Iron Nest Story Mode Walkthrough: Mission Objective Guide, the procedural weather system will actively work against your math. High Command will not halt an offensive just because of a dieselpunk hurricane.
You must check the Barometric Pressure Gauge and the Anemometer (Wind Speed) readouts located above the comms terminal before every shot. High crosswind speeds require horizontal Windage Adjustments on your azimuth dial, pulling your aim directly into the wind vector. Conversely, low barometric pressure (thin air) means your shells will experience less drag and fly further, requiring a reduction in your standard elevation. Always cross-reference the atmospheric conditions with your baseline MOA before pulling the trigger, as a severe storm can throw a shell off target by over 200 meters.
Frequently Asked Questions
How do I correct a miss when the spotter gives a “Drop 50, Left 20” order?
Do not touch the map. A “Drop 50” means you need to decrease your range by 50 meters. Look at your current elevation dial. Using the ballistic drop-off matrix, calculate how many degrees of elevation correspond to 50 meters at your current distance, and adjust the wheel accordingly. “Left 20” requires a micro-adjustment of the azimuth wheel to the left.
Why is my hydraulic pressure failing during rapid fire?
You are likely neglecting the pressure bleed valve. When you fire, the recoil spikes the hydraulic lines. If you try to traverse the turret immediately after firing without opening the bleed valve to vent the excess pressure, the lines will rupture. Always vent for 2 seconds post-firing.
Does IRON NEST: Heavy Turret Simulator have a fixed ending?
The story mode features a definitive narrative conclusion, but the path to get there is procedurally generated. The ending is triggered after successfully completing a set number of High Command’s campaign directives, culminating in a massive, multi-stage siege defense where you must hold off an entire armored division single-handedly.
How do I handle the deafening mechanic without losing audio cues?
When you pull the trigger, the game simulates acoustic trauma, deafening you for about 10 seconds. To avoid missing critical radio updates from your spotters during this window, you must watch the comms terminal’s transcription ticker. Upgrading the cabin’s acoustic dampening in the mid-game will reduce the deafened duration to 4 seconds.
Final Verdict
Mastering IRON NEST: Heavy Turret Simulator is a test of intellect, patience, and mechanical sympathy. You are not meant to feel powerful; you are meant to feel the immense weight of steel and the crushing responsibility of High Command’s orders. By meticulously applying the intersection method on your tactical map, managing your hydraulic PSI, and respecting the brutal math of ballistic drop-off, you can systematically dismantle the enemy frontline from miles away.
For those who find the relentless gauge management and procedural difficulty spikes too punishing, remember that the single-player experience is yours to control. Leveraging tools like XMODhub—which supports a massive ecosystem of over 5,000+ single-player PC games—allows you to tailor the difficulty, bypass the tedious hydraulic maintenance, and focus on the awe-inspiring spectacle of commanding a colossal dieselpunk war machine. Pull the trigger, Operator, and let the machinery answer your call.
Stop Grinding, Start Enjoying.
Bypass the tedious resource gathering and unlock your full potential instantly.

I am a passionate gamer and writer at XMODhub, dedicated to bringing you the latest gaming news, tips, and insights.
Connect with me:
LinkedIn Profile ↗


 Nancy Miller