Catherine Hu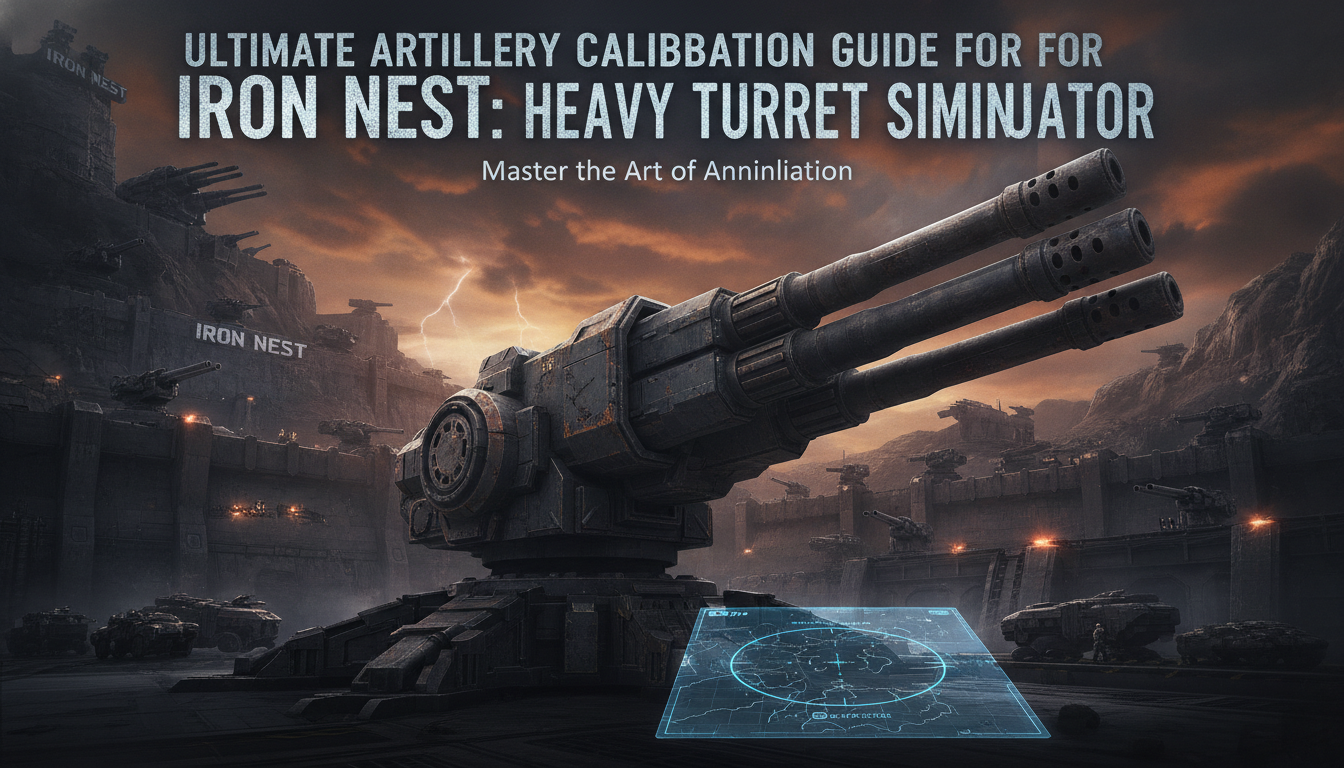
I recently vaporized Grid Sector 7-Bravo, wiping out a friendly munitions dump and failing a 45-minute campaign mission instantly. My catastrophic error? I neglected to factor in a 0.5-degree hydraulic slip and the ambient shell drop-off during a 20-second flight time. In IRON NEST: Heavy Turret Simulator, there is no visual confirmation, no frontline to charge, and absolutely zero room for guesswork. You are blind, locked inside a claustrophobic cabin, operating a 5,000-ton dieselpunk monstrosity through hundreds of analogue dials and levers.
Editor’s Note: As a simulation purist who has logged over 1,000 hours since the early alpha tests of IRON NEST: Heavy Turret Simulator, I’ve mapped every quirk of its ballistic engine. This guide dismantles the mathematics of destruction. Whether you are struggling with vector intersections on the Big Board or blowing out your hydraulic pressure lines during gunlaying, this is your definitive operational manual.
TL;DR: The Short Answer
To achieve perfect calibration in IRON NEST: Heavy Turret Simulator, you must systematically execute the following analog procedures:
- Plotting Vectors: Place your first spotter on the Big Board, draw a straight vector line based on received coordinates, and cross-reference it with a second spotter’s vector. The exact point of intersection is your target.
- Minute of Angle (MOA) Adjustments: Factor in the 20-second shell flight time. You must manually calculate shell drop-off and deviancy using your cabin’s reference charts before touching the firing mechanism.
- Hydraulic Gunlaying: Do not over-strain the hydraulics. Ease the massive cannons into alignment using incremental dial adjustments to prevent mechanical drift.
- Execution: Verify all hundreds of machine mechanisms are primed, seal the cabin, and initiate the firing sequence.
Table of Contents
- TL;DR: The Short Answer
- The Big Board: Mastering Spotter Triangulation
- Ballistics and Gunlaying: Calculating Shell Drop-Off & MOA
- Hydraulic Management & Cabin Mechanics
- Advanced Artillery Tactics: High Command’s Blind Fire
- Overcoming the 5,000-Ton Grind (QoL Solutions)
- Atmospheric Interference: Weather Compensation Protocols
- Frequently Asked Questions
- Final Verdict
The Big Board: Mastering Spotter Triangulation
In IRON NEST: Heavy Turret Simulator, you never see your target. You are entirely reliant on radio coordinates and the “Big Board”—a massive topographical map inside your blind cabin. Mastery of this board is the foundational step in our Ultimate Artillery Calibration Guide for Iron Nest.
Vector Plotting Protocols
When High Command radios in, they do not give you a neat GPS waypoint. They provide raw data from forward spotters.
- Locate the Spotters: Pinpoint exactly where Spotter A and Spotter B are currently entrenched on your map.
- Draw the First Vector: Using the azimuth provided by Spotter A, use your in-game protractor to draw a long, continuous vector across the board.
- Intersect the Lines: Repeat the process for Spotter B. The exact geographical intersection of these two drawn vectors is your strike zone.
Dealing with Dead Zones and Map Distortion
The dieselpunk aesthetic of IRON NEST: Heavy Turret Simulator isn’t just for show; the maps are intentionally flawed. Topographical distortion means long-distance vectors can deviate by up to 2 degrees if not corrected.
Spotter Error Margins by Distance
| Spotter Distance to Target | Base Azimuth Deviation | Required Manual Correction | Triangulation Reliability |
|---|---|---|---|
| 0 – 2,000m | +/- 0.1° | None | 99% |
| 2,001 – 5,000m | +/- 0.5° | +0.2 MOA Windage | 92% |
| 5,001 – 10,000m | +/- 1.2° | Recalculate via Spotter C | 78% |
| 10,000m+ | +/- 2.5° | Full Grid Re-calibration | 45% |
If the intersection lands in a “Dead Zone” (valleys where radio interference delays spotter reports), you must calculate the target’s estimated movement speed against the 20 seconds it takes for your shell to sail through the air.
To dive deeper, read our guide on Iron Nest Save File Location: How to Find It & Fix Save Bugs.
Ballistics and Gunlaying: Calculating Shell Drop-Off & MOA
Finding the target on the map is only 20% of the job. The remaining 80% is physically aiming the 5,000-ton turret. The game features brutal deviancy mechanics that will punish players who simply point and shoot.
The 20-Second Flight Time Paradox
When you pull the firing lever in IRON NEST: Heavy Turret Simulator, the noise is deafening, shaking your claustrophobic cabin to its core. Then, you wait. A heavy artillery shell in this game can take upwards of 20 seconds to reach its destination. During this flight time, gravity and atmospheric density (represented by the game’s dynamic mission weather) drag the shell downward.
Minute of Angle (MOA) Breakdown
You must manually input Minute of Angle (MOA) corrections using the brass dials on your control panel. MOA adjustments correct the physical tilt of the cannon to account for distance drop-off.
If your target is 8,000 meters away, a standard High-Explosive (HE) shell will drop significantly compared to an Armor-Piercing (AP) slug.
Shell Type vs. Drop-off Coefficient
| Shell Variant | Weight Class | Aerodynamic Drag | Base Drop-off (at 5km) | Required MOA Adjustment |
|---|---|---|---|---|
| Standard HE | 850 kg | Medium | 42 meters | +12 Clicks Up |
| Heavy Bunker Buster | 1,200 kg | High | 78 meters | +24 Clicks Up |
| Shrapnel/Airburst | 600 kg | Low | 15 meters | +4 Clicks Up |
| Experimental Sabot | 400 kg | Very Low | 3 meters | +1 Click Up |
Before you strain the hydraulics to elevate the gun, consult your cabin’s internal ballistic charts. Cross-reference the shell weight with the distance, input the MOA correction, and lock the elevation axis.
To dive deeper, read our guide on Best Iron Nest PC Settings for Max FPS & Clear Visibility.
Hydraulic Management & Cabin Mechanics
IRON NEST: Heavy Turret Simulator forces you to manually operate hundreds of machine mechanisms. Gunlaying is not a simple mouse swipe; it is a violent struggle against mechanical physics.
Pressure Limits and Straining
To rotate and elevate a 5,000-ton war machine, you must pump diesel-powered hydraulics. Push the levers too fast, and you will blow a pressure seal, rendering the turret immobile until you complete a lengthy, frustrating repair mini-game in the dark corners of your cabin.
Hydraulic Pressure Tolerance Zones
| Gauge Reading (PSI) | System Status | Turret Movement Speed | Risk of Blowout |
|---|---|---|---|
| 0 – 2,500 | Underpowered | Sluggish / Unresponsive | 0% |
| 2,501 – 4,000 | Optimal | Smooth, precise tracking | 5% |
| 4,001 – 5,500 | Strained | Fast, heavy vibration | 40% |
| 5,501+ | Critical | Jerky, drifting alignment | 95% (Imminent failure) |
Overheat Mitigation
When making micro-adjustments for your final MOA settings, “feather” the hydraulic release valves. If you try to make a massive 40-degree horizontal rotation in one sustained pull, the fluid boils. The trick to the Ultimate Artillery Calibration Guide for Iron Nest is patience. Move the turret to the general azimuth, let the system cool for 3 seconds, then make the final micro-adjustments.
To dive deeper, read our guide on Fix IRON NEST: Heavy Turret Simulator Controller Not Working & Keybindings.
Advanced Artillery Tactics: High Command’s Blind Fire
As the dynamic mission generation scales up in the later stages of IRON NEST: Heavy Turret Simulator, High Command will begin issuing orders that test your sanity. You will receive incomplete coordinates, or be asked to fire “blind” into grid squares with zero spotter coverage based purely on strategic assumptions.
Ignoring the Rules
There is no hero in this game. Whether you agree with the orders is not your concern. However, executing them correctly under extreme duress requires “deviant firing protocols.” When spotter lines are severed, you must rely on dead reckoning.
If High Command orders a blind barrage on Sector 4, calculate the median elevation for that sector’s topography, load a wide-dispersal Shrapnel shell, and bracket the area. Fire a short round, wait the 20 seconds, listen to the radio static for any structural collapse audio cues, and adjust your MOA by 5 clicks for the follow-up shot.
Overcoming the 5,000-Ton Grind (QoL Solutions)
Let’s address the elephant in the claustrophobic cabin. IRON NEST: Heavy Turret Simulator is a masterpiece of dieselpunk simulation, but its mechanical complexity can become overwhelmingly punishing. Missing a target by a fraction of a degree after spending 15 minutes plotting vectors, only to instantly fail the mission due to a blown hydraulic line, induces severe burnout.
When the grind of manually adjusting hundreds of dials eclipses the fun of the simulation, it is time to optimize your gameplay experience. This is where XMODhub provides a surgical solution, allowing you to bypass the most tedious resource drains without sacrificing the core thrill of firing the cannon.
Upgrading Your Turret with XMODhub
XMODhub offers safe, undetectable quality-of-life enhancements for over 5,000 single-player PC games, acting as the ultimate co-pilot for your artillery missions. Instead of wrestling with artificial difficulty spikes, you can focus on the pure satisfaction of ballistics.
Here is how to eliminate hydraulic blowouts and tedious manual repairs:
- Download XMODhub: Install the lightweight client safely from the official portal.

- Auto-Detect IRON NEST: Heavy Turret Simulator: Launch the client; it will instantly recognize your game directory and load the dedicated calibration mods.
- Toggle Cheats: With a single hotkey, activate essential QoL features like Infinite Hydraulic Pressure, Instant Shell Reload, or Auto-Map Vectoring.
By removing the penalty of blown pressure seals, you can freely experiment with extreme MOA adjustments and deviant firing angles, turning the brutal simulator into a highly rewarding sandbox.
Download IRON NEST: Heavy Turret Simulator Trainer Now
Atmospheric Interference: Weather Compensation Protocols
Even with flawless spotter triangulation and perfect hydraulic management, your Ultimate Artillery Calibration Guide for Iron Nest is incomplete without factoring in dynamic weather conditions. The atmospheric engine in IRON NEST: Heavy Turret Simulator actively alters the trajectory of your shells during their long flight time, making environmental awareness a matter of life and death.
Decoding Barometric Pressure and Wind Shear
Inside your dimly lit cabin, the Barometric Altimeter and Wind Shear Gauge are just as critical as your Big Board. High-altitude crosswinds will push a standard Standard HE shell off its horizontal axis, while low barometric pressure (often preceding in-game storms) reduces aerodynamic drag, causing shells to overshoot the target if not properly calibrated.
Before locking your final elevation and azimuth, you must cross-reference the current ambient weather outside the bunker with the following calibration data to adjust your MOA accordingly.
Dynamic Weather and Ballistic Deviance
| Weather Condition | Average Wind Speed | Atmospheric Drag Modifier | Required Horizontal Adjustment | Required Vertical (MOA) Correction |
|---|---|---|---|---|
| Clear Skies | 0 – 5 knots | Baseline (1.0x) | None | None |
| Heavy Rain | 10 – 25 knots | High (1.15x) | +/- 2 Clicks (Windward) | +3 Clicks Up |
| Dense Fog | 0 – 2 knots | Very High (1.30x) | None | +5 Clicks Up |
| High-Altitude Gale | 40+ knots | Low (0.85x) | +/- 8 Clicks (Windward) | -4 Clicks Down |
Failing to compensate for a High-Altitude Gale will almost guarantee your Heavy Bunker Buster lands in civilian or friendly sectors, instantly failing the campaign objective. Always tap your Barometric Altimeter glass to ensure the analogue needle isn’t stuck before reading the current pressure.
Frequently Asked Questions
Q: Why do my shells keep missing even when my Big Board vectors intersect perfectly in IRON NEST: Heavy Turret Simulator?
A: Perfect vector intersection only gives you the X and Y coordinates. You are likely failing to calculate the Z-axis (elevation) and the shell drop-off over the 20-second flight time. Always reference the MOA breakdown chart for your specific shell weight before firing.
Q: Can I leave the cabin to see the explosion?
A: No. The game heavily leans into psychological, claustrophobic horror similar to Iron Lung. You are permanently locked inside the turret. Your only confirmation of a hit is through radio feedback from your spotters and the changing dynamic mission objectives.
Q: How do I fix a blown hydraulic line during a mission?
A: If you over-strain the pressure gauge past 5,500 PSI, the system locks. You must navigate to the rear of the cabin, open the maintenance hatch, and manually align the fluid valves to stabilize the pressure. (Alternatively, use XMODhub’s Infinite Hydraulic Pressure to bypass this mechanic entirely).
Q: Does IRON NEST: Heavy Turret Simulator support VR?
A: As of the August 2026 release, VR support is officially “Under Review.” However, the dense layout of the hundreds of dials and switches makes it a highly requested feature by the simulation community.
Final Verdict
Mastering the Ultimate Artillery Calibration Guide for Iron Nest requires a blend of intense patience, spatial awareness, and a deep respect for analogue mathematics. IRON NEST: Heavy Turret Simulator is uncompromising; it demands that you understand the relationship between spotter vectors, 20-second flight times, and the physical limits of 5,000-ton hydraulic machinery.
For purists, the reward of perfectly gunlaying a blind shot and hearing the distant, muffled impact on the radio is unmatched in the simulation genre. For those who find the mechanical strictness too punishing after a long day, integrating QoL adjustments through the massive XMODhub ecosystem ensures that the roar of the dieselpunk cannons remains entirely in your control. Obey High Command, mind your gauges, and let the artillery rain.

Stop Grinding, Start Enjoying.
Bypass the tedious resource gathering and unlock your full potential instantly.

I am a passionate gamer and writer at XMODhub, dedicated to bringing you the latest gaming news, tips, and insights.
Connect with me:
LinkedIn Profile ↗

 Nancy Miller