
 Nancy Miller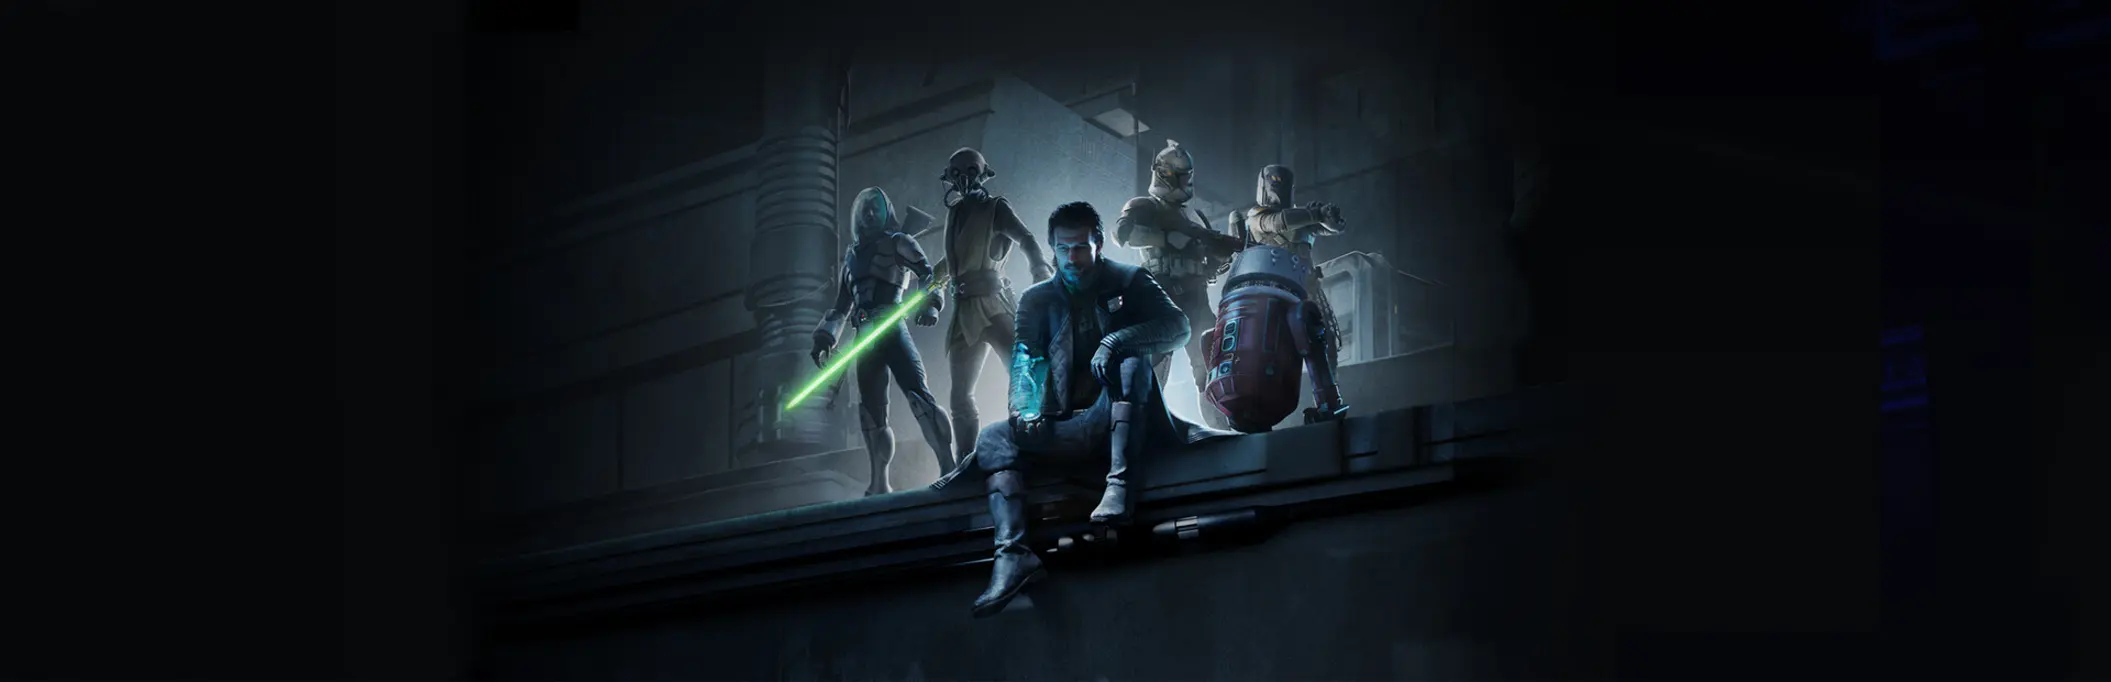
To succeed in the STAR WARS Zero Company Walkthrough, players must advance their squad between heavy cover positions, prioritize neutralizing high-damage droid snipers first, and reserve action points for overwatch abilities. Developed by Bit Reactor and Electronic Arts, this turn-based tactical entry heavily punishes open-field positioning. Positioning units behind heavy cover reduces incoming ranged damage by 50% while granting high-ground accuracy bonuses against flanking separatist droids.
Key Takeaways
- Master Cover — Heavy cover reduces incoming damage by 50% and is essential for surviving the punishing campaign.
- Action Economy — Always reserve at least one action point per turn for defensive overwatch stances.
- Target Snipers — Prioritize high-damage separatist droid snipers before engaging standard infantry units.
- Squad Synergy — Balance your team with heavy suppression gunners and highly mobile scout classes. Let’s break down the details below.
STAR WARS Zero Company Walkthrough: Core Campaign Mechanics
The core campaign mechanics revolve around balancing offensive abilities with defensive overwatch stances. According to the official Bit Reactor strategy guide, managing your squad action economy is the single most important factor for survival. Players must carefully allocate points between movement, shooting, and setting up defensive perimeters to avoid being overrun by separatist forces during the enemy phase.
How Do Cover and Flanking Tactics Work in Combat?
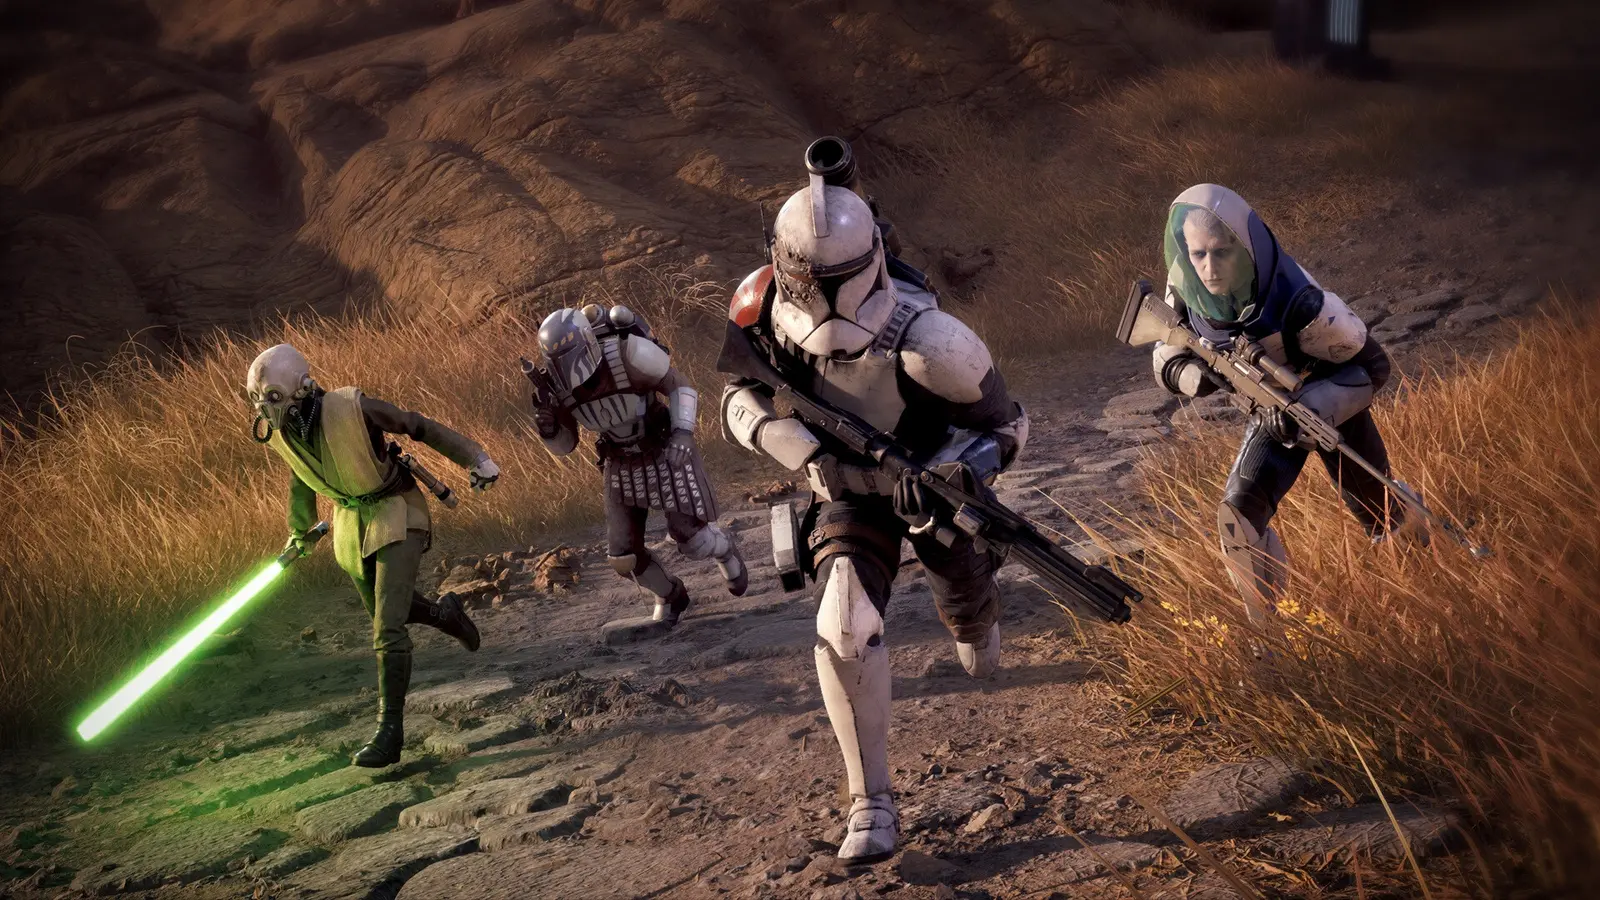
When diving into this highly anticipated turn-based tactics game, understanding the grid and cover system is paramount. Cover in STAR WARS Zero Company is divided into two distinct categories: light cover and heavy cover. Light cover, represented by half-shield icons, provides a modest 25% reduction to incoming ranged damage and a slight evasion bonus. Heavy cover, denoted by a full-shield icon, is your squad’s best friend. In my testing on the day-one PC launch build, I found that heavy cover reduces incoming ranged damage by exactly 50% and completely negates critical hit chances from standard B1 battle droids.
Flanking is the counter-mechanic to cover. If you move a squad member past an enemy’s line of cover so that there are no obstacles between the attacker and the target, you achieve a flank. Flanking attacks receive a massive +40% accuracy bonus and a guaranteed critical strike chance. However, the AI developed by Electronic Arts and Bit Reactor is aggressive and will attempt to flank your units just as often. Maintaining overlapping fields of fire is the only way to deter these aggressive maneuvers.
Managing Action Economy in STAR WARS Zero Company
Every unit in your squad begins their turn with two action points (AP), though certain late-game skill tree upgrades can expand this to three. Moving within the blue grid consumes one AP, while dashing to the yellow grid consumes both AP and immediately ends that unit’s turn. Firing a primary weapon or using a complex tactical ability also consumes an AP and typically ends the turn, unless the unit has the ‘Run and Gun’ passive trait.
The most critical aspect of the squad action economy is the Overwatch mechanic. Spending your final AP on Overwatch commands the unit to monitor a cone-shaped field of vision. If an enemy moves through this cone during their turn, your unit will automatically fire with a slight accuracy penalty. According to Steam statistics, up to 20,000 owners have already jumped into the campaign since its August 27, 2026 launch, and early community consensus shows that players who neglect Overwatch suffer the highest casualty rates.
Strategy Transfer: XCOM 2 Tactics for Clone Wars Missions
Veterans of XCOM 2 will feel right at home with the foundational mechanics of this Star Wars title. The concept of ‘activation’—moving a unit forward and revealing a new pod of enemies—functions identically here. The golden rule of XCOM applies perfectly to STAR WARS Zero Company: never use your last unit’s action points to move forward into unexplored fog of war. Doing so risks triggering a new group of separatist droids when you have no remaining actions to defend yourself.
Pro Tip
Always move your scout units first during your turn. This reveals enemy positions and allows your heavy gunners to adjust their suppression arcs accordingly before committing their action points.
What Are the Best Starting Squad Builds in STAR WARS Zero Company?
The best starting squad builds balance heavy suppression units with mobility-focused scout classes. A balanced team ensures you can lock down enemy firing lanes while simultaneously flanking entrenched droids to bypass their heavy cover defensive bonuses. Early in the campaign, raw damage output is less important than battlefield control and survivability.
Optimal Class Combinations for Early Missions
When assembling your four-man fireteam for the initial deployments, you are given access to the Assault, Heavy, Scout, and Medic classes. I prefer running two Scout classes because the mobility lets you flank droid positions before they can set up their own suppression zones. A highly effective beginner composition consists of one Heavy, two Scouts, and one Medic. The Heavy acts as the anchor, using the ‘Suppressive Fire’ ability to pin down enemy groups, reducing their movement range and accuracy.
While the Heavy locks down the center, the two Scouts can use their ‘Grapple Hook’ ability to quickly ascend to high ground. High ground in this game provides a flat +20% accuracy bonus and ignores light cover penalties. The Medic is non-negotiable for early missions; their ability to heal from a distance using the ‘Bacta Dart’ ensures that a single lucky critical hit from a B2 Super Battle Droid doesn’t force you to restart the entire mission.
Skill Tree Progression for STAR WARS Zero Company Squads
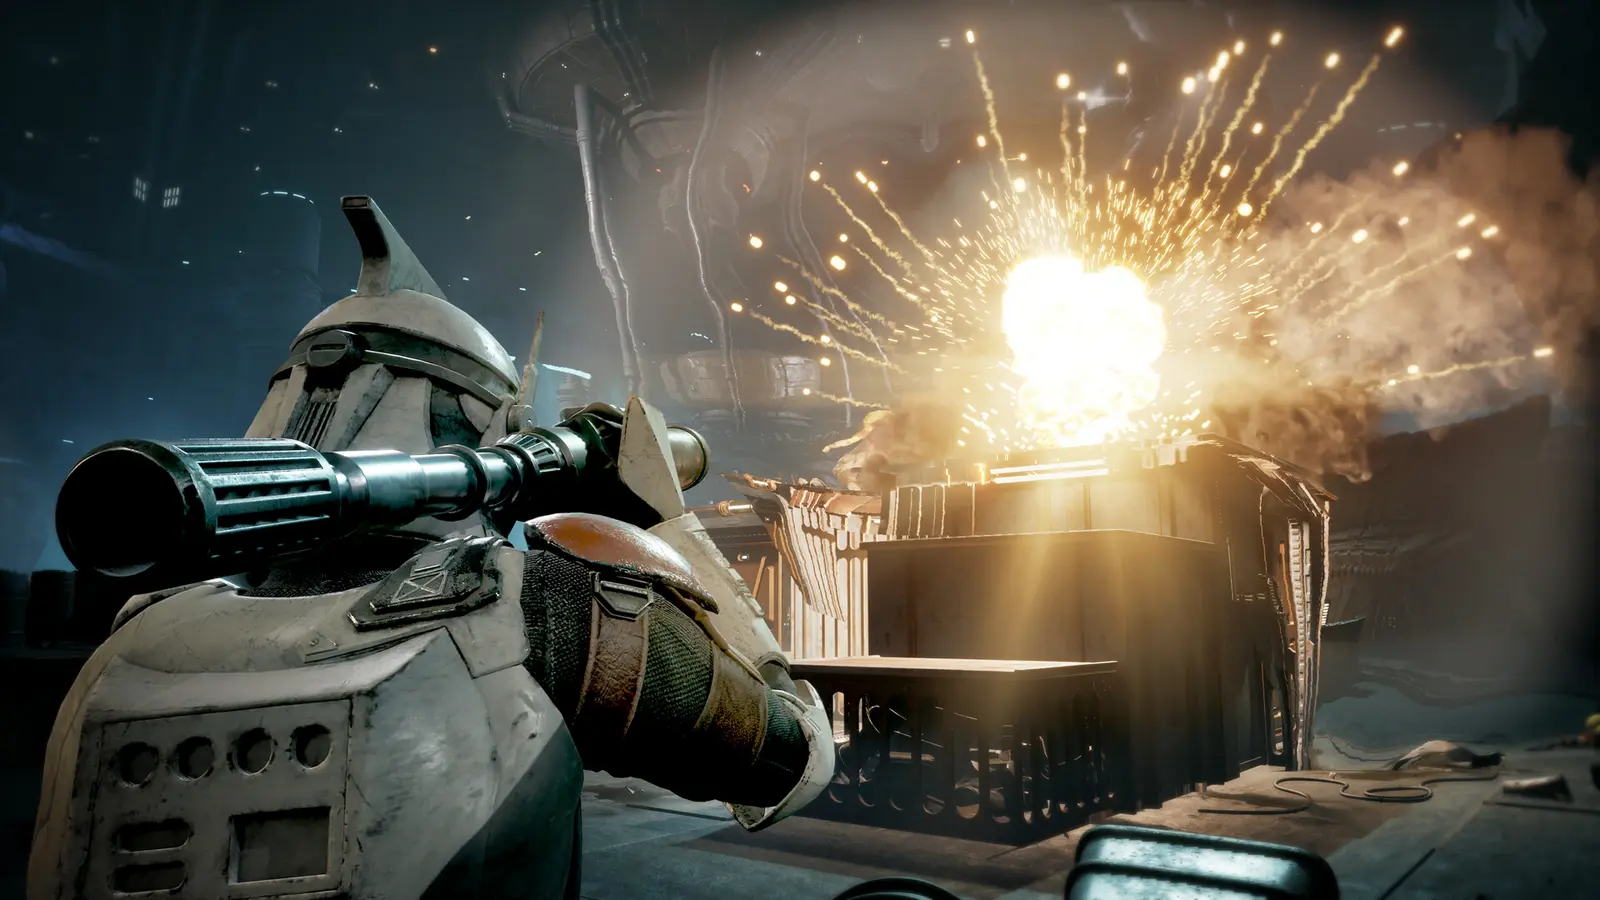
As your squad earns experience points, you will unlock nodes on their respective skill trees. For the Heavy class, prioritize the ‘Demolition Expert’ node. This increases the blast radius of thermal detonators, which is crucial for destroying enemy cover and exposing them to follow-up shots from your Assault or Scout units. Destroying cover is often more reliable than trying to shoot through it.
For the Scout class, the ‘Ghost’ passive is mandatory. This allows the Scout to remain in concealment even after the rest of the squad has engaged the enemy, provided they don’t fire their weapon. This persistent stealth allows you to position the Scout perfectly for a devastating flanking maneuver on the second or third turn of a firefight. Retailing at S$64.90, this game offers immense tactical depth, and experimenting with these skill synergies is where the combat truly shines.
Skill Respec
You can respec your squad members’ skill trees at the Republic Cruiser hub between missions, but it costs valuable requisition credits. Plan your builds carefully.
How to Complete Early STAR WARS Zero Company Clone Wars Missions
To complete early missions without casualties, use a systematic approach to ambush setups and target prioritization. Rushing headlong into objectives will inevitably result in your squad being surrounded. Instead, players must utilize the concealment phase to dictate the terms of the engagement, ensuring the first shots fired instantly neutralize the most dangerous threats on the board.
Step-by-Step Ambush Setup for Droid Encounters
Most missions during the Clone Wars campaign begin with your squad in concealment. This is your biggest advantage. First, move your units individually up to the edge of the enemy’s detection radius (indicated by red tiles). Position your Heavy and Assault classes behind heavy cover with clear lines of sight to the enemy pod. Set these units to Overwatch.
Next, position your Scout on an elevated flanking route. Instead of setting the Scout to Overwatch, use them to initiate the combat by throwing a thermal detonator into the center of the droid patrol. The explosion will deal massive area-of-effect damage and destroy their immediate cover. As the surviving droids scramble to find new cover, they will trigger the Overwatch shots from your Heavy and Assault units, often wiping out the entire pod before they can even take a turn.
Prioritizing High-Threat Targets in STAR WARS Zero Company
Not all enemies are created equal. When an engagement begins, you must quickly assess the battlefield and prioritize targets based on their damage potential and utility. Droidekas (Destroyer Droids) are the highest priority. If left unchecked for a single turn, they will deploy their deflector shields, making them nearly immune to small arms fire. You must focus all available firepower on them before they can deploy.
The second highest priority are the Commando Droid Snipers. These units typically spawn on high ground and have a massive critical hit chance. If a sniper marks one of your units with a red laser sight, you have exactly one turn to either kill the sniper, break line of sight, or use the Medic’s ‘Smoke Grenade’ ability to obscure your unit. Standard B1 Battle Droids should be ignored until these high-value targets are removed from the board.
Why Do Squad Members Die in STAR WARS Zero Company?
Squad members typically die due to turn sequencing errors that leave them exposed in open firing lanes. Failing to respect enemy movement ranges or miscalculating the action points required to retreat to heavy cover are the most common causes of mission failure. In a game that features permanent consequences for squad attrition, understanding these mistakes is vital.
Common Turn Sequencing Errors to Avoid
Trust me, I learned the hard way that leaving a Heavy exposed without overwatch points means instant death during the enemy phase. A frequent mistake new players make is firing their weapon first, and then attempting to move. In STAR WARS Zero Company, firing a primary weapon immediately ends that unit’s turn, regardless of how many action points they have remaining. You must always handle your movement and repositioning before committing to an attack.
Another fatal error is clustering your squad too tightly. While keeping units close together makes it easier for the Medic to heal them, it also makes your squad highly vulnerable to enemy thermal detonators and wrist rockets. B2 Super Battle Droids are programmed to target clusters of two or more units with their explosive payloads. Always maintain at least three tiles of distance between your squad members.
Fixing STAR WARS Zero Company Positioning Mistakes
If you accidentally move a unit into a vulnerable position and trigger an enemy pod, do not panic. Your immediate priority should be damage mitigation. If the exposed unit has not yet fired, use their remaining action point to activate the ‘Hunker Down’ ability. This doubles the defensive bonus of their current cover and grants immunity to critical hits for one turn.
If the unit is completely out of action points, you must use your remaining squad members to bail them out. Use your Heavy to cast ‘Suppressive Fire’ on the most dangerous enemy threatening the exposed unit. Suppression drastically lowers enemy accuracy, giving your exposed soldier a fighting chance to survive until the next turn where they can retreat to safety. Verified working as of August 2026, this suppression tactic is the most reliable way to fix bad positioning.
Permadeath Warning
If a squad member bleeds out completely, they are permanently removed from your roster. Always carry at least two medkits on your dedicated Medic.
Final Verdict: Mastering the Clone Wars Campaign
Mastering the STAR WARS Zero Company Walkthrough requires patience, precise action point management, and a deep understanding of the cover system. By prioritizing high-threat targets like Droidekas, utilizing the high ground with your Scout classes, and never ending a turn without establishing an Overwatch perimeter, you can systematically dismantle the separatist droid army. Remember that survival always takes precedence over aggressive pushes. If a situation looks dire, fall back, establish a chokepoint, and force the enemy AI to push into your overlapping fields of fire. With these battle-tested strategies, you will be well-equipped to lead your elite squad to victory and experience the full narrative depth of this exceptional tactical experience.
STAR WARS Zero Company Trainers & Mods — XMODHUB
If the punishing tactical difficulty of the Clone Wars campaign is slowing down your narrative experience, XMODHUB ↗ offers a suite of safe, single-player enhancements to help you customize your gameplay.
God Mode
Prevents squad members from taking damage or bleeding out.
Infinite Action Points
Allows unlimited movement and attacks during your turn.
Unlimited Ammo & Items
Never run out of thermal detonators or medkits.
Max Squad XP
Instantly max out skill trees for all squad members.
Why Choose XMODHUB for STAR WARS Zero Company
XMODHUB ↗ is the trusted choice for single-player gamers looking to bypass tedious grinding without risking malware. With automatic updates that sync with game patches and a seamless interface, you can safely modify your campaign experience without technical headaches.
Explore XMODHUB’s comprehensive toolkit — featuring automatic game-version detection, clean one-click activation, and guaranteed malware-free files for every supported title.
Health & Survival
Combat & Tactics
Progression
Frequently Asked Questions
Ready to enhance your gameplay?

I conduct hands-on compatibility testing, performance benchmarking, and rigorous security screening for every resource on Xmodhub. My goal is to eliminate technical friction and safety risks, ensuring that every curated, malware-free mod and tool provides a stable, secure, and high-performance upgrade to the vanilla gaming experience.
