Catherine Hu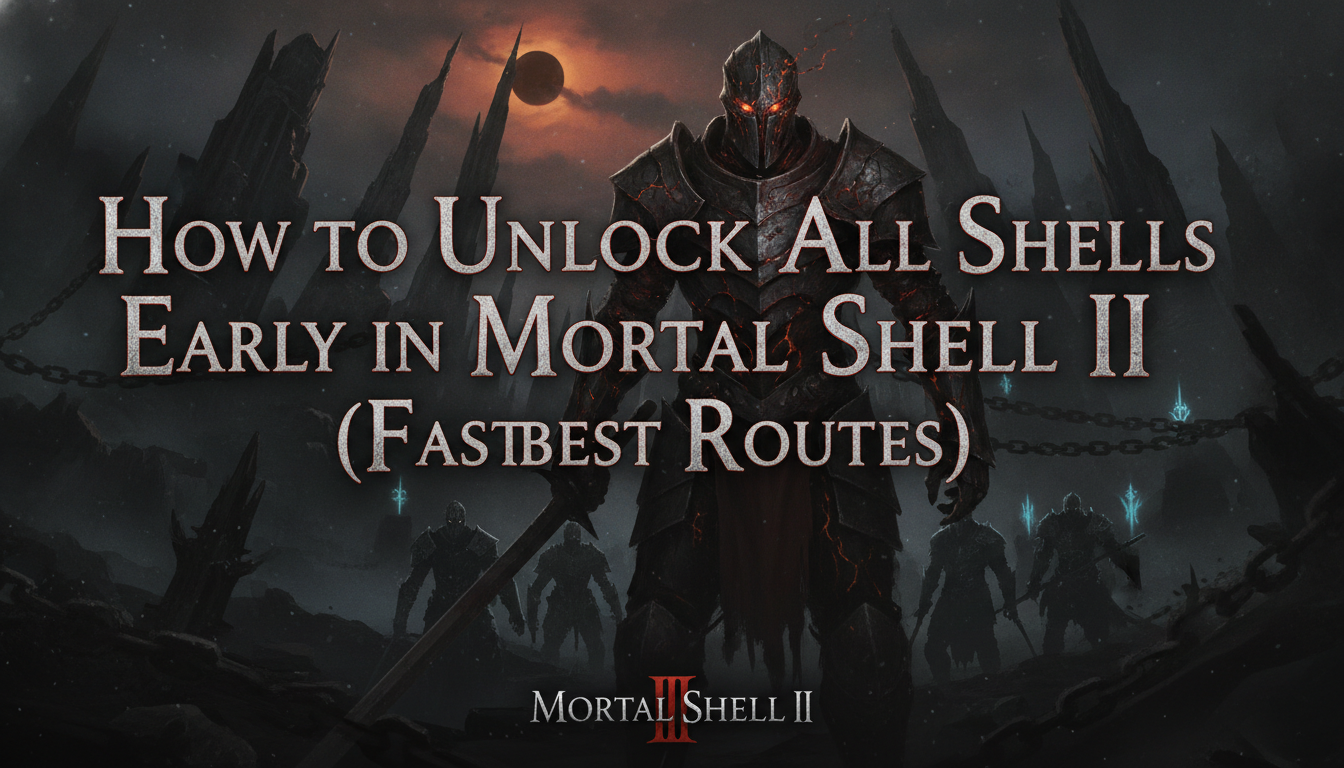
Wandering blindly through the decaying, dark fantasy landscapes of Mortal Shell II with nothing but your brittle starting form is a guaranteed death sentence. If you are constantly getting staggered out of your attacks, running out of stamina after two swings, or simply realizing the default playstyle doesn’t match your aggression, you are desperately searching for how to unlock all shells early in Mortal Shell II. You need diverse stats, and you need them before the game’s brutal difficulty spike hits you like a truck.
Editor’s Note: During my first hands-on preview of Mortal Shell II’s expansive world, I wasted three hours trying to brute-force a tough mini-boss with the starting shell. It wasn’t until I ignored the “intended” path and sprinted past the horrors to claim a high-stamina shell that the combat finally clicked. This guide bypasses the suffering and takes you straight to the power.
TL;DR: The Short Answer
To unlock all shells early in Mortal Shell II, you must leverage the game’s open-ended hub area design and prioritize exploration over combat. Here is the absolute fastest sequence to acquire the core shells immediately after finishing the tutorial:
- The Balanced Shell (Vanguard): Found automatically along the main path right after the tutorial boss.
- The Rogue Shell (High Stamina/Low Health): Sprint directly to the Obsidian Outskirts entrance; loot it from the crypt near the first major shortcut door.
- The Tank Shell (High Health/Low Stamina): Navigate the toxic bogs of the Festering Swamp. It is guarded by a large dual-wielding elite enemy; kite the enemy away and grab the shell from the central altar.
- The Scholar Shell (Resolve/Ability Focused): Hidden in the Sanctum of the Devout. You must drop down a concealed ledge near the large bells to find the secret cave containing this shell.
Table of Contents
- TL;DR: The Short Answer
- Understanding the Body-Swapping Mechanic in Mortal Shell II
- Preparation: Surviving the Early Sprints
- Step-by-Step Routes to Unlock All Shells Early
- Resource Management: Upgrading Your New Shells
- Skip the Grind: Unlock Everything with XMODhub
- Shell Stats Comparison & Optimal Weapon Pairings
- Frequently Asked Questions
- Final Verdict: Adapting to Survive
Understanding the Body-Swapping Mechanic in Mortal Shell II
Before executing these early-game suicide sprints, it is crucial to understand why unlocking shells early in Mortal Shell II changes everything. Building upon the dark fantasy and exploration of its predecessor, this highly anticipated sequel (releasing August 20, 2026) doubles down on the body-swapping mechanic.
In Mortal Shell II, you do not level up traditional stats like Strength or Dexterity for your base form. Instead, your stats are entirely tied to the fallen warriors (the “shells”) you possess. Each shell serves as a distinct class:
- Durability (Health): How much punishment you can take before being knocked out of the shell.
- Stamina: Dictates how many attacks, dodges, and hardens you can perform.
- Resolve: Used for parrying, weapon abilities, and special shell-specific ultimate attacks.
If you stick with the first shell you find, you are artificially limiting your combat options. By unlocking all shells early, you can freely swap between them at the hub world crypts to tackle specific bosses—using a high-stamina build for fast enemies or a tank build for heavy hitters.
Preparation: Surviving the Early Sprints
You cannot just casually stroll into late-game zones to grab these shells. You need a specific mindset. The moment you enter the main hub area connecting the three distinct zones, strip away any desire to fight.
- Master the Harden Mechanic Early: You can harden your body mid-sprint to absorb a single blow. Use this to bypass narrow corridors blocked by aggressive mobs.
- Stockpile Healing Items: Gather every consumable mushroom you see. You will take chip damage while running.
- Drop Aggro: Enemies in Mortal Shell II will chase you for a long time, but their pathing eventually breaks if you break line of sight around complex architecture or drop off ledges.
Step-by-Step Routes to Unlock All Shells Early
Route 1: The Vanguard (The Balanced Approach)
This is the easiest shell to acquire and serves as your baseline. It offers moderate health, stamina, and resolve.
How to get it:
After you awaken in the central hub area following the tutorial, follow the prominent stone path leading towards the giant collapsed statue. Directly beneath the statue’s resting hand lies the Vanguard shell. You cannot miss it. This shell is perfect for learning enemy attack patterns, as it is forgiving enough to absorb a few hits while providing enough stamina to retreat safely.
Route 2: The Rogue (The Agility Master)
If you prefer a Bloodborne-style, aggressive approach where you dodge relentlessly and land flurries of attacks, the Rogue shell is mandatory. It boasts massive stamina but very low health.
How to get it:
- From the hub area, look for the pathway illuminated by dim, greenish torches—this leads to the Obsidian Outskirts.
- Sprint past the initial group of patrolling zealots. Do not engage; they have high poise and will stagger you.
- You will reach a large courtyard with a locked shortcut door on your right.
- Instead of going left towards the main path, look for a small, half-buried crypt entrance next to the shortcut door.
- Quickly crawl inside. There is a single ambush enemy waiting to drop from the ceiling. Harden to absorb its attack, roll past it, and interact with the fallen warrior to claim the Rogue shell.
Route 3: The Tank (The Unstoppable Juggernaut)
For players who struggle with dodging and prefer to trade blows, the Tank shell offers an astronomical health pool, allowing you to survive devastating combos that would instantly kill the Rogue. The trade-off is pitiful stamina.
How to get it:
- Head towards the Festering Swamp, the swampy area connecting the distinct zones. This area is notorious for its hazardous terrain and slow movement.
- Stick strictly to the right-hand wall to avoid the deep toxic bogs.
- You will eventually hear the heavy footsteps of a massive, dual-wielding elite enemy guarding a central stone altar.
- Do not fight this enemy. It can kill you in two hits this early in the game.
- Kite the elite away from the altar by throwing a consumable or letting it spot you. Lead it around a large tree structure.
- Once it is far enough away, sprint back to the altar. Grab the Tank shell and immediately harden to survive the inevitable counter-attack as the animation finishes.
Route 4: The Scholar (The Resolve Specialist)
The Scholar is arguably the most complex shell to use early on. It has average health and low stamina, but its Resolve generation is incredible. This shell is for players who have mastered the parry system and want to spam high-damage weapon abilities constantly.
How to get it:
- Locate the entrance to the Sanctum of the Devout, marked by massive brass bells and devout followers.
- Proceed through the first two rooms, sprinting past the acolytes.
- You will reach an open cliffside area where a large bell hangs precariously over the edge.
- Walk to the ledge behind the bell and look down. You will see a small, obscured platform jutting out from the cliff face.
- Carefully drop down onto this platform. You will take a small amount of fall damage, so ensure your health is topped up.
- Follow the narrow cave tunnel leading inward to discover the hidden resting place of the Scholar shell.
Resource Management: Upgrading Your New Shells
Unlocking the shells is only half the battle. Each shell has its own unique skill tree that requires Tar (the main currency) and Glimpses (rare upgrade materials dropped by enemies and bosses) to unlock passives and abilities.
Because you rushed to get these shells, you are likely severely under-leveled in terms of unlocked abilities. If you happen to die during these dangerous sprints or while grinding for early upgrades, the penalty can be harsh. Knowing How to Recover Lost Tar & Resources in Mortal Shell 2 is absolutely vital to ensure that your risky exploration actually pays off and you don’t lose hours of farming progress trying to upgrade your newly acquired roster of shells.
Skip the Grind: Unlock Everything with XMODhub
Let’s be honest: Mortal Shell II is a beautifully dark but punishingly difficult game. The swampy areas can be a chore to navigate, enemies will frequently trap you in lock-on animations, and attempting low-level suicide runs to unlock all shells early in Mortal Shell II often results in frustrating deaths and lost Tar. If you want to bypass the repetitive corpse runs and just enjoy the atmospheric world and diverse combat styles immediately, XMODhub is your ultimate shortcut.
Instead of spending two hours sprinting through toxic bogs, you can unlock every shell instantly and max out their skill trees without grinding.
How to dominate Mortal Shell II with XMODhub:
- Download XMODhub: Install the secure, lightweight client on your PC.

- Auto-Detect Mortal Shell II: Launch the game, and XMODhub will seamlessly hook into the process.
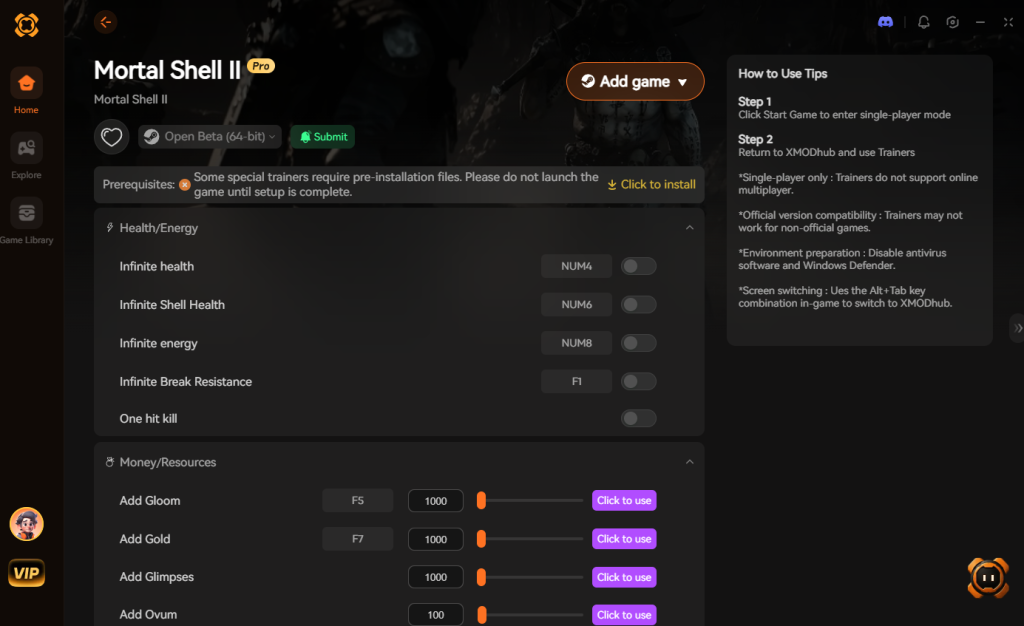
- Toggle Cheats: Activate “Instant Shell Unlock,” “Infinite Stamina,” or “Add 100,000 Tar” with a single hotkey and play the game exactly how you want.
Download Mortal Shell II Trainer Now
Shell Stats Comparison & Optimal Weapon Pairings
Once you successfully unlock all shells early in Mortal Shell 2, your next strategic move is pairing them with the correct armaments. A shell’s base stats dictate which weapons will shine and which will leave you defenseless. Refer to the data matrix below to optimize your early-game loadouts.
| Shell Class | Base Durability | Base Stamina | Base Resolve | Optimal Early Weapon |
|---|---|---|---|---|
| The Vanguard | 5/10 | 5/10 | 5/10 | Hallowed Sword (Balanced swings and reliable parry windows) |
| The Rogue | 3/10 | 10/10 | 3/10 | Hammer and Chisel (Requires massive stamina for rapid stunlocks) |
| The Tank | 10/10 | 3/10 | 3/10 | Smoldering Mace (High hyper-armor synergizes with massive health pools) |
| The Scholar | 4/10 | 4/10 | 10/10 | Martyr’s Blade (Capitalizes on high resolve for devastating weapon arts) |
Crucial Items to Loot During Your Shell Runs
While you are dodging death to expand your roster, keep an eye out for essential upgrade materials scattered along these exact same routes. Specifically, look for Quenching Acid (used to permanently upgrade weapon damage) and Mortal Tokens (which grant temporary buffs to your Harden mechanic). Snatching these up while grabbing your shells will save you from having to backtrack through dangerous territory later.
Frequently Asked Questions
Can I switch shells anywhere in the world?
No. To swap between the shells you have unlocked, you must return to the crypts located in the central hub area. Later in the game, you may unlock consumable items that allow temporary field swapping, but initially, you must retreat to the hub.
Which shell is the absolute best for beginners?
The Vanguard (Balanced) shell is generally recommended for learning the game. However, if you are familiar with the fast-paced dodging mechanics of other action RPGs, grabbing the Rogue shell early will make the combat feel much more fluid.
Do weapon upgrades carry over between shells?
Yes. Unlike shell abilities, weapon upgrades (using Quenching Acid) are applied directly to the weapon itself. You can fully upgrade a massive greatsword and hand it to your Rogue shell for a devastating, high-stamina glass cannon build.
What happens if I die while trying to get a new shell?
If you die in Mortal Shell II, you are knocked out of your shell. You have one chance to run back to your shell and re-enter it to reclaim your life. If you die outside your shell, you will respawn at the last checkpoint and lose your collected Tar.
Final Verdict: Adapting to Survive
Knowing how to unlock all shells early in Mortal Shell II completely changes the trajectory of your playthrough. Instead of being pigeonholed into a playstyle that doesn’t suit you, acquiring the Vanguard, Rogue, Tank, and Scholar shells immediately allows you to experiment with deep action-RPG mechanics right from the start. Survival in this shattered world demands superior awareness, precision, and the right body for the right boss.
However, if the unforgiving nature of the dark fantasy setting becomes too much of a barrier, remember that you don’t have to suffer. XMODhub provides the ultimate safety net, allowing you to bypass the artificial grind. With an ecosystem supporting over 5,000+ single-player PC games—including other punishing titles like Elden Ring, Lies of P, and Dark Souls 3—XMODhub ensures that your gaming time is spent enjoying the adventure, not raging at the load screen.
Stop Grinding, Start Enjoying.
Bypass the tedious resource gathering and unlock your full potential instantly.

I am a passionate gamer and writer at XMODhub, dedicated to bringing you the latest gaming news, tips, and insights.
Connect with me:
LinkedIn Profile ↗