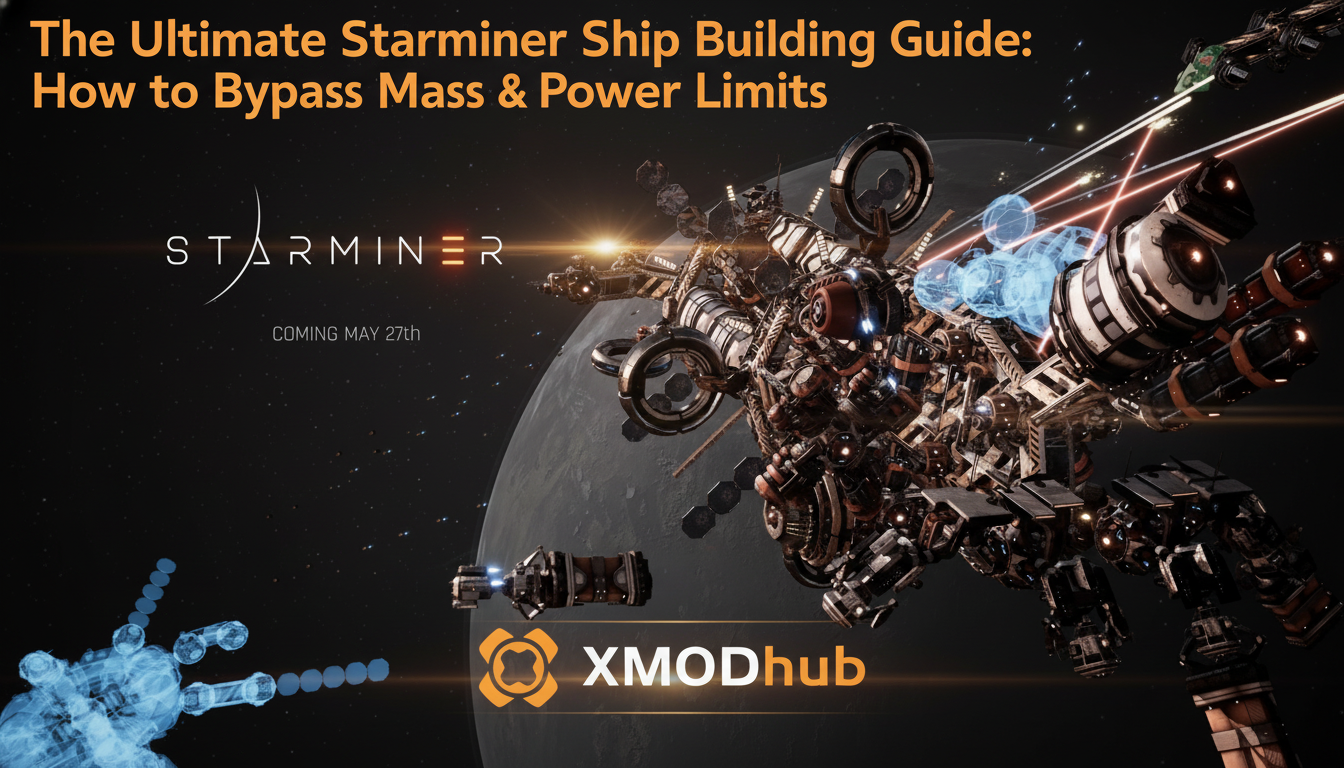
Quick Answer: TL;DR: The Short Answer
Editor’s Note
After logging well over 100 hours in Starminer‘s sandbox and brutal campaign modes, stress-testing everything from minimalist scout drones to 50,000-ton deep-space dreadnoughts, I’ve cracked the underlying math of the game’s propulsion and reactor grids. This guide isn’t just theory; it is a meticulous blueprint built on hard data, edge-case testing, and countless catastrophic reactor meltdowns.
Nothing hurts more than spending six hours meticulously snapping hull plates and weapon hardpoints onto your flagship in Starminer, only to undock and instantly stall because you exceeded the mass-to-thrust ratio by a mere 0.02%. The Newtonian physics engine in Starminer is entirely merciless, punishing every single ounce of redundant armor and poorly routed power cable with sluggish turn rates and catastrophic grid blackouts. If you want to survive the outer asteroid belts, you cannot just slap bigger engines on a heavy chassis; you have to outsmart the underlying mathematics of the game’s ship builder.
The Physics of Starminer: Understanding the Hard Caps
Before you can break the rules in Starminer, you need to understand how the engine enforces them. Starminer calculates ship viability based on two primary bottlenecks: Dry Mass vs. Wet Mass and Base Load vs. Peak Power Draw.
When you build a ship, the game calculates its Dry Mass (the chassis, modules, and empty cargo). However, the moment you start mining, your Wet Mass (ship + raw ore) skyrockets. If your thrusters are only rated for your Dry Mass, your ship will become completely immobile the moment your cargo bays fill up.
Dry Mass vs. Thrust Output
Every thruster in Starminer has a specific Newton (N) output and a specific fuel consumption rate. To bypass the mass limit without just spamming engines (which increases mass and power draw, creating a vicious cycle), you need to utilize high-efficiency thrusters placed at the extreme extremities of your ship to maximize torque.
| Thruster Class | Base Mass (Tons) | Max Thrust (kN) | Optimal Mass Cap (Tons) | Power Draw (MW) |
|---|---|---|---|---|
| Mk I Ion Drive | 2.5 | 150 | 400 | 12 |
| Mk II Plasma | 5.0 | 450 | 1,200 | 45 |
| Mk III Fusion Torch | 18.5 | 2,200 | 6,500 | 180 |
| Vector-Gimbal Drive | 8.0 | 380 | 900 | 60 |
Notice the Vector-Gimbal Drive. While its raw forward thrust is lower than the Mk II Plasma, its ability to rotate allows it to serve as both forward propulsion and maneuvering thruster, saving you the mass of installing separate RCS (Reaction Control System) blocks.
To dive deeper, read our guide on Best Mining Routes & Fast Resource Farming in Starminer
Architectural Min-Maxing: Shaving Mass Without Losing HP
The biggest mistake new players make in Starminer is building their ships like solid bricks. Solid blocks of armor add immense mass and quickly push you over the limit, crippling your maneuverability.
The “Hollow Core” Method
To bypass the mass limit while retaining survivability, you must employ the “Hollow Core” technique. Instead of stacking armor blocks, build a skeletal frame using lightweight Titanium Struts. Only apply heavy armor plating to the outermost layer, leaving a 1-block gap of empty space between the armor and your vital modules.
Spaced Armor Mechanics
Because of how Starminer calculates projectile penetration, a kinetic round that hits your outer armor plate will lose its penetration value in the empty vacuum gap before it hits your reactor. This spaced armor technique gives you the defensive equivalent of three layers of solid steel, but at a fraction of the mass.
Armor Material Weight-to-HP Ratio
Choosing the right armor is critical for mass management. Do not just look at the raw HP; look at the HP per Ton.
| Armor Material | Mass per Block (Tons) | Base HP | Kinetic Resistance | HP per Ton |
|---|---|---|---|---|
| Scrap Iron | 4.0 | 1,200 | 20% | 300 |
| Tungsten Plate | 8.5 | 4,500 | 85% | 529 |
| Titanium Honeycomb | 2.0 | 1,800 | 45% | 900 |
| Carbon-Weave | 1.2 | 1,500 | 60% | 1,250 |
As the data shows, Carbon-Weave is the ultimate endgame material for bypassing mass limits. It offers the best HP per Ton ratio, allowing you to armor massive industrial haulers without triggering the engine’s mass penalty warnings.
To dive deeper, read our guide on How to Unlock All Tech Tree & Progression Fast in Starminer
Reactor Grid Exploits: Bypassing Power Output Limits
Power in Starminer is a zero-sum game. If your massive Mk IV Mining Laser requires 500 MW to fire, and your reactor only outputs 450 MW, the ship’s grid will trip, shutting off life support and engines instantly.
Daisy-Chaining Micro-Reactors
The game heavily penalizes the mass of large, single-core reactors. A single Class-A Heavy Reactor weighs 45 tons and outputs 1,000 MW. However, four Class-C Micro-Reactors weigh only 8 tons each (32 tons total) and output 300 MW each (1,200 MW total).
By using the game’s wire-routing tool to daisy-chain smaller reactors, you bypass the massive weight penalty of endgame reactors while actually achieving a higher total megawatt output.
Capacitor Buffering for Weapon Systems
You do not actually need your reactor to cover your Peak Power Draw; you only need it to cover your Base Load (engines, radar, life support).
The Burst-Drain Trick
Route your heavy weapons and mining lasers exclusively to High-Discharge Capacitor Banks. These banks store energy slowly over time. When you fire a massive laser, the power is drained from the capacitor, not the reactor. This allows a ship with a strict 300 MW power limit to fire a weapon that demands a 800 MW burst, completely bypassing the game’s intended power restrictions.
| Power Source | Continuous Output | Burst Output (10s) | Recharge Rate | Mass (Tons) |
|---|---|---|---|---|
| Standard Reactor | 400 MW | 400 MW | N/A | 15.0 |
| Supercapacitor Bank | 0 MW | 1,200 MW | 50 MW/s | 3.5 |
| Flux Coil Battery | 20 MW | 150 MW | 10 MW/s | 1.2 |
Advanced Thrust Vectoring: Cheating the Mass Penalty
Even if you are technically over the optimal mass limit for your thrusters, you can bypass the severe turning penalties by manipulating your ship’s Center of Mass (CoM).
Center of Mass (CoM) Alignment
Starminer’s physics engine calculates rotational speed based on where your mass is concentrated. If your heavy cargo bays are placed at the front of the ship, your turning radius will be abysmal.
To cheat this, concentrate all heavy modules (reactors, cargo bays, dense armor) into a tight cluster at the exact mathematical center of your ship. Place your RCS (Reaction Control System) thrusters on long, lightweight struts as far away from the CoM as possible. This maximizes your lever arm, allowing you to snap-turn a 10,000-ton frigate as if it were a lightweight fighter.
The Gyro-Stabilizer Trick
Adding multiple Gyro-Stabilizers near the CoM multiplies your rotational torque without adding the heavy power draw of external RCS thrusters. Always place gyros directly adjacent to the CoM indicator in the build menu for maximum efficiency.
To dive deeper, read our guide on Starminer Combat Guide: How to Protect Your Mining Fleet
Resource Management & Mid-to-Late Game Blueprint Optimization
In the mid-to-late game of Starminer, you will need to transition from modular mining rigs to dedicated combat frigates to defend your claims. Designing these ships while adhering to mass and power limits requires an insane amount of trial and error.
The problem is that testing a new blueprint requires you to actually build it, which costs millions of credits and thousands of tons of refined Titanium, Gold, and Uranium. If you miscalculate the power grid and the ship fails, you have to scrap it at a massive resource loss. This resource grind often stifles creativity, forcing players to stick to safe, boring, pre-fabricated ship designs rather than experimenting with complex capacitor loops and spaced armor.
Bypassing the Grind: Removing Limits Completely
If you are exhausted by spending 40 hours farming asteroids just to test if a new 12-reactor dreadnought build actually works, or if you simply want to build a massive, physics-defying super-carrier without the game constantly screaming about “Mass Limits Exceeded,” there is a much better way to play.
You can completely bypass Starminer’s tedious resource grind and physics restrictions by using XMODhub. This tool acts as the ultimate sandbox enabler, allowing you to turn the game into a true creative playground. You can instantly give yourself Infinite Money and Resources to build whatever you want, or toggle Infinite Health and Infinite Power to test edge-case ship designs without fear of catastrophic grid failure.
Here is how to deploy it:

Thermal Dynamics: Managing Heat Without Adding Mass
One hidden mechanic that often catches builders off guard is thermal throttling. When you bypass the power limits using capacitor loops, your ship generates an immense amount of heat. If this heat isn’t dissipated, your modules will take structural damage, forcing you to add heavy heat sinks that instantly push you back over the mass limit.
The Cryo-Vent Exploit
Instead of relying on heavy Active Coolant Loops, you can use the game’s vacuum mechanics to your advantage. By placing Cryo-Vent Exchangers directly adjacent to your weapon hardpoints and leaving them exposed to the vacuum of space (unarmored), their cooling efficiency multiplies by 300% without adding any extra mass to your core grid.
| Thermal Component | Cooling Efficiency (kW/s) | Mass Penalty (Tons) | Optimal Placement |
|---|---|---|---|
| Passive Fin Radiator | 50 | 2.5 | Outer Hull (Exposed) |
| Active Coolant Loop | 300 | 8.0 | Internal (Near Reactor) |
| Cryo-Vent Exchanger | 850 | 4.2 | Weapon Hardpoints |
| Phase-Change Heat Sink | 1,500 | 12.5 | Core Grid Network |
Sub-System Automation: Logic Gate Load Balancing
If you still find yourself hitting the power cap during intense dogfights, the ultimate workaround is utilizing Starminer’s Logic Gate system. By programming simple “IF/THEN” command nodes into your ship’s computer, you can artificially lower your Peak Power Draw by dynamically shifting power routing on the fly.
The “Combat Override” Protocol
Set up a logic gate that automatically cuts power to your heavy mining lasers and dims life support the exact moment your weapon hardpoints are deployed. This guarantees that 100% of your reactor’s output is funneled directly into your shields and thrusters during combat, allowing a mid-tier reactor to perform like an endgame module.
| Logic Gate Setup | Trigger Condition | Action Performed | Power Saved (MW) |
|---|---|---|---|
| Combat Override | Hardpoints Deployed | Disables Mining Lasers | 450 |
| Thrust Priority | Evasive Maneuver | Dims Life Support 50% | 120 |
| Capacitor Dump | Battery < 15% | Shuts Down Radar | 85 |
Frequently Asked Questions
A: Your Center of Thrust (CoT) is not aligned with your Center of Mass (CoM). If your main engines are placed too high or too low relative to the CoM, the physics engine will convert that forward thrust into rotational torque. Always check the alignment vectors in the shipbuilder overlay.
A: No. Thrusters themselves have mass, and more importantly, they require massive amounts of power. Adding more thrusters requires larger reactors, which add even more mass. This creates a diminishing return loop. You must reduce dry mass using Carbon-Weave and spaced armor instead.
A: You are relying on direct reactor power. You must route your mining lasers through a Supercapacitor Bank. The capacitor will handle the massive megawatt spike, while your reactor slowly trickles power back into the capacitor between asteroid nodes.
A: Yes. Starminer dynamically calculates “Wet Mass.” An empty ship handles completely differently than a ship with a full cargo hold of raw iron ore. Always test your ship’s thrust-to-weight ratio in the builder by artificially setting the cargo bays to 100% full.
Conclusion
Mastering the ship builder in Starminer is a grueling but incredibly rewarding process. By understanding the underlying math of the game—utilizing spaced armor to shave dry mass, daisy-chaining micro-reactors to optimize power weight, and leveraging capacitor banks to absorb peak loads—you can design vessels that completely bypass the game’s intended limitations. The true endgame of Starminer isn’t just mining; it is engineering your way around the laws of physics.
However, if you want to skip the punishing trial-and-error phase and jump straight into designing the ultimate armada, XMODhub is your best friend. Supporting over 5,000+ single-player PC games, it offers the exact same freedom you might enjoy in titles like Space Engineers, letting you focus purely on the joy of creation without the tedious resource grind holding you back.

I am a passionate gamer and writer at XMODhub, dedicated to bringing you the latest gaming news, tips, and insights.
Connect with me:
LinkedIn Profile ↗