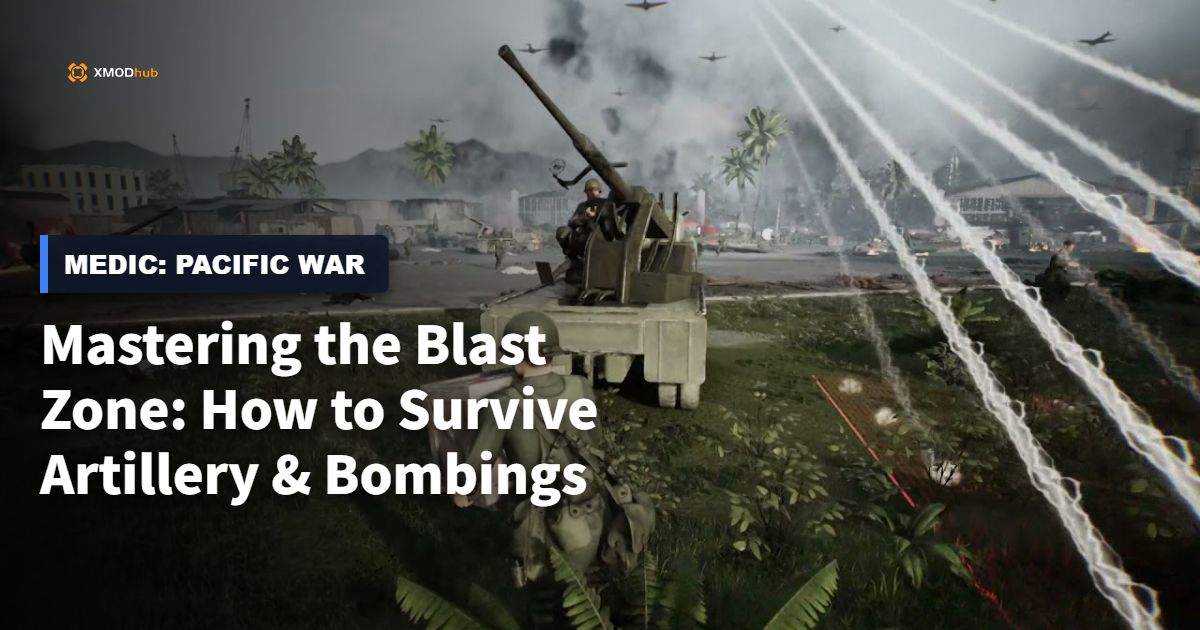
Picture this: You are thirty minutes into a grueling, high-stakes mission in Medic: Pacific War. The skies above the Pacific Front are choked with black smoke, and the deafening roar of naval gunfire echoes in the distance. You have just crawled through fifty yards of mud and barbed wire to reach a squad of critically wounded soldiers pinned down in a shallow trench. You pull out your medical kit, successfully stabilize the first two men, and begin the delicate process of applying a tourniquet to the squad leader. Suddenly, the unmistakable, high-pitched whistle of an incoming mortar shell pierces through the chaos. Before you can even cancel your healing animation or drag the squad leader to safety, the ground erupts. Your screen shakes violently, shrapnel shreds through the air, and your entire squad—along with your hard-earned progress—is instantly wiped out. If you have spent any time playing Medic: Pacific War, this devastating scenario is likely all too familiar. Learning how to survive artillery and bombings in Medic: Pacific War is not just a secondary skill; it is the absolute core of the gameplay loop that separates a rookie corpsman from a veteran lifesaver.
Editor’s Note:
“During my first 50 hours of testing Medic: Pacific War on the hardest difficulty, artillery strikes accounted for 80% of my mission failures. The game’s Unreal Engine 5 physics mean that explosions aren’t just generic area-of-effect circles; they generate physical shrapnel and dynamically destroy cover. You cannot just ‘out-heal’ a bombing run. You have to outsmart it by understanding audio triangulation, animation-canceling, and the game’s brutal stamina economy.”
Quick Answer: Surriving Artillery & Bombings
Mechanics Deep Dive: Understanding the Problem
When players search for how to survive artillery and bombings in Medic: Pacific War, they often misunderstand how the game calculates explosive damage. Because Medic: Pacific War is built on Unreal Engine 5, it discards the outdated “red-zone circle” mechanics seen in older arcade shooters. Instead, it relies on a brutal combination of dynamic terrain deformation, physical shrapnel raycasting, and severe suppression penalties. To survive, we must first dissect the three most fatal mistakes players make when the shells start falling.
The Fatal Flaw of “Hero Syndrome” and Animation Locks
The most common reason players die to bombings in Medic: Pacific War is what the community calls “Hero Syndrome.” You hear a soldier screaming for a medic in the middle of a bombed-out airstrip, and your first instinct is to sprint directly to them and start packing their wounds. However, Medic: Pacific War enforces strict animation commitments. Applying morphine might take two seconds, but packing a deep chest wound can lock you into an eight-second animation. If an artillery barrage begins while you are locked in this animation, you are a sitting duck. Players often fail to realize that canceling an animation takes a full second of in-game time as your character stows their medical supplies. By the time you regain control of your movement, the shell has already detonated.
Misjudging the Integrity of Soft Cover vs. Hard Cover
Another massive pain point is the fundamental misunderstanding of the game’s cover mechanics. In Medic: Pacific War, not all cover is created equal. Hiding behind a wooden supply crate, a thin palm tree, or a canvas tent will not save you from a direct mortar strike or heavy artillery. The game’s engine calculates the penetration value of shrapnel. When a bomb detonates, it sends out hundreds of physical projectiles. If you are hiding behind soft cover, the blast wave will shatter the object, and the shrapnel will punch right through it, killing you and your patient instantly. Many players die because they drag a wounded soldier behind a wooden cart, thinking they are safe from the impending bombing run, only to have the cart splinter into lethal projectiles.
The Stamina Drain and the “Death Crawl”
Surviving artillery in Medic: Pacific War is deeply tied to your stamina management. When a bombing run starts, your character suffers from the “Suppression Effect.” Your screen blurs, your hearing becomes muffled, and most importantly, your stamina regeneration plummets. If you attempt to drag a heavily geared, 200-pound wounded soldier while suppressed, your stamina bar will instantly deplete. Once your stamina hits zero, your character enters an exhausted state, forcing you to drop the patient and walk at a painfully slow pace. Players frequently panic during a bombardment, grab a body, sprint for three meters, run out of breath, and get blown to pieces because they are stuck in the open moving at a snail’s pace. Understanding the weight of your patients and the suppression penalty is critical to surviving these encounters.
Best Alternative Methods and Advanced Tips
Before diving into complex battlefield maneuvers, it is highly recommended that you prepare your character’s progression tree properly, as having the right passive abilities can mean the difference between life and death. You can learn exactly how to set up your progression by checking out our comprehensive guide on the Medic: Pacific War: Best Skills & Upgrades to Unlock First. Once your foundational skills are set, you can implement these high-level survival tactics.
The Ultimate QoL Solution: Bypassing the Grind with XMODhub
Let’s be brutally honest: while mastering the mechanics of how to survive artillery and bombings in Medic: Pacific War is rewarding, it can also be incredibly frustrating. The game’s commitment to realism means that a single bad RNG roll on a shrapnel trajectory can instantly ruin a 45-minute rescue operation. If you are tired of losing your hard-earned progress because a random mortar shell clipped your toe while you were locked in a healing animation, it is time to take control of the battlefield with XMODhub.
XMODhub provides the ultimate Quality of Life (QoL) enhancements tailored specifically for the grueling mechanics of Medic: Pacific War. With our dedicated trainer, you can enable Blast Immunity (God Mode), ensuring that random artillery shrapnel never interrupts your heroic rescues again. Struggling with the brutal suppression mechanics? Toggle Infinite Stamina, allowing you to sprint and drag heavily wounded soldiers across the entire map without ever breaking a sweat. You can even activate Instant Triage, bypassing the lengthy 8-second animation locks so you can heal soldiers instantly on the move.
Follow these 3 simple steps to fix this instantly:

Optimal Cover & Equipment Loadout for Artillery Zones
Surviving an artillery barrage isn’t just about maneuvering; it is about intimately understanding the materials around you and having the right triage tools prepared for the immediate aftermath. Because of the game’s advanced Unreal Engine 5 physics, players must quickly evaluate their environment to determine if a piece of cover will save their lives or turn into deadly secondary projectiles.
Shrapnel Resistance: Cover Material Tier List
Not all cover in the Pacific theater provides the same ballistic protection. The following matrix details exactly how different materials react to blast waves and high-velocity shrapnel in-game.
| Cover Type / Material | Shrapnel Resistance Level | Durability Under Blast | Optimal Rescue Scenario |
|---|---|---|---|
| Concrete Bunkers / Caves | High (Complete blocking) | High (Requires direct heavy naval fire to breach) | Safest zone for completing lengthy, 8-second surgical animations. |
| Fresh Artillery Craters | Moderate (Blocks horizontal fragments) | Infinite (Persistent terrain deformation) | Emergency defilade when caught sprinting in open fields. |
| Sandbag Walls / Foxholes | Moderate (Absorbs basic mortar shrapnel) | Medium (Degrades visibly with every nearby hit) | Temporary stabilization point before dragging a patient further back. |
| Wooden Crates / Tents | Low (Zero ballistic penetration resistance) | Low (Instantly shatters into lethal wood splinters) | Fatal. Avoid completely when TTI audio cues begin. |
Essential Medical Kit for Blast Injuries When the shelling finally pauses, you will be met with a very specific subset of severe injuries. Standard gunshot wound protocols are too slow. To optimize your rescue speed before the next mortar wave hits, ensure your medic bag is heavily stocked with Tourniquets (TQ) and Hemostatic Dressings. Shrapnel causes severe arterial bleeding that drains a soldier’s health pool in mere seconds. Prioritize applying a TQ to stop the hemorrhage instantly. Do not waste time cleaning the wound in the blast zone. Drag the patient to the high-tier concrete cover detailed above, and only then begin the slower, animation-heavy process of extracting the shrapnel and packing the cavity.
Frequently Asked Questions
A: Yes, absolutely. Medic: Pacific War simulates physical shrapnel rather than just a flat damage radius. Going prone significantly reduces your character’s vertical hitbox, allowing the majority of the horizontal shrapnel to fly over your body. However, if the shell lands directly on top of you, going prone will not save you from the blast wave itself.
A: Yes. The UE5 engine allows for dynamic terrain destruction. While deep trenches provide excellent cover initially, sustained heavy artillery bombardments can collapse the trench walls and fill them with dirt, eventually exposing you to enemy fire and subsequent blasts. Always have a secondary fallback position in mind.
A: Pay attention to the visual cues on the battlefield. If you see red or green smoke grenades landing near your position, an enemy spotter has marked your area for a targeted mortar strike. Ambient artillery usually lands in the distant background and has a much lower audio volume. If you see colored smoke, evacuate the immediate area instantly.
A: Yes. The game utilizes line-of-sight mechanics for enemy AI. If you throw a smoke grenade before running out to grab a wounded soldier, enemy spotters will not be able to relay your exact coordinates to their mortar teams, significantly reducing the accuracy and frequency of incoming shells in your immediate vicinity.
Final Verdict
Surviving the relentless bombardments in Medic: Pacific War requires a fundamental shift in how you approach the game. You cannot play it like a traditional run-and-gun shooter. You must think like a real combat medic: prioritizing situational awareness, respecting the physics of hard cover, and managing your stamina meticulously. By utilizing dynamic craters, mastering the triage-and-drag technique, and learning to read the audio cues of incoming fire, you will drastically increase your survival rate and successfully bring your brothers-in-arms home.
However, for players who want to focus purely on the immersive medical gameplay without the punishing RNG of sudden explosive deaths, XMODhub offers the perfect bridge. Joining a massive ecosystem that supports over 5,000+ PC games—including War Hospital and Hearts of Iron Ⅳ—XMODhub empowers you to tailor the difficulty exactly to your liking. Why let a random mortar shell ruin your perfect rescue run?

I am a passionate gamer and writer at XMODhub, dedicated to bringing you the latest gaming news, tips, and insights.
Connect with me:
LinkedIn Profile ↗