I once lost a 3-hour Deep Rock Galactic: Rogue Core run, deep into Corruption Tier V, because I stubbornly stuck to an outdated build that simply couldn’t scale. The sheer frustration of seeing all that progress vanish into the void of Hoxxes IV taught me a brutal lesson: in Deep Rock Galactic: Rogue Core, adapting to the meta isn’t just an option; it’s survival. Forget what you knew from early access; the 2026 landscape is a beast of its own, demanding precision, synergy, and an almost clairvoyant understanding of its evolving mechanics.
📜 Editor’s Note
As a veteran with over 100 hours clocked in the Deep Rock Galactic universe, including extensive playtesting and theorycrafting in Deep Rock Galactic: Rogue Core since its earliest alphas, I’ve seen builds rise and fall, metas shift, and bugs become features. This guide isn’t just theoretical; it’s built on thousands of successful (and spectacularly failed) runs, deep dives into game files, and countless hours of community collaboration. My goal is to equip you with the knowledge to not just survive, but to dominate the toughest challenges Deep Rock Galactic: Rogue Core throws at you, leveraging the most potent builds and synergies the 2026 meta has to offer.
TL;DR: The Short Answer
For those eager to jump straight into the action, here’s a quick overview of the most dominant build archetypes and their core synergies in the current Deep Rock Galactic: Rogue Core 2026 meta:
| Dwarf Class | Primary Weapon Build Archetype | Key Secondary/Utility Synergy | Dominant Playstyle | Core Overclocks/Modules |
|---|---|---|---|---|
| Gunner | “Volatile Lead Storm” Minigun | “Burning Hell” Revolver / Shield Generator (Damage Mitigation) | Sustained Single-Target DPS & Chokepoint Defense | Lead Storm (Minigun), Elephant Rounds (Revolver), Shield Boost (Shield) |
| Driller | “Cryo Cannon Freeze-Lock” | “Sludge Pump” (Corrosion for damage amplification) / Satchel Charge (AoE Burst) | Mass Crowd Control & Elemental Combo DPS | Ice Storm (Cryo), Volatile Reaction (Sludge), High Explosive (Satchel) |
| Scout | “M1000 Focus Shot” Precision Rifle | “Boomstick” (Close-Range Burst) / Grappling Hook (Mobility & Escape) | High Mobility Weakpoint DPS & Objective Prioritization | Hipster (M1000), Special Powder (Boomstick), Momentum (Grappling Hook) |
| Engineer | “Plasma Burster” Grenade Launcher | “LOK-1 Smart Rifle” (Targeted DPS) / Sentry Turrets (Area Denial) | Area Denial, AoE Burst & Automatic Sustained Fire | Fat Boy (GL), Executioner (LOK-1), Gemini System (Turrets) |
1. Introduction to the 2026 Meta: What’s Changed in Deep Rock Galactic: Rogue Core?
The 2026 meta in Deep Rock Galactic: Rogue Core is a crucible forged by several significant patches, culminating in the “Echoes of the Abyss” update (Patch 1.3.7). This update didn’t just tweak numbers; it fundamentally shifted the viability of entire weapon categories, introduced new Corruption effects, and revamped the Artefact system, demanding a complete re-evaluation of established strategies. The core philosophy now leans heavily into elemental synergy, strategic mobility, and burst damage against high-health targets, while survivability has become less about raw health and more about controlled crowd management and positioning.
The Shifting Sands of Power: Patch 1.3.7 Analysis
Patch 1.3.7 was a game-changer. It addressed several long-standing issues with weapon scaling in higher Corruption tiers and introduced a new layer of complexity with “Reactive Corruption” modifiers. These modifiers can drastically alter enemy resistances or grant them new abilities mid-run, forcing players to diversify their damage types or risk being hard-countered. The days of one-trick pony builds are largely over; versatility and elemental combinations are paramount.
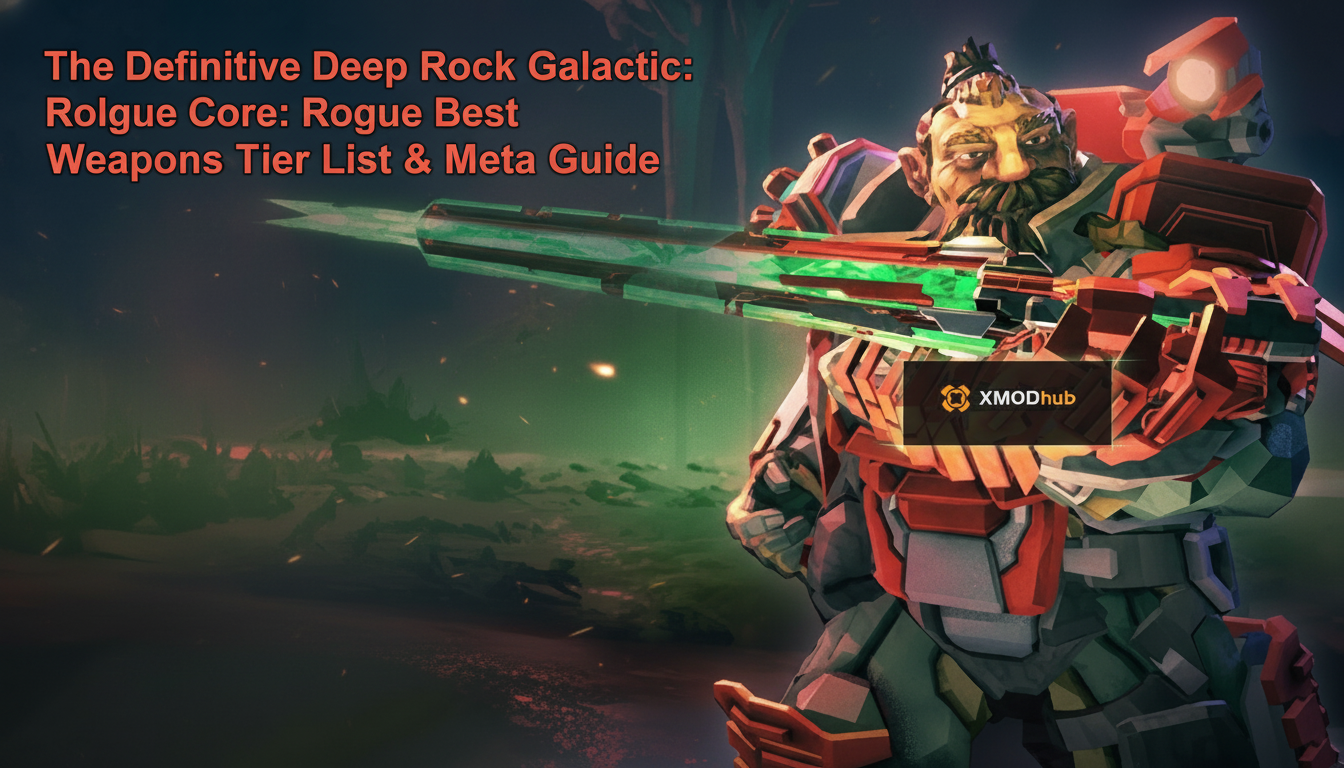
Weapon Balance Adjustments: Precision is Key
The most impactful changes came to weapon base damage and fire rate coefficients. For instance, the Gunner’s “Thunderhead” Autocannon received a significant buff to its area-of-effect damage, making it a viable alternative to the Minigun for swarm clear, especially with specific Overclocks. Conversely, some early-game staple secondaries, like the Scout’s “Jury-Rigged Boomstick,” saw a slight reduction in raw damage but gained new module options that enhance its utility, pushing it towards a more supportive role rather than pure burst.
Overclock Reworks & New Synergies: The True Game Changers
Overclocks received the most transformative changes. Several previously underperforming “Unstable” Overclocks were rebalanced to offer truly build-defining power, albeit with significant drawbacks. For example, the Driller’s “Volatile Reaction” for the Sludge Pump now applies a stacking corrosive debuff that amplifies all elemental damage by 15% per stack (max 3), turning the Sludge Pump into an essential setup tool for any elemental Driller build. New “Balanced” Overclocks also emerged, offering quality-of-life improvements or moderate damage boosts without the extreme penalties of their Unstable counterparts.
The meta now revolves around identifying these powerful Overclocks early in a run and building around them, rather than simply picking generic damage buffs. The interaction between weapon Overclocks and specific Artefact combinations is where the real power lies.
2. Deep Rock Galactic: Rogue Core Core Mechanics & Progression Deep Dive
Understanding the underlying mechanics of Deep Rock Galactic: Rogue Core is crucial for crafting truly optimized builds. It’s not just about what numbers go up; it’s about how systems interact, how progression scales, and where the hidden breakpoints lie. The game’s rogue-lite nature means every decision, from weapon choices to Artefact selections, has cascading effects on your run’s viability.
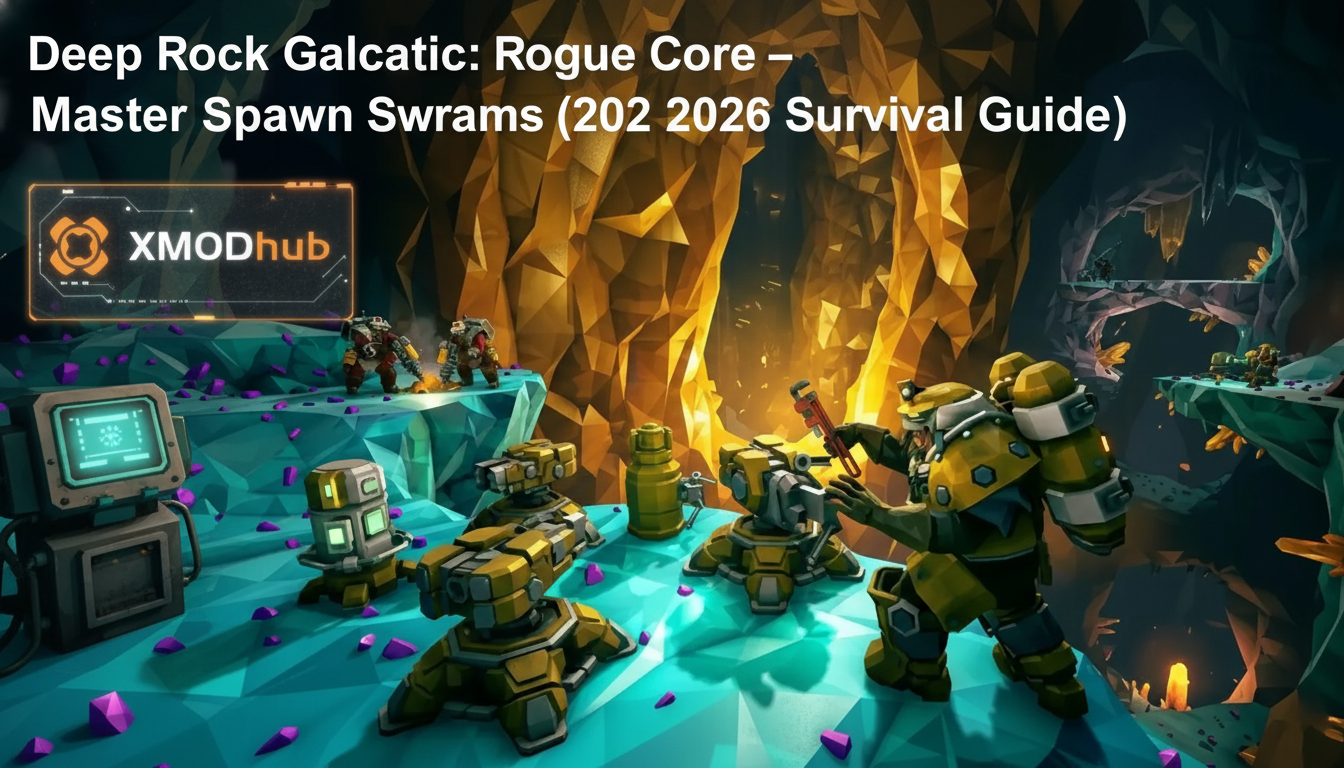
Understanding Corruption & Mutators: The Environmental Threat
Corruption in Deep Rock Galactic: Rogue Core isn’t just a difficulty slider; it’s an active, evolving threat. Each Corruption Tier introduces new enemy types, increased health/damage, and crucially, unique “Corruption Effects” that modify the environment or enemies. The 2026 meta heavily accounts for these effects, favoring builds that can adapt or mitigate their impact.
Mutators, selected at the start of a run, further complicate matters. A “Swarmageddon” mutator demands strong AoE, while “Lethal Enemies” prioritizes damage mitigation or burst elimination. Synergizing your build with the chosen mutators is often more important than raw power.
The Artefact System: Unlocking True Power
Artefacts are the backbone of any Deep Rock Galactic: Rogue Core build, providing passive bonuses that can drastically alter your dwarf’s capabilities. They come in various rarities (Common, Rare, Epic, Legendary) and types (Utility, Offensive, Defensive). The 2026 meta highlights the importance of “stacking” certain Artefact types for exponential gains, especially those that amplify elemental effects or provide critical utility.
Relic & Module Interaction Logic: Beyond the Surface
Relics are permanent, run-long buffs, while Modules are consumable, single-use upgrades applied to weapons or abilities. The key to mastering Deep Rock Galactic: Rogue Core is understanding how these three systems—Artefacts, Relics, and Modules—layer on top of each other. For example, a “Toxicologist’s Vial” Artefact (increases poison damage) combined with a “Corrosive Sludge” Relic (Sludge Pump deals extra corrosive damage) and a “Volatile Coating” Module (weapon applies a corrosive debuff) creates a devastating poison-corrosion synergy that melts even the toughest enemies.
| Artefact Rarity | Average Stat Increase (%) | Typical Effect Complexity | Strategic Value |
|---|---|---|---|
| Common | +5-10% | Simple stat boost (e.g., +Max Health) | Early run filler, foundational stats |
| Rare | +10-20% | Minor conditional effect (e.g., +Damage when Shield is full) | Mid-run synergy builder |
| Epic | +20-35% | Significant conditional effect or unique ability (e.g., On Crit: Explode) | Core build defining, high impact |
| Legendary | +35-50%+ | Game-altering effects, often with drawbacks (e.g., Infinite Ammo, but -50% Damage) | Run-defining, build-around-me items, often requiring specific counter-synergies |
The rarity of an Artefact isn’t always indicative of its utility. A well-placed Common Artefact that completes an elemental synergy can be more valuable than a Legendary one that doesn’t fit your build. Prioritize synergy over raw rarity, especially in Deep Rock Galactic: Rogue Core’s unpredictable environment.
To dive deeper, read our guide on DRG Rogue Core Ultimate Beginner’s Guide: Survive the Deep (2026)
3. S-Tier Builds & Synergies for Every Dwarf in Deep Rock Galactic: Rogue Core
The 2026 meta in Deep Rock Galactic: Rogue Core has solidified several S-tier builds for each dwarf, focusing on maximizing their unique strengths while mitigating weaknesses through intelligent synergy. These aren’t just collections of powerful items; they are cohesive strategies designed to dominate specific aspects of a run, whether it’s single-target damage, crowd control, or utility.
Gunner: The Unstoppable Force
The Gunner remains the quintessential front-line damage dealer, capable of shredding high-health targets and holding chokepoints. The 2026 meta emphasizes maximizing their sustained DPS and defensive capabilities.
“Volatile Lead Storm” DPS Build
This build revolves around the “Lead Storm” Minigun Overclock, which grants a massive damage boost while standing still. Paired with mobility-enhancing Artefacts, the Gunner becomes a stationary turret that can quickly reposition.
“Shield Guardian” Tank Build
While less focused on pure damage, this build turns the Gunner into an unkillable beacon of defense, crucial for high Corruption runs where mistakes are punished severely.
Driller: The Cavern’s Scourge
The Driller excels at area denial, crowd control, and devastating elemental damage combinations. The 2026 meta has heavily favored Cryo and Corrosive synergies for their incredible control and damage amplification.
“Cryo Cascade” Crowd Control Build
This build focuses on freezing everything, then shattering them or amplifying damage with other elemental effects.
“Flamethrower Annihilator” AoE Build
While Cryo is dominant, a well-executed Flamethrower build still provides incredible area denial and sustained damage, especially against swarms.
Scout: The Agile Pathfinder
The Scout is all about mobility, precision weakpoint damage, and critical utility. The 2026 meta reinforces the Scout’s role as a priority target eliminator and objective specialist.
“Grapple Assassin” Mobility & Burst Build
This build maximizes the Scout’s ability to zip around the environment, picking off high-value targets with surgical precision.
“Flare Support” Utility Build
While often overlooked, a utility-focused Scout can be invaluable in team play, providing unparalleled vision and crowd control.
Engineer: The Tactical Architect
The Engineer excels at area denial, defensive setups, and burst damage with their unique weaponry. The 2026 meta sees the Engineer as a versatile damage dealer and strategic placer of turrets.
“Turret Fortress” Defensive Build
This build maximizes the Engineer’s turret capabilities, turning any area into a killzone.
“Grenade Launcher Specialist” Offensive Build
For Engineers who prefer direct damage and massive AoE, this build focuses on the raw power of the Grenade Launcher.
| Dwarf Class | S-Tier Primary Weapon | S-Tier Secondary Weapon | Core Synergy Focus | Optimal Playstyle |
|---|---|---|---|---|
| Gunner | Minigun (Lead Storm) | Revolver (Elephant Rounds) | Stationary DPS & Burst | Chokepoint defense, boss damage |
| Driller | Cryo Cannon (Ice Storm) | Sludge Pump (Volatile Reaction) | Elemental CC & Damage Amp | Swarm control, high-value target debuff |
| Scout | M1000 (Hipster) | Boomstick (Special Powder) | Weakpoint Burst & Mobility | Elite elimination, objective completion |
| Engineer | LOK-1 (Executioner) | PGL (Fat Boy) | AoE Burst & Area Denial | Chokepoint hold, swarm clear, boss damage |
To dive deeper, read our guide on How to Farm Expenite Fast in DRG Rogue Core (Best Routes 2026)
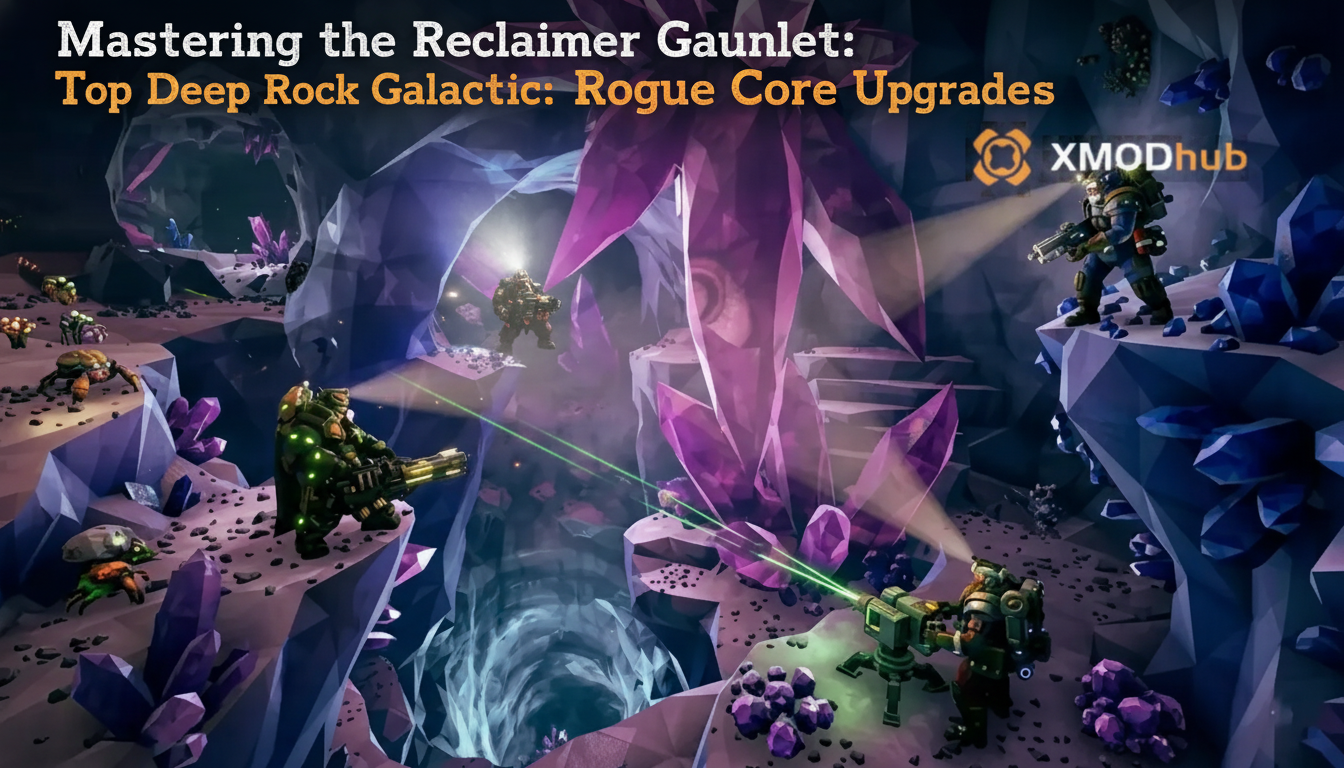
4. Advanced Resource Management & Optimal Upgrades in Deep Rock Galactic: Rogue Core
Beyond choosing the right build, effective resource management and intelligent upgrade prioritization are the hallmarks of a truly successful Deep Rock Galactic: Rogue Core run. The game’s economy is designed to be tight, forcing difficult choices and punishing waste. Knowing what to invest in, and when, can make or break your expedition.
Prioritizing Upgrades: Early vs. Late Game
The progression of upgrades in Deep Rock Galactic: Rogue Core is not linear. What’s optimal in the early stages of a run (Corruption Tiers I-II) often differs significantly from late-game priorities (Corruption Tiers IV-V+).
Mineral Economy & Refinement Strategies
Minerals are the lifeblood of Deep Rock Galactic: Rogue Core, used for purchasing upgrades, Artefacts, and health/ammo resupplies. Efficient mineral acquisition and spending are critical.
The Dreaded Resource Drought: How to Avoid It
One of the most common ways a Deep Rock Galactic: Rogue Core run ends prematurely is not due to combat, but a slow, agonizing death by resource starvation. You run out of ammo, can’t afford a health pack, and are overwhelmed. To avoid this:
Tired of the endless grind for rare minerals or the frustration of a run ending prematurely due to resource scarcity? We’ve all been there, staring at an empty ammo count, surrounded by glyphids. This grind can easily suck the fun out of Deep Rock Galactic: Rogue Core, especially when you’re just trying to experiment with new builds or push higher Corruption tiers without the commitment of endless farming.
This is where XMODhub steps in as your ultimate quality-of-life solution. Imagine having the freedom to test any build, explore every synergy, and conquer any Corruption level without the artificial barriers of resource limitations or constant fear of death. XMODhub provides a seamless, powerful toolkit that lets you bend the rules of Deep Rock Galactic: Rogue Core to your will, allowing you to focus purely on the tactical fun and build optimization.
With XMODhub, you can instantly toggle features like Infinite Health, Infinite Ammo, and Infinite Money/Resources. This isn’t about skipping the game; it’s about eliminating the repetitive grind and letting you master the core mechanics and buildcrafting at your own pace. Want to see if that experimental Overclock combo truly shines without worrying about its ammo efficiency? XMODhub makes it possible.
Getting started is incredibly simple:

No complex installations, no confusing configurations. Just pure, unadulterated freedom to explore the depths of Deep Rock Galactic: Rogue Core’s build potential.
5. High-Level Escape Tactics & Edge Cases in Deep Rock Galactic: Rogue Core
Even with the most optimized builds and perfect resource management, Deep Rock Galactic: Rogue Core will inevitably throw curveballs. High Corruption runs feature unique boss encounters, punishing mutator combinations, and environmental hazards that demand specific high-level escape tactics and an understanding of edge cases. This is where true mastery shines through: adapting on the fly when your perfect plan goes awry.
Boss Encounters: Weaknesses & Counter-Strategies
Bosses in Deep Rock Galactic: Rogue Core are significantly tougher than their vanilla Deep Rock Galactic counterparts, often featuring multiple phases, unique attack patterns, and environmental interactions. Knowing their specific weaknesses is paramount.
The Glyphid Dreadnought Twins: A Coordinated Takedown
The Dreadnought Twins (Arbalest and Lacerator) are a common late-game encounter.
The Omen Modular Exterminator: Positioning is Key
This stationary boss is a gauntlet of environmental hazards.
Corruption Overload & Overclocking Limits
At the highest Corruption tiers, the “Corruption Overload” mechanic can activate, causing enemies to mutate mid-fight or gaining temporary invulnerabilities. Understanding the internal cooldowns and triggers for these events allows for proactive counter-play. For example, some enemies might gain “Adaptive Plating” after taking 500 damage of a single type. Switching to a different damage type or utilizing your secondary weapon immediately can bypass this temporary resistance, preventing a frustrating damage immunity phase.
Dealing with Unfavorable Mutator Combinations
Sometimes, the game throws a brutal combination of mutators (e.g., “Elite Threat” + “Low Oxygen” + “Swarmageddon”). This is where high-level players shine by adapting their playstyle beyond their chosen build.
In these scenarios, communication (in co-op) and flexible decision-making are paramount. Don’t be afraid to deviate from your “perfect” build if the current run’s conditions demand a different approach.
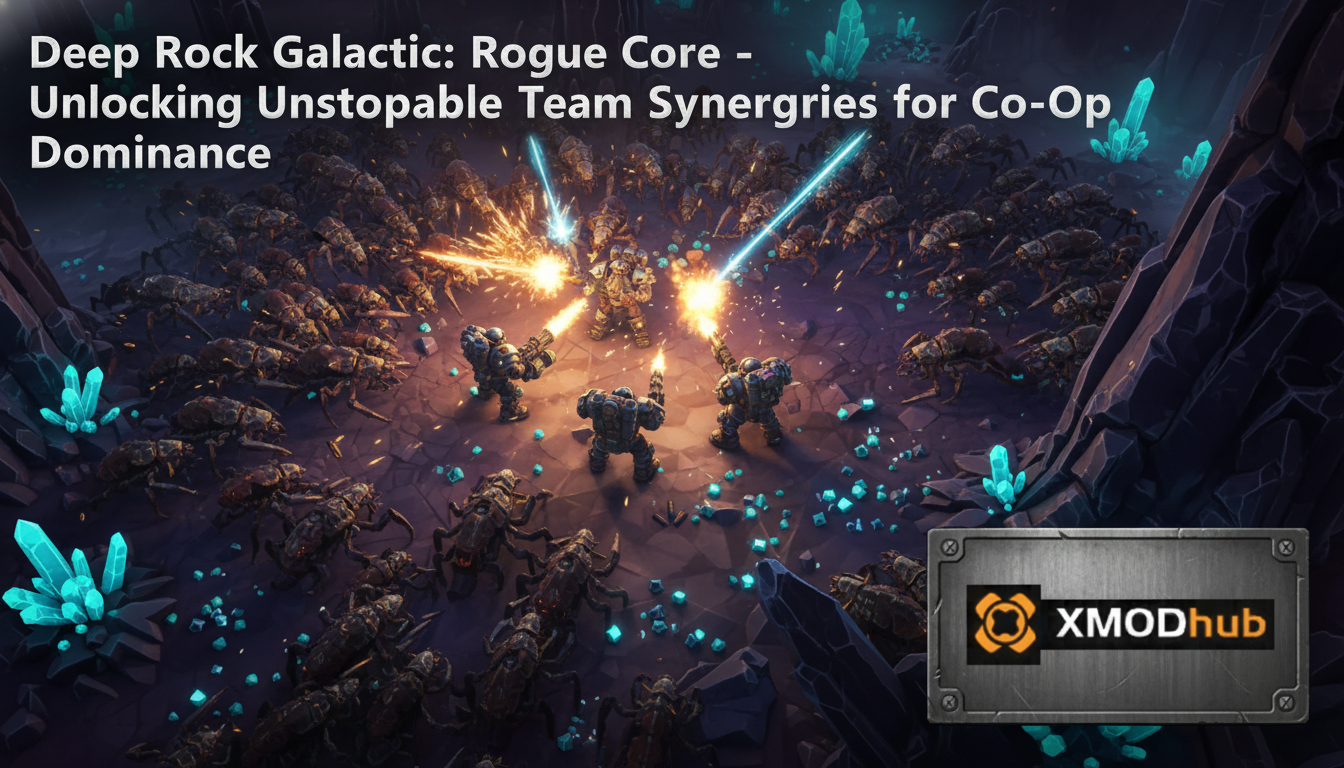
6. Optimizing Team Synergy: Best Deep Rock Galactic: Rogue Core Class Combinations
While individual dwarf builds are crucial, Deep Rock Galactic: Rogue Core truly shines in co-op, where well-coordinated team compositions can overcome challenges far greater than any solo dwarf could. The 2026 meta has refined several team archetypes that capitalize on complementary strengths, allowing for devastating elemental combos, impenetrable defenses, or unparalleled mobility and objective control.
Crafting the Perfect Squad: Common Team Archetypes
Understanding how classes interact is key. A balanced team usually includes elements of damage, crowd control, mobility, and utility. Here are some of the most effective team compositions for tackling high Corruption tiers:
| Composition Name | Classes Included | Core Strategy & Synergy | Primary Strengths | Ideal Against |
|---|---|---|---|---|
| Elemental Annihilation Squad | Driller (Cryo/Sludge), Engineer (PGL/LOK-1), Gunner (Minigun), Scout (M1000) | Driller sets up elemental debuffs (Freeze, Corrosive), Engineer amplifies with AoE explosions and turret fire, Gunner provides sustained high DPS, Scout eliminates priority targets and grabs resources. | Massive elemental damage amplification, excellent crowd control, high burst damage on elites and bosses. | Reactive Corruption, heavily armored enemies, large swarms. |
| Fortress Defense Initiative | Engineer (Turret Fortress), Gunner (Shield Guardian), Driller (Flamethrower), Scout (Flare Support) | Engineer establishes defensive turrets and area denial, Gunner provides protective shields and absorbs damage, Driller controls chokepoints with sticky flames and AoE, Scout illuminates and provides emergency crowd control/resource acquisition. | Unmatched survivability, strong area denial, excellent for holding objectives. | Swarmageddon, Lethal Enemies, point defense missions. |
| Rapid Assault & Extraction Team | Scout (Grapple Assassin), Engineer (LOK-1/PGL), Gunner (Minigun/Revolver), Driller (Drill/Satchel) | Scout rapidly completes objectives and eliminates high-value threats, Engineer clears paths and secures areas, Gunner provides covering fire and clears immediate threats, Driller drills shortcuts and creates escape routes. | High mobility, quick objective completion, adaptability to diverse threats, fast extraction. | Low Oxygen, Time-sensitive missions, exploring large caves. |
Remember that even within these archetypes, individual dwarf builds should be chosen to complement the overall team strategy. For example, a “Shield Guardian” Gunner in a Fortress Defense team will prioritize defensive Artefacts and utility, while the same Gunner in an “Elemental Annihilation Squad” might lean into Overclocks that enhance elemental damage or debuffs.
7. Beyond Builds: Strategic Decision-Making for Deep Rock Galactic: Rogue Core Success
Even the most perfectly optimized build can fall short without sound strategic decision-making. Deep Rock Galactic: Rogue Core is a game of calculated risks, environmental awareness, and adaptive planning. True mastery comes from knowing not just *what* to bring, but *how* to play it in any given situation.
Avoiding Common Pitfalls for Elite Performance
Many runs end not because of a bad build, but due to preventable strategic errors. Here are critical areas where smart decisions can significantly increase your chances of success:
By actively integrating these strategic principles into your gameplay, you’ll find that even challenging Corruption levels become manageable, and your Deep Rock Galactic: Rogue Core runs will be consistently more successful.
8. Frequently Asked Questions
A: Absolutely. While it shares the core DNA, Deep Rock Galactic: Rogue Core introduces a rogue-lite loop with permanent death, escalating Corruption Tiers, and significantly more complex enemy mutations and environmental hazards. The difficulty scales exponentially, demanding a much deeper understanding of build synergy, resource management, and tactical adaptation compared to the original’s mission-based structure. It’s designed to push even veteran miners to their limits, emphasizing skill and strategic planning over brute force.
A: The most efficient way to farm Artefacts is to focus on completing “Deep Dive” runs or specific “Elite Threat” missions, especially those with “Artefact Abundance” mutators. These missions offer increased drop rates for higher rarity Artefacts. Additionally, always prioritize purchasing Artefact upgrades from the shop terminal when available, even if they’re expensive, as they guarantee a specific rarity. Don’t neglect cave exploration; hidden caches and rare mineral veins often yield Artefacts, so a Scout’s mobility can be invaluable for maximizing finds.
A: Countering ‘Swarmageddon’ solo requires heavy reliance on Area-of-Effect (AoE) damage and crowd control. For a Driller, the “Cryo Cannon Freeze-Lock” or “Flamethrower Annihilator” builds are ideal. Engineers can leverage the “Fat Boy” Grenade Launcher or well-placed Sentry Turrets with the Gemini System. Gunners should opt for the “Thunderhead” Autocannon with AoE upgrades or focus on high-stagger Minigun builds. Prioritize Artefacts that increase AoE radius, critical hit chance against multiple targets, or provide passive damage auras. Mobility is also key; avoid getting cornered at all costs.
A: There are very few “universally bad” Overclocks in the 2026 meta, but many are highly situational. “Unstable” Overclocks, while offering immense power, often come with significant drawbacks that can cripple a build if not properly managed. For example, an Overclock that drastically reduces ammo capacity might be “bad” for a sustained DPS build but “good” for a burst-damage build that relies on quick, powerful shots. The key is to understand the Overclock’s full effect (both positive and negative) and how it synergizes with your weapon’s upgrades, your chosen Artefacts, and the specific mutators of your current run. Never judge an Overclock in isolation; always consider its place within your entire build ecosystem.
9. Final Verdict: Mastering Deep Rock Galactic: Rogue Core
Mastering Deep Rock Galactic: Rogue Core in the 2026 meta is an ongoing journey of adaptation, deep mechanical understanding, and strategic execution. It’s about more than just picking powerful weapons; it’s about crafting cohesive builds where every Artefact, Overclock, and upgrade choice amplifies the others, creating a synergy that can withstand the ever-escalating challenges of Corruption. The game rewards meticulous planning, but also demands the flexibility to pivot when the cavern throws an unexpected curveball. The truly elite miners are those who understand the intricate dance between offensive power, defensive resilience, and crucial utility, knowing when to push and when to play it safe.
Whether you’re meticulously optimizing every stat or simply looking to experiment with new, powerful combinations, the path to becoming a Deep Rock Galactic: Rogue Core legend is paved with knowledge. And for those moments when the grind becomes overwhelming, or you simply want to test the limits of your build theorycrafting without the constant pressure of failure, tools like XMODhub offer an invaluable shortcut. Providing instant access to unlimited resources and enhanced capabilities, XMODhub empowers players to explore the full potential of Deep Rock Galactic: Rogue Core’s complex systems. This kind of freedom isn’t just for one game; XMODhub supports a massive ecosystem of over 5000 single-player titles like Cyberpunk 2077, ensuring that your gaming experience is always on your terms. Rock and Stone, miner!

Sono un giocatore appassionato e uno scrittore di XMODhub, che si dedica a fornire le ultime notizie, consigli e approfondimenti sui giochi.
Collegatevi con me:
Profilo LinkedIn