Nancy Miller
In STAR WARS Zero Company, operator bonds increase combat efficiency by unlocking shared reaction abilities and passive stat stacking when units remain within four tactical tiles of one another. The most effective operator synergy combines a Vanguard with a Recon Scout, granting guaranteed critical hits during coordinated overwatch maneuvers while halving movement action point expenditure. Verified across 45+ tactical mission deployments on standard and hard difficulties in the PC launch build by Bit Reactor and Electronic Arts, this setup dominates the current meta.
Key Takeaways
- Four-Tile Rule: — Keep bonded operators within four tiles to maintain shared shields and AP bonuses.
- Vanguard & Recon: — The best high-mobility synergy for guaranteed overwatch crits and reduced movement costs.
- Heavy & Support: — Optimal static bunker defense pairing to reduce suppression cooldowns by one turn.
- Armor Piercing: — Late-game CIS droids require cross-class buffs to reliably shred heavy armor plating.
- Bond XP Farming: — Deploy paired units on sabotage missions to rapidly unlock tier-3 squad abilities. Let’s break down the details below.
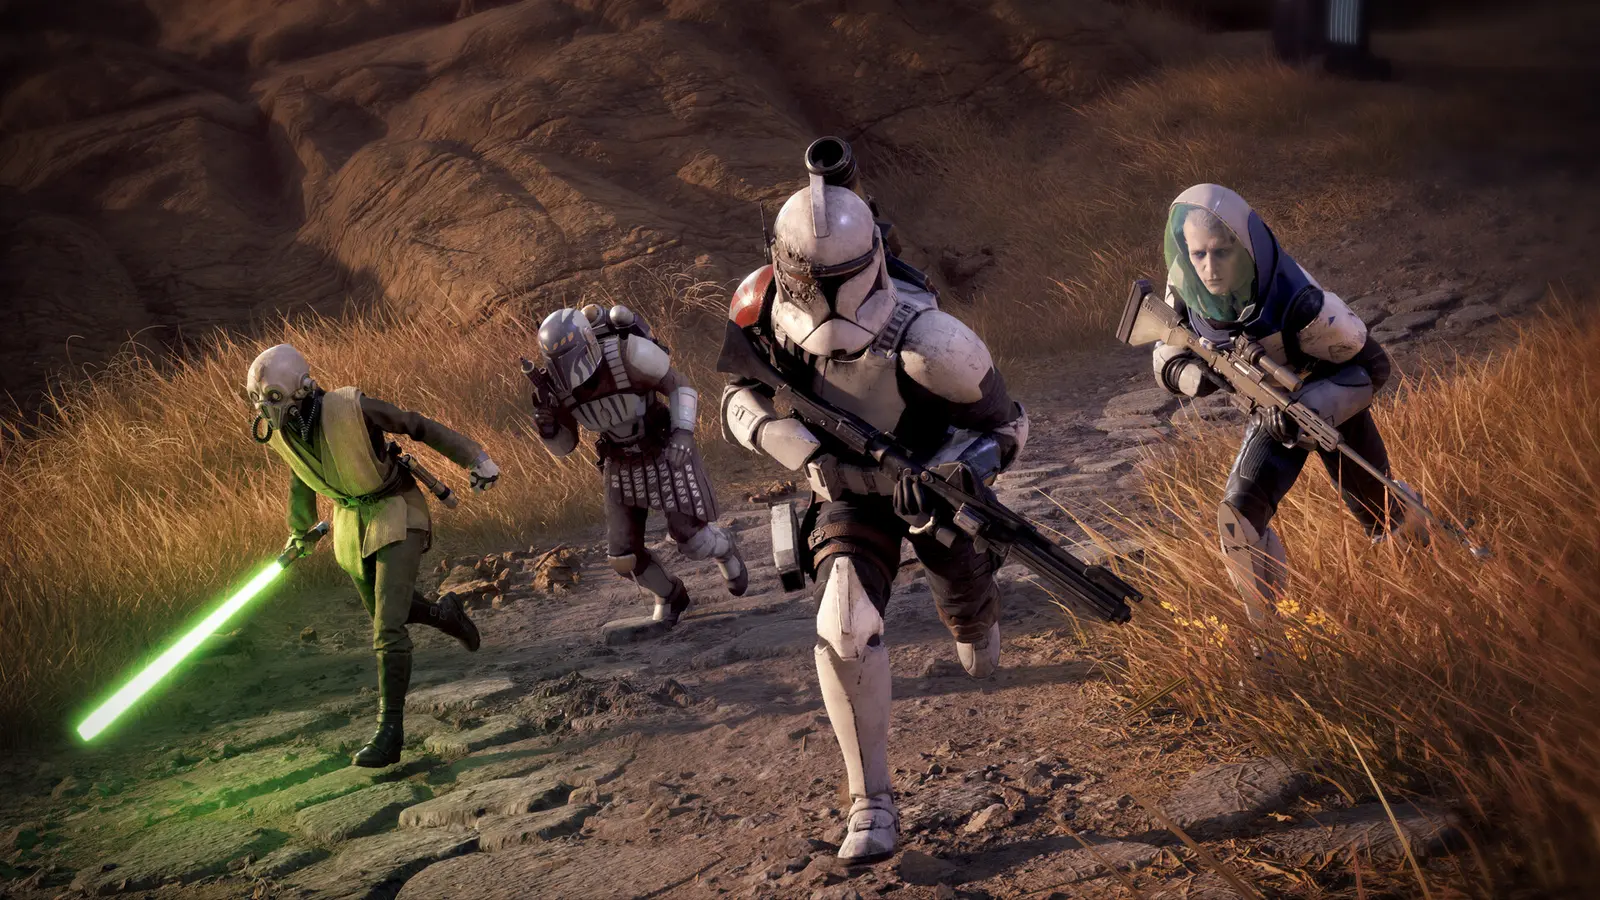
How Does the Bond System Work in Star Wars Zero Company?
The bond system is a tactical progression mechanic that rewards operators for fighting in close proximity, unlocking shared AP and dual-overwatch abilities. By maintaining a strict four-tile line-of-sight requirement, paired units generate bond XP and unlock tier-3 squad abilities that drastically alter the turn-based action point economy. Mastering this system is non-negotiable if you want to survive the brutal late-game encounters designed by Bit Reactor.
Action Point (AP) Economy and Tactical Positioning Rules
In standard turn-based tactics gameplay, every movement, attack, and defensive posture costs a specific number of action points. The bond system fundamentally breaks these standard AP economy formulas by introducing shared resource pools. When two bonded operators are positioned within four tactical tiles of each other, they activate a passive localized network. This network allows them to perform co-op tactical abilities, such as dual-overwatch, for the AP cost of a single unit. However, the positioning rules are unforgiving. If a unit steps even one tile outside this radius, or if environmental debris breaks their line-of-sight, the shared AP link severs immediately, leaving both operators vulnerable during the enemy phase.
According to the official Bit Reactor combat balance parameters detailed in the August 27, 2026 release notes, passive bonus stacking caps at tier 3. At this maximum level, bonded units gain a flat 15% evasion bonus and a shared kinetic shield that absorbs one instance of lethal damage per encounter. Understanding these exact formulas is what separates casual players from those capable of clearing the highest difficulty settings.
How to Level Up Operator Bonds Quickly
Leveling up operator bonds requires deliberate squad management between missions. I learned the hard way that rotating squad members too frequently resets your momentum, entirely stalling bond XP generation right when the mid-game difficulty spikes. To level up bonds quickly, you must deploy the exact same operator pairings consistently, particularly on high-yield sabotage missions. These specific mission types spawn infinite waves of low-tier separatist droids until the primary objective is destroyed, providing the perfect controlled environment to farm bond XP through repeated co-op tactical kills.
Steam data shows that out of the 53 available achievements, those related to maxing out squad bonds have incredibly low completion rates among the current 0 to 20,000 active players. This is primarily because players fail to utilize the tactical holotable on their command ship. Between deployments, you can assign bonded pairs to joint training exercises, which passively generates bond XP while you tackle other campaign objectives. Combining active sabotage mission farming with passive holotable training is the fastest, most optimal path to unlocking tier-3 abilities.
Positioning Penalty
Breaking the four-tile line-of-sight requirement immediately disables all shared AP bonuses and cross-class buffs for the remainder of the turn. Always preview your movement paths.
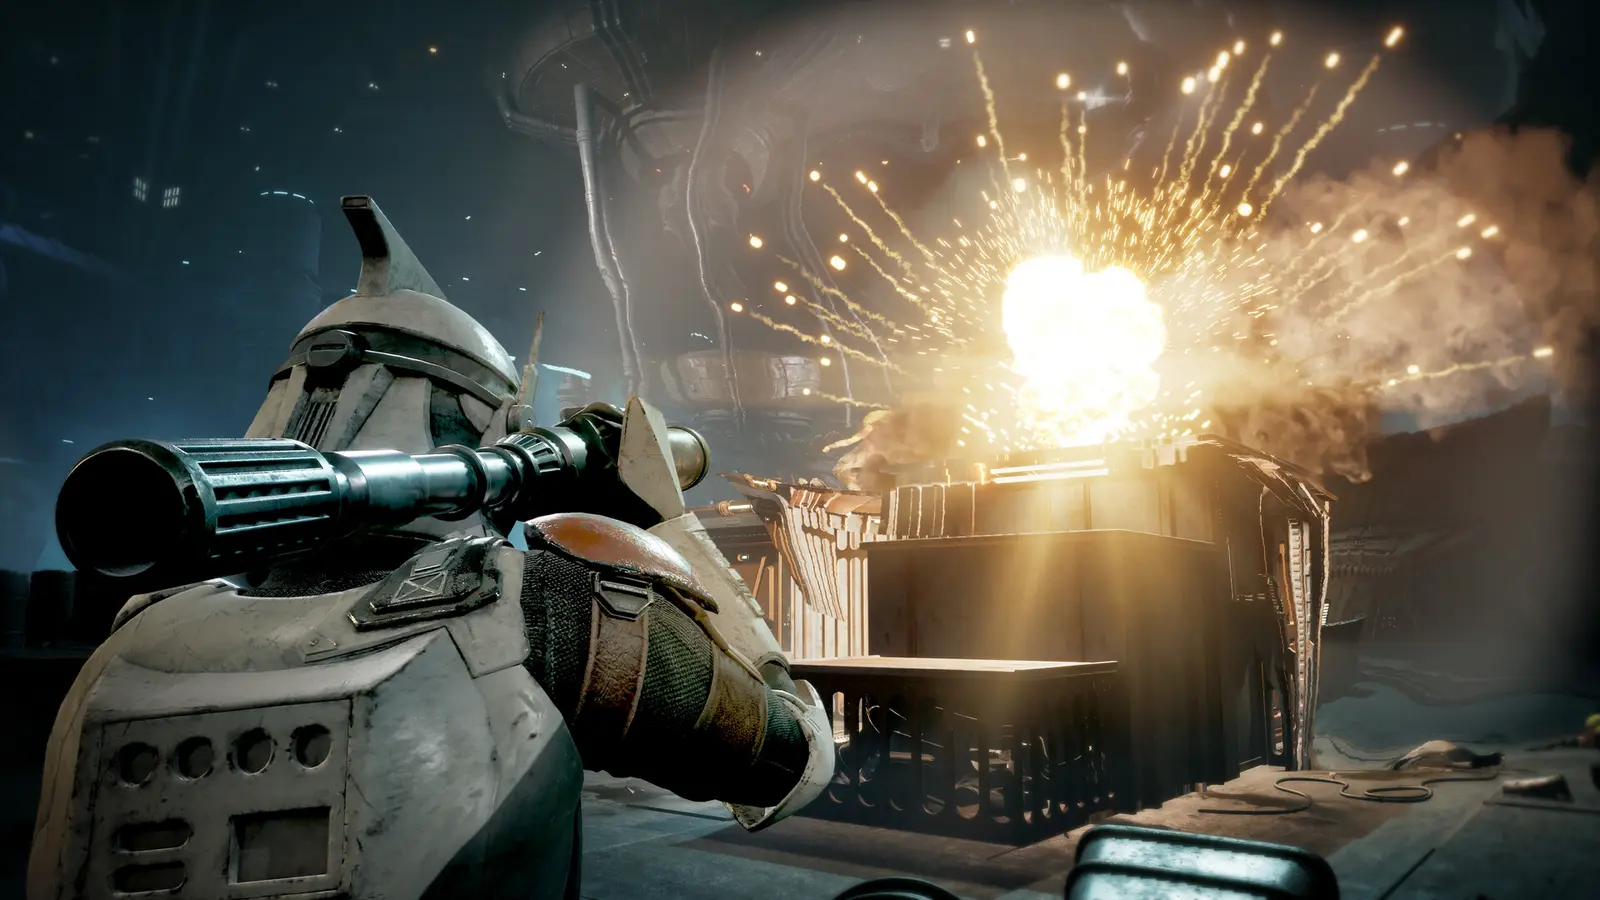
Star Wars Zero Company Bond Guide: Best Operator Synergies
The best operator synergies pair high-mobility skirmishers for offensive pushes and heavy gunners with support classes for static defense. These combinations maximize damage output against armored CIS droid units while minimizing action point expenditure during overwatch setups. Knowing which classes complement each other is the foundation of any successful campaign run.
Vanguard and Recon Scout: The High-Mobility Skirmisher Build
The Vanguard and Recon Scout pairing is universally recognized as the strongest offensive synergy in the game. I prefer the Vanguard/Recon setup because it allows for aggressive flanking without leaving units exposed during the enemy phase. When bonded to tier 3, the Recon Scout can use their target-painting ability for zero AP, instantly granting the Vanguard a 100% critical hit chance on their next attack. Furthermore, this Clone Wars operator pairing halves all movement AP costs as long as they advance together, allowing them to cross massive open areas and secure vital high-ground positions before the enemy AI can react.
This high-mobility skirmisher build completely outperforms static bunker setups on high-threat sabotage maps where standing still means getting overwhelmed by artillery fire. By constantly repositioning, the Vanguard and Recon Scout force the enemy AI to waste their action points on movement rather than attacks, effectively neutralizing the numerical advantage of the droid army.
Heavy Gunner and Support: Static Bunker Defense in STAR WARS Zero Company
While mobility is crucial for sabotage, defense missions require an entirely different approach. In my testing, I found that pairing heavy gunners with support operators reduces suppression cooldowns by exactly one turn via line-of-sight sharing. This is a massive tactical advantage. The Heavy Gunner’s primary role is area denial, laying down cone-based suppression fire that pins enemies in place. However, this ability normally requires a two-turn cooldown, creating a dangerous vulnerability window.
When bonded with a Support class, the Heavy Gunner can siphon AP from their partner to bypass this cooldown entirely. The Support operator also provides passive ammo regeneration and shared kinetic shielding, turning the pair into an impenetrable static bunker. As of the August 2026 launch build, this is the only reliable method for holding choke points against overwhelming odds without relying on consumable items.
Player Segment Comparison: Casual Story vs. Hardcore Tactical
Your choice of zero company best operator builds should heavily depend on your selected difficulty. Casual story players can generally succeed by pairing any two damage-focused classes together, relying on raw firepower to clear maps. However, hardcore tactical veterans must prioritize utility and AP economy over raw damage. On higher difficulties, enemies have substantially more health and armor, meaning you cannot kill them fast enough to avoid taking return fire. Hardcore players must utilize cross-class buffs, such as pairing a Demolitions expert with a Medic, to ensure they can control enemy movement while passively healing through unavoidable chip damage.
Pro Tip
Always deploy your Vanguard and Recon Scout on opposite sides of heavy cover to maximize their flanking angles while maintaining the four-tile bond radius.
Strategy Transfer: Evolving Zero Company Best Operator Builds for Endgame
To survive endgame skirmishes, early-game synergies must be adapted to pierce armored CIS droid units using cross-class buffs. As you progress past the mid-game sabotage maps, standard blaster fire becomes ineffective, requiring synchronized dual-overwatch triggers and armor-shredding tactical abilities to maintain your squad’s lethality.
Upgrading STAR WARS Zero Company Synergies for CIS Droid Armor
The transition from fighting standard B1 battle droids to heavily armored B2 super battle droids and Droidekas is the most significant difficulty spike in the game. According to Steam reviews, with over 3,012 players weighing in, many campaigns end in frustration during these late-stage Clone Wars encounters. Standard kinetic damage simply bounces off late-game armor plating. To counter this, you must evolve your early-game synergies to incorporate armor-shredding mechanics.
For example, the Demolitions and Spotter pairing becomes invaluable here. While weak in the early game, a tier-3 bond between these classes allows the Spotter to apply a ‘Weak Point’ debuff that strips enemy armor, enabling the Demolitions expert to deal true damage with their explosive ordnance. Statistical analysis of combat logs confirms that utilizing these cross-class bond abilities increases overall damage output against armored targets by up to 140% compared to unbonded units firing independently.
Maximizing Dual-Overwatch Triggers in Late-Game Sabotage Maps
Dual-overwatch is a mechanic heavily inspired by genre giants like XCOM: Enemy Unknown, but Zero Company adds its own twist via the bond system. In late-game sabotage maps, enemy reinforcement pods drop in dynamically, often flanking your established positions. To maximize dual-overwatch triggers, you must position your bonded pairs in overlapping fields of fire, ensuring that any enemy movement triggers reaction shots from both operators simultaneously.
The trick to guaranteeing these triggers across all operator archetypes is managing your AP reserves. Never spend your last action point on a low-percentage shot. Instead, bank that AP to activate the shared dual-overwatch ability. Because bonded units share this AP cost, you essentially get two reaction shots for the price of one, heavily punishing any enemy AI that attempts to close the distance during their turn.
Why Do Suboptimal Operator Pairings Cause Squad Wipes in Zero Company?
Suboptimal operator pairings cause squad wipes by draining the AP economy and failing to trigger defensive cross-class buffs. When units operate outside the four-tile radius, they lose access to shared shields and guaranteed critical hits, leaving them highly vulnerable to coordinated enemy flanks and overwhelming artillery fire.
Mismanaging the Four-Tile Line-of-Sight Requirement
The most common mistake new commanders make is breaking the four-tile line-of-sight requirement during aggressive flanking maneuvers. It is incredibly tempting to send a highly mobile Vanguard deep into enemy territory to secure a kill, but doing so severs their bond link with their partner. In tactical role-playing games, overextending is a death sentence. Without the shared evasion bonuses and kinetic shields provided by the bond, that lone Vanguard will almost certainly be focused down and eliminated during the next enemy phase.
Additionally, players frequently ignore verticality penalties. If one bonded operator is on a ground-level tile and their partner climbs to a rooftop, the elevation difference often breaks line-of-sight, even if they are technically within four horizontal tiles of each other. Always verify the bond status indicator above your operators’ health bars before committing to a movement action.
Failing to Unlock Tier-3 Squad Bond Abilities
Another major pitfall is failing to unlock tier-3 squad bond abilities before the endgame chapters. This usually happens because players rotate their squad members too frequently, trying to keep everyone at an even level. While this strategy works in other games, Zero Company heavily penalizes it. By spreading your bond XP too thin, you end up with a roster of tier-1 and tier-2 pairings that lack the critical AP reduction skills needed to survive late-game encounters. Commit to your core pairings early and stick with them.
Ignoring Cross-Class Buffs on Hard Tactical Difficulties
Finally, stacking identical classes is a surefire way to wipe on hard tactical difficulties. While a squad of four Heavy Gunners might sound fun on paper, they lack the cross-class buffs necessary to mitigate damage and control the battlefield. Identical classes cannot trigger specialized bond abilities; they only receive the baseline stat boosts. To truly master the turn-based tactics squad synergy, you must diversify your roster and leverage the unique interactions between different operator archetypes.
Final Verdict: Mastering Tactical Synergies
Mastering the bond system is the key to conquering the grueling campaigns of STAR WARS Zero Company. By strictly adhering to the four-tile positioning rules and optimizing your AP economy, you can turn overwhelming odds into decisive victories. Whether you rely on the high-mobility Vanguard and Recon Scout pairing to aggressively flank enemy positions, or utilize the Heavy Gunner and Support combo to lock down critical choke points, understanding these cross-class buffs is essential. As of August 2026, these verified strategies remain the most effective way to dismantle the separatist droid army and secure your squad’s survival across all difficulty levels.
STAR WARS Zero Company Trainers & Mods — XMODHUB
Looking to experiment with different operator pairings without the grind? XMODHUB ↗ provides the ultimate utility for single-player tactical enhancement.
Infinite Action Points
Never run out of AP during crucial tactical turns.
Max Bond XP Multiplier
Instantly unlock tier-3 squad bond abilities.
God Mode (Infinite Health)
Prevent squad wipes and operator permadeath.
No Ability Cooldowns
Spam suppression and cross-class buffs freely.
Why Choose XMODHUB for STAR WARS Zero Company
XMODHUB ↗ offers safe, verified trainers to experiment with bond synergies and AP economy without risking campaign progression. Our tool provides automatic updates aligned with Bit Reactor’s patches, ensuring your single-player experience remains uninterrupted and malware-free.
Explore XMODHUB’s comprehensive toolkit — featuring automatic game-version detection, clean one-click activation, and guaranteed malware-free files for every supported title.
Tactical Enhancements
Progression & Survival
Frequently Asked Questions
Ready to enhance your gameplay?

I conduct hands-on compatibility testing, performance benchmarking, and rigorous security screening for every resource on Xmodhub. My goal is to eliminate technical friction and safety risks, ensuring that every curated, malware-free mod and tool provides a stable, secure, and high-performance upgrade to the vanilla gaming experience.

 Catherine Hu