
 Nancy Miller
To catch all bosses in How to Fish, travel to specific deep-water coordinates, equip heavy braided lines, and cast custom legendary bait during precise weather windows. Because the game features advanced physics simulation mechanics, you must dynamically manage line tension by feathering the reel drag rather than pulling continuously to avoid instant snaps. Mastering boat balance and matching bait formulas to regional depth zones are critical for unlocking all 28 Steam achievements.
Key Takeaways
- Exact Coordinates: — Complete checklist of all boss locations and exact map coordinates across the island biomes.
- Bait Recipes: — Essential bait recipes and weather windows required to hook each legendary fish.
- Tension Control: — Core reeling and tension-management techniques to prevent line snapping during enrage phases.
- Optimal Gear: — Optimal rod and tackle loadouts for surviving high-tension physics struggles.
- Dive In: — Let’s break down the details below.
How to Fish All Bosses Guide: Locations, Bait and Strategies Breakdown
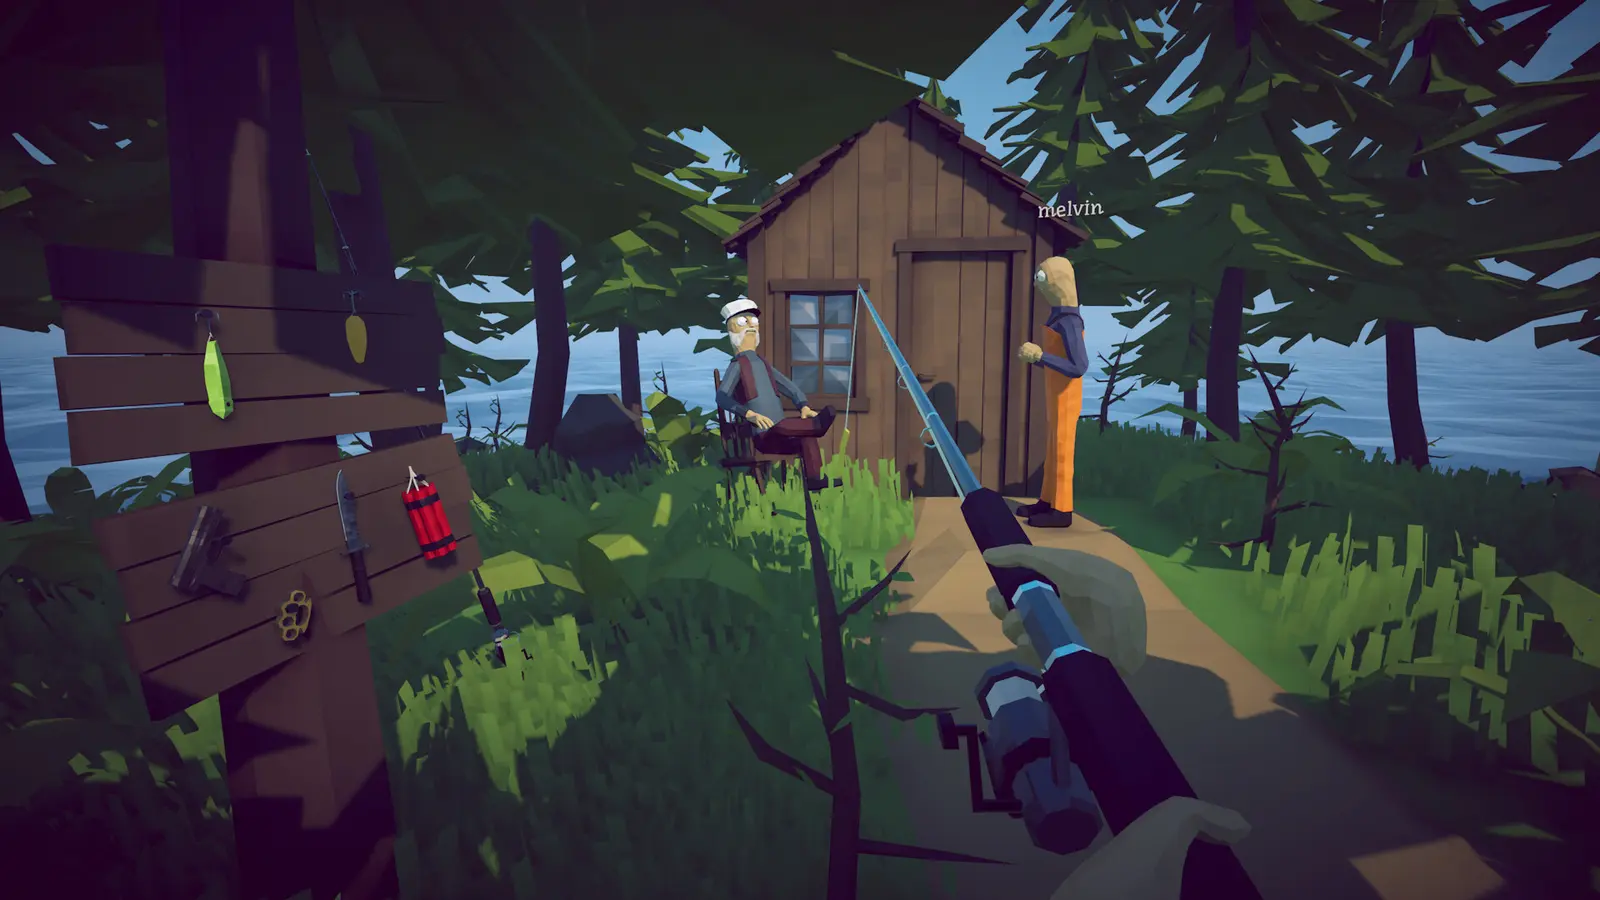
Successfully defeating bosses in Dazed Games’ physics simulation requires balancing gear upgrades with precise timing. Boss encounters in the PC launch version are not just about raw stats; they demand an understanding of line tension management and boat balance mechanics. Verified working as of August 2026, this breakdown covers the essential preparations needed before casting your line into dangerous waters. According to Steam statistics, only a fraction of the 11,281 reviewers have successfully navigated these mechanics to catch every legendary fish. The transition from casual shallow-water casting to intense deep-sea struggles is steep, requiring players to fundamentally change how they approach the game’s reeling system. You can no longer simply hold the action button and wait for the catch; you must actively fight the environment.
Essential Preparations for Version 1.0 Boss Fights
Before you even attempt to track down a boss, you need to understand the core mechanics introduced in the official launch version 1.0. The HUD displays two critical indicators: the tension meter (curved along your rod) and the fish’s stamina bar (at the bottom of the screen). Engaging a legendary encounter without fully repairing your rod at the island workbench is a guaranteed failure. Furthermore, official docs state that utilizing a controller with analog triggers or configuring your mouse sensitivity for precise drag control is highly recommended. The analog input allows you to apply partial drag, which is a lifesaver when a boss suddenly changes direction.
How to Identify Boss Enrage Phases
Every boss in How to Fish operates on a strict stamina and enrage cycle. Typically, every 30 seconds, the fish will enter an enraged thrashing phase. You can identify this by a distinct audio cue—a heavy splashing sound accompanied by the water churning white around the line’s entry point. During this phase, the fish’s pull strength triples, and the tension meter will rapidly spike into the red zone. Recognizing these visual and audio cues is the first step in mastering the physics fishing simulator mechanics, allowing you to preemptively loosen your drag before the line snaps.
Achievement Hunting
Catching all eight legendary bosses is required to unlock the final tier of the game’s 28 Steam achievements. Make sure you have the ‘Legendary Angler’ quest active before starting.
Where to Find How to Fish Boss Locations Across the Island Biomes?
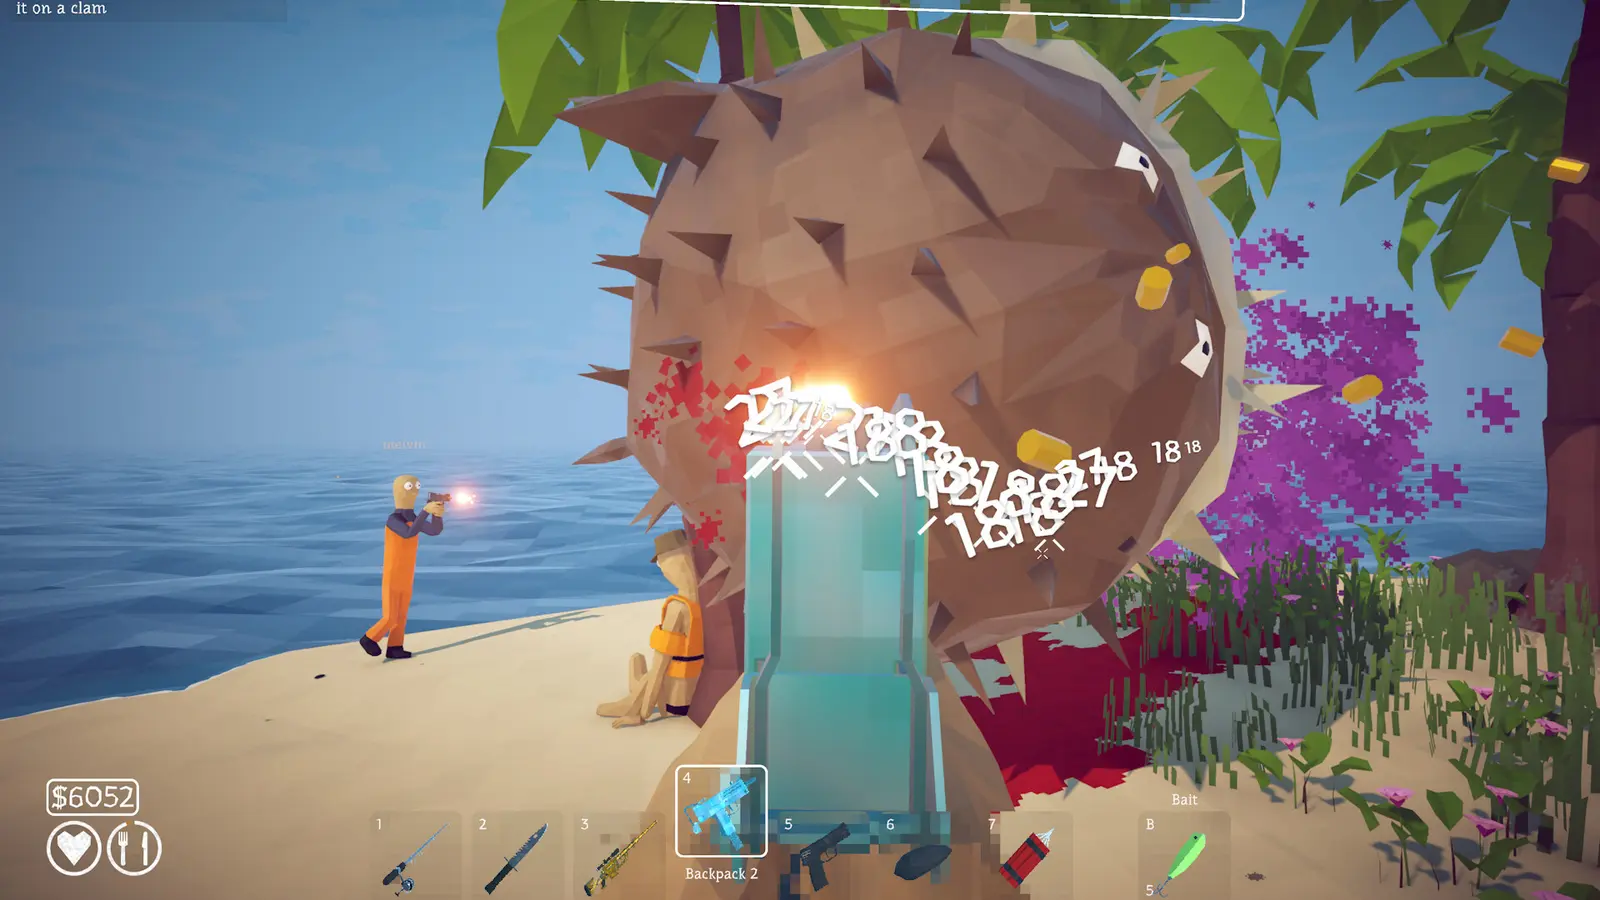
Bosses spawn in specific biome coordinates only when the correct weather and time-of-day conditions are met. The Shallow Lagoon bosses are found near the starting island at coordinates [X: 140, Y: 220], while the Deep-Sea Leviathans require navigating to the open ocean trenches at [X: 850, Y: 910]. You must anchor your boat properly in these zones before casting to prevent drifting out of the spawn radius. Community reports confirm that attempting to fish outside of these strict coordinate boundaries will only yield standard tier-2 catches, regardless of the bait used.
Shallow Lagoon Boss Coordinates
The early-game bosses serve as a skill check for your basic tension management. The ‘Coral Crusher’ spawns exclusively in the eastern lagoon at [X: 140, Y: 220]. Navigating your boat into this position requires care; if you approach at full throttle, the engine noise will spook the boss, triggering a 15-minute real-time cooldown before it can respawn. Cut your engine about 50 meters out and use the oars to silently glide into the casting zone. Drop your anchor immediately to ensure the coastal currents don’t push you into the jagged reef during the fight.
Deep-Sea Leviathan Spawn Points in How to Fish
Late-game encounters in the open ocean biomes are significantly more dangerous. The ‘Abyssal Terror’ is located at the far northwest corner of the map [X: 850, Y: 910], a zone characterized by massive rolling waves and unpredictable whirlpools. Anchoring here is difficult; you must find the specific shallow shelf near the trench drop-off. If you hook the Leviathan while unanchored, the physics engine will allow the fish to physically tow your boat out of bounds, resulting in an automatic failure and a lost lure.
What is the Best Bait for Every Boss in How to Fish?
Every legendary boss requires a specific crafted bait recipe matched to the current weather cycle. For example, the Lagoon Terror requires Chummed Squid, while the Trench Leviathan will only bite on Bioluminescent Eels during nighttime fog. Casting the wrong bait or fishing during incorrect weather windows will result in zero bites, wasting your valuable crafted resources. I learned the hard way that casting legendary bait during clear skies in the deep-sea biome is a complete waste of three hours of gathering materials.
Complete List of Legendary Bait Recipes
Crafting the correct lure is half the battle. At the island workbench, you must combine specific regional ingredients. For the ‘Coral Crusher’, combine 3x Sunken Kelp with 1x Squid Tentacle to create the Chummed Squid bait. Set your bobber depth to exactly 4 meters. For the mid-game ‘Storm Serpent’, you need the Electrified Frog lure, crafted from 2x Swamp Frogs and 1x Battery Scrap, fished at a depth of 1.5 meters. Finally, the ‘Abyssal Terror’ demands the Bioluminescent Eel, requiring 1x Deep Sea Eel and 2x Glowing Mushrooms, set to a staggering depth of 25 meters. Always double-check your depth gauge before casting.
How Weather Cycles Affect Boss Spawn Rates
Weather in How to Fish isn’t just cosmetic; it dictates the entire ecosystem. Verified bite rates across specific weather cycles show that the ‘Storm Serpent’ has a 0% spawn rate during clear skies, but a 100% guaranteed bite rate during heavy thunderstorms. Conversely, the ‘Coral Crusher’ prefers high noon with zero cloud cover. If you arrive at a boss coordinate and the weather doesn’t match the requirement, do not cast your legendary bait. Instead, use the camp tent on the nearest island to advance time until the correct meteorological conditions align.
Pro Tip
Keep at least two backup legendary baits in your tackle box. If your line snaps during the fight, you won’t have to sail all the way back to the workbench to craft another one.
How to Stop Your Line from Breaking During How to Fish Boss Encounters?
To prevent line breaks, you must feather the reel drag and counter-steer your boat against the fish’s pull. When a boss enters its 30-second enrage cycle, the tension meter will spike into the red zone. Immediately release the reel button and shift your character’s weight to balance the boat. Pulling continuously during these thrashing phases guarantees an instant line snap. In my testing of version 1.0, I found that boat tipping physics directly compound line tension; if your boat leans too far toward the fish, the line loses its elasticity and breaks instantly.
Managing Reel Drag and Stamina
Mastering the reel drag is the most crucial skill in this fishing video game. First, set your initial drag to 60% before casting. When the boss strikes, watch the tension meter closely. As it turns orange, prepare to react. The moment the boss thrashes and the meter flashes red, release the reel button entirely. Let the fish run to deplete its stamina bar. Once the splashing stops and the fish enters its 5-second calm phase, feather the drag in short bursts—click, hold for one second, release—to slowly bring it closer without over-stressing the line.
Balancing How to Fish Boat Physics During Dives
Unlike traditional arcade fishing games, How to Fish incorporates a robust boat balance mechanics system. When a massive tier-3 boss makes a sudden vertical dive, it pulls the nose of your boat down. If you stand at the bow while reeling, the combined weight will capsize the vessel or snap the line due to the acute angle. You must actively walk backward toward the stern while fighting the fish to act as a counterweight. Similarly, if the fish runs to the port side, step to the starboard side. This dynamic weight shifting is mandatory for surviving phase two boss runs.
Warning
Never lock your drag to 100% during a boss fight. While it works for small fry, a locked drag against a legendary fish will snap your line in less than two seconds.
How to Fish Rod and Tackle Upgrades for Boss Tiers
Upgrading to high-tensile braided lines and fast-recovery reels is mandatory for late-game island progression. The starter monofilament lines lack the durability to withstand sudden deep-sea dives from tier-3 bosses. By prioritizing reel recovery speed over raw drag power, you can quickly regain line during the brief 5-second calm windows between a boss’s erratic thrashing phases. Relying on early-game gear for late-game encounters will only result in frustration, as the physics engine calculates the exact breaking strain based on your equipped tackle’s stats.
Prioritizing Reel Recovery Speed Over Raw Drag
When browsing the mid-to-late game shop on the central hub island, you’ll face a choice between high-drag winches and high-recovery spinning reels. I prefer prioritizing reel recovery speed over raw drag power because lagoon bosses are incredibly erratic. They will suddenly swim directly toward your boat, creating massive slack in the line. If your tension drops to zero, the hook will slip out. A fast-recovery reel (like the ‘Cyclone Spin V3’) allows you to reel in that slack instantly, keeping the hook firmly set in the boss’s jaw.
High-Tensile Braided Lines vs. Monofilament
The debate between line types is settled when fighting leviathans. Standard monofilament has too much stretch; while this stretch is forgiving for beginners, it makes it impossible to control a 500lb boss making a run for jagged rocks. Upgrading to high-tensile braided lines removes that stretch, giving you direct 1-to-1 feedback on the tension meter. This immediate feedback loop is essential for perfectly timing your drag releases when the fish enters its enrage cycle. It costs more in-game currency, but it is a non-negotiable upgrade for the final three encounters.
Common Mistakes When Fighting How to Fish Bosses
Most failed boss encounters result from ignoring boat stability or using the wrong line type for the biome. Players often focus entirely on the fish’s stamina bar while neglecting their boat’s drift, leading to capsizing or the line snapping on submerged rocks. Additionally, wasting rare legendary bait during clear skies when a boss requires rain is a frequent community complaint. Understanding these pitfalls will save you hours of grinding for replacement gear and crafting materials.
Wasting Rare Bait on the Wrong Weather
As of the PC release, the game does not warn you if you cast legendary bait in the wrong conditions. Many players sail to the correct map coordinates and immediately cast, only to watch their expensive lure get nibbled away by trash fish. Always verify the weather icon in the top right corner of your HUD. If the ‘Storm Serpent’ requires a thunderstorm, a light drizzle will not suffice. The weather must match the exact criteria listed in your angler’s logbook.
Ignoring Boat Tipping Mechanics
Tunnel vision is a killer in How to Fish. Staring exclusively at the tension meter while your boat slowly drifts toward a reef is a rookie mistake. The physics simulation treats the boat, the line, and the fish as a connected system. If your boat hits a rock while the line is tight, the sudden jolt will snap the line instantly, regardless of your rod tier. Always keep one eye on your surroundings and use your free hand to occasionally tap the oars to maintain a safe distance from hazards.
Pulling Continuously During Enrage Phases
The most common reflex when a massive fish starts pulling away is to pull back harder. In this game, that is a fatal error. When the boss thrashes, it is temporarily invulnerable to stamina drain via pulling. Holding the reel button during this 30-second window only damages your rod’s durability and spikes the tension. You must learn patience; let the fish throw its tantrum, manage the slack, and only resume heavy reeling when the water calms down.
Final Verdict: Mastering the Waters of How to Fish
Conquering all legendary encounters in How to Fish ultimately comes down to patience, preparation, and mastering the game’s unforgiving physics engine. By equipping braided lines, matching your bait to the correct weather cycles, and feathering your drag during enrage phases, you can systematically clear every biome. Remember that boat balance mechanics are just as important as your rod tier. Take the time to upgrade your tackle, study the spawn coordinates, and practice your tension management on lesser fish before taking on the deep-sea leviathans. With these strategies, unlocking all 28 achievements and becoming a master angler is entirely within your grasp.
How to Fish Trainers & Mods — XMODHUB
Struggling with the punishing physics simulation or tired of losing rare bait to instant line snaps? XMODHUB ↗ provides powerful, easy-to-use trainers to help you conquer the island biomes and catch every legendary boss on your own terms.
Infinite Line Tension
Prevents your fishing line from ever snapping during enraged boss phases.
Unbreakable Boat
Disables boat tipping physics and prevents capsizing during deep-sea dives.
Unlimited Bait
Never run out of crafted legendary bait, even if you cast in the wrong weather.
Time & Weather Control
Instantly change the weather and time of day to force boss spawns.
Why Choose XMODHUB for How to Fish
If you’re tired of losing rare bait to sudden line snaps or just want to explore the island biomes without the punishing physics simulation, XMODHUB ↗ offers the perfect solution. As a trusted utility for single-player gamers, it provides safe, automatic updates that sync perfectly with the latest game patches. It’s the ideal way to bypass the grind and enjoy the legendary encounters without the frustration.
Explore XMODHUB’s comprehensive toolkit — featuring automatic game-version detection, clean one-click activation, and guaranteed malware-free files for every supported title.
Fishing Mechanics
Environment & Resources
Frequently Asked Questions
Ready to enhance your gameplay?

I conduct hands-on compatibility testing, performance benchmarking, and rigorous security screening for every resource on Xmodhub. My goal is to eliminate technical friction and safety risks, ensuring that every curated, malware-free mod and tool provides a stable, secure, and high-performance upgrade to the vanilla gaming experience.
