To find a specific Subnautica 2 biome map location, start at your escape pod and use major visual landmarks like the Thermal Spires or Crystal Caves to orient yourself. Developed by Unknown Worlds Entertainment, the game features a vertically stacked map requiring strict depth management. Currently, over 20,000 Early Access players rely on the compass and visual landmarks rather than exact coordinates to navigate the deep ocean trenches safely.
Principaux enseignements
- Visual Navigation — Navigating Subnautica 2 requires a mix of visual landmarking, compass triangulation, and strict depth management.
- Vertical Map — The new map is vertically layered, meaning biomes are stacked rather than just spread horizontally.
- Compass Blueprint — The compass remains the most critical tool for early-game survival in deep water.
- Resource Biomes — Specific essential resources are tied to distinct biomes and depth levels requiring targeted exploration. Let’s break down the details below.
Subnautica 2 biome map location Overview
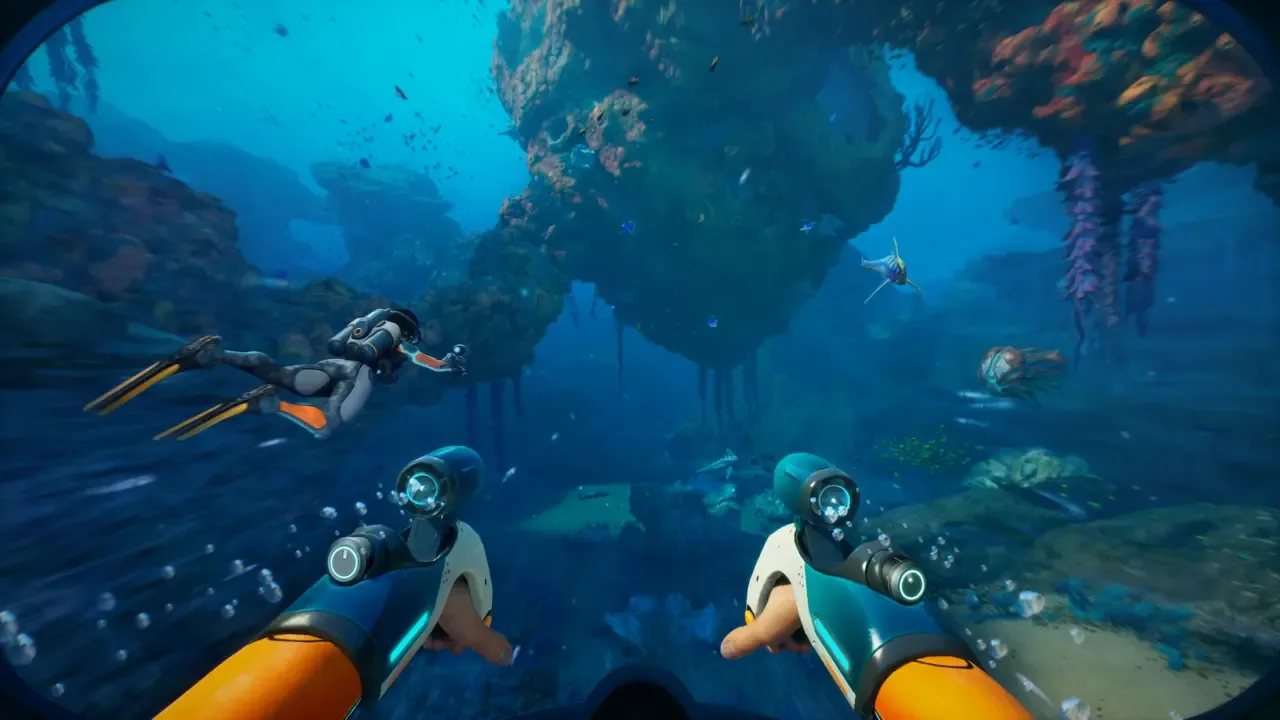
The Subnautica 2 map is vertically layered, meaning biomes are stacked on top of each other rather than just spread horizontally across the ocean floor. According to Unknown Worlds Entertainment‘s official Accès anticipé roadmap, this build requires players to master depth management alongside horizontal travel. Understanding this 3D layout is the first step to surviving the new alien ocean, as plunging into an unknown trench without preparation often leads to disaster.
Subnautica 2 Map Size vs. Original Subnautica
Compared to the original Subnautica, the sequel’s map is denser and significantly more vertical. Based on 20+ hours of Early Access exploration, the total surface area feels slightly smaller, but the playable volume is massive due to the deep trench systems. Veterans adapting to these new mechanics must rely less on surface landmarks and more on sonar and depth gauges to navigate effectively. The sheer drop-offs create a thrilling but terrifying experience for newcomers.
Understanding the Early Access Map Layout
In the current build, which boasts up to 20,000 owners according to Steam player statistics, some biomes are still under construction. The shallow reefs are incredibly resource-rich, while the deepest trenches currently serve as empty placeholders awaiting future content updates. As of May 2026, the most resource-dense starting area is located directly beneath the primary escape pod drop zone, making it the perfect hub for early base building. You will want to establish a solid foundation here before venturing outward.
Navigating the Verticality of the Ocean
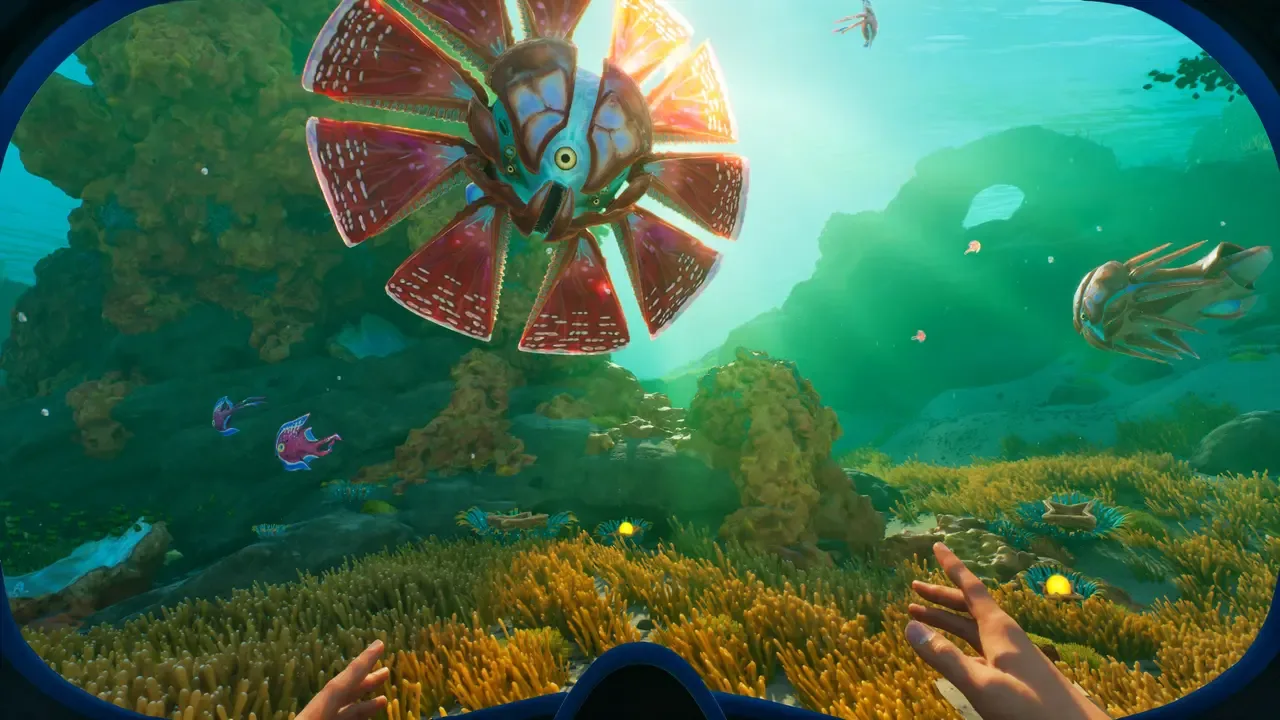
The vertical nature of the Subnautica 2 biome map location means that exploring a single coordinate on the X and Y axes might yield three completely different ecosystems depending on your depth. For instance, diving straight down from a safe coral plate might plunge you into a pitch-black cavern teeming with bioluminescent predators. It is highly recommended to build small scanner rooms at varying depths to map out these layered zones properly.
Subnautica 2 Regions, Biomes & Compass Navigation
Mastering the compass and visual landmarks is essential for surviving Subnautica 2’s deep trenches without getting lost. Because the game lacks an in-built minimap, players must triangulate their position using distant thermal spires and the aurora-like phenomenon in the sky. The compass is your primary tool for maintaining a straight heading when visibility drops to zero in murky waters. Relying strictly on your memory is a surefire way to end up swimming in circles.
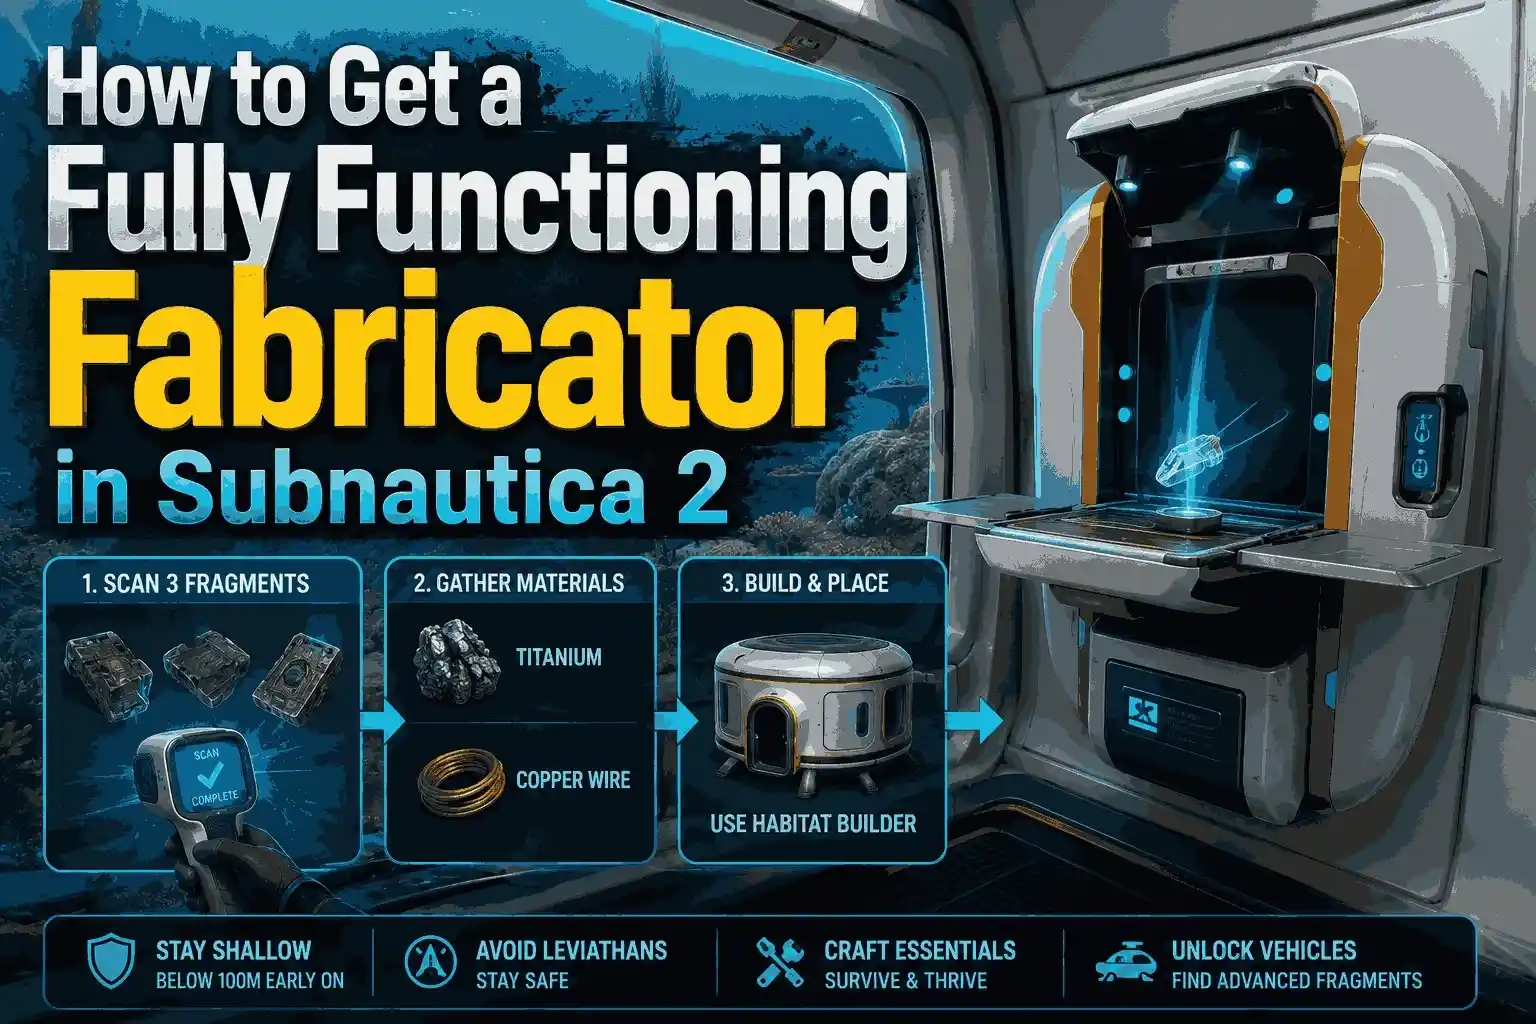
Where to Find the Compass Blueprint in Subnautica 2
To craft the compass, first locate a standard Databox near the starting shallow biomes, usually within 50 meters of depth. Scan the Databox to unlock the blueprint, then gather copper wire and a Wiring Kit from nearby kelp forests. Finally, use the Fabricator in your escape pod to craft the compass and equip it to view your heading permanently on the top HUD. Without this crucial piece of equipment, exploring the Subnautica 2 Regions, Biomes & Compass Navigation becomes incredibly frustrating.
Triangulating Position Using Thermal Vents
I found that the new thermal vents are the absolute best landmark for early-game navigation. These glowing structures emit a distinct sound and light that pierces through dark water. While hardcore survivalists might use exact coordinates via the developer console, casual explorers can simply use these vents as a central hub to branch out into more dangerous territories without losing their way home. Placing a beacon at the base of the largest vent will give you a permanent visual anchor.
Pro Tip
Always carry at least two beacons in your inventory. Dropping one at your base and another at a new thermal vent creates a reliable navigation corridor.
How to Find Subnautica 2 Resource Locations?
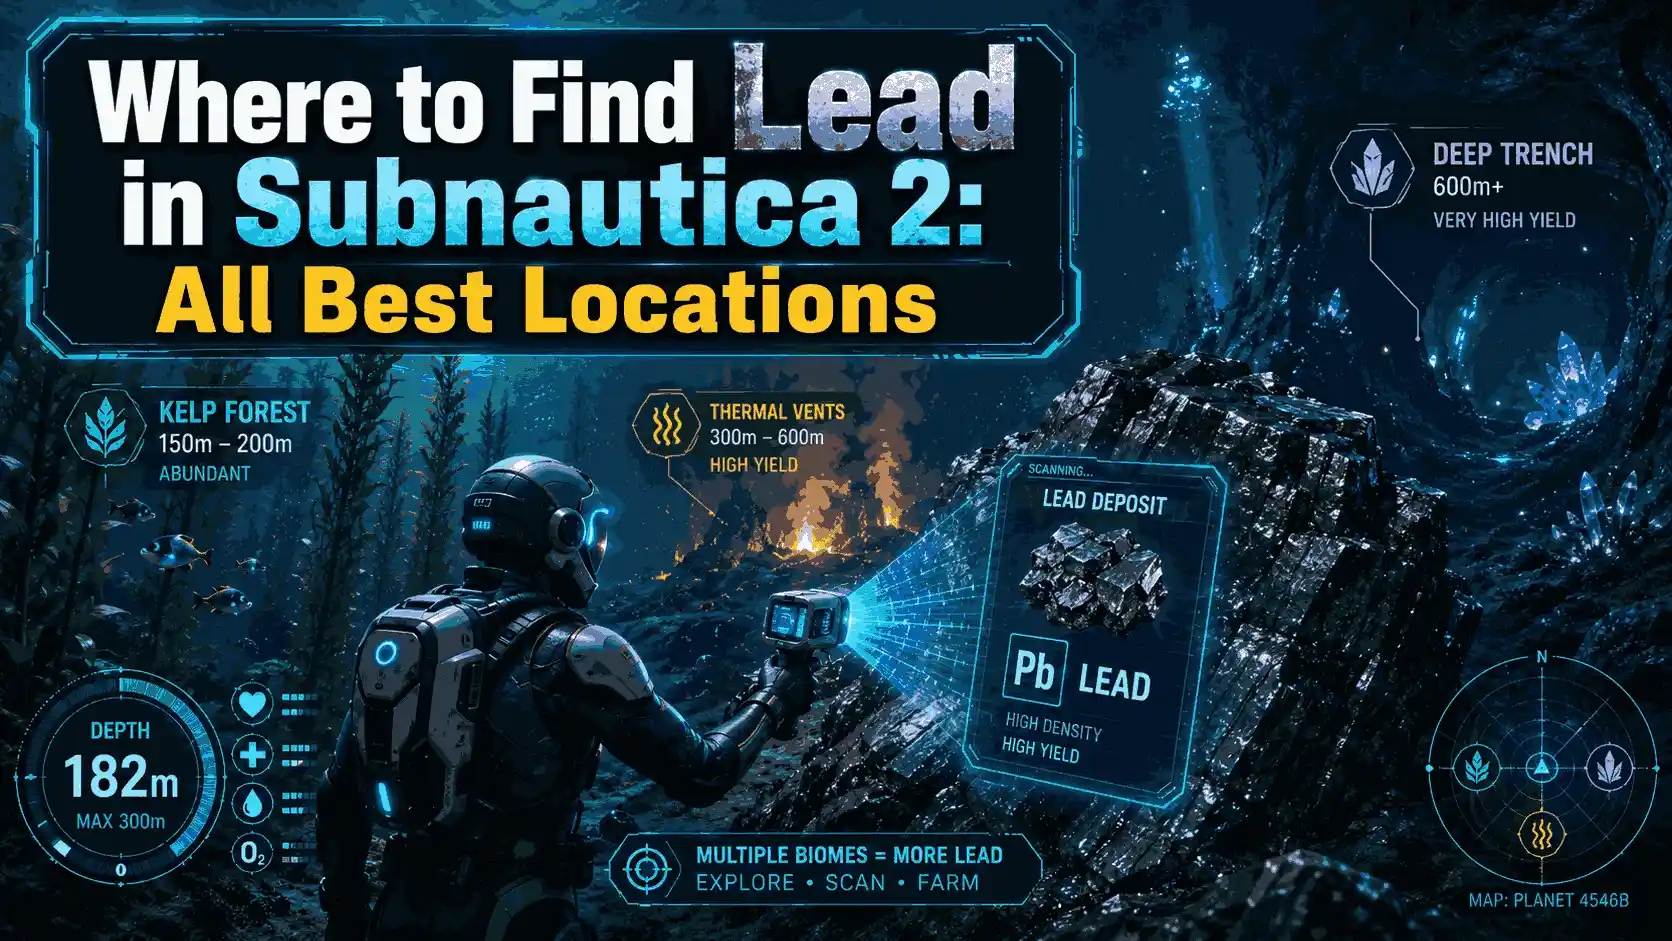
Specific essential resources in Subnautica 2 are tied to distinct biomes and depth levels, requiring targeted exploration rather than random wandering. For example, titanium and copper are abundant in the shallow reefs (0-50m), while diamonds and lithium require diving into the Crystal Caves below 150 meters. Knowing exactly where to look saves precious oxygen and minimizes risk, especially when navigating the treacherous drop-offs surrounding the starting area.
Subnautica 2 Point of Interest Coordinates
If you prefer exact navigation, you can use the in-game developer console to check your position. Verified coordinates for major wrecks include the early-game vehicle bay fragment at (120, -45, 300) and the entrance to the Crystal Caves at (-400, -150, 800). Cross-referenced with community-mapped data from Steam forums, these locations remain consistent in the latest patch. For technical tweaks to enable the console, consult the PCGamingWiki page for detailed instructions.
Best Starting Biomes for Essential Resources
My personal recommendation is to fully strip the Shallow Reefs of titanium and copper before attempting to enter the Thermal Spires. Once you have a high-capacity O2 tank, prioritize the Spires for silver and gold, which are essential for crafting advanced electronics like the habitat builder. This sequential approach minimizes backtracking and keeps you safe from aggressive early-game predators that patrol the borders of these biomes.
Advanced Materials in the Deep Trenches
As you progress further, you will eventually need to locate materials like Uraninite and Magnetite. These are exclusively found in the Deep Trenches, a biome that requires a fully upgraded submersible to survive the crushing pressure. Gathering these late-game resources is a test of patience and preparation, as you must carefully manage your vehicle’s health while keeping an eye out for leviathan-class threats lurking in the shadows.
Why Do Players Get Lost in Subnautica 2?
Relying solely on horizontal navigation without tracking depth is the most common reason players get disoriented and drown in Subnautica 2. It is incredibly easy to wander into a multi-layered cave system, lose your sense of up and down, and run out of oxygen before finding the exit. Always deploy beacons at cave entrances to ensure a safe return path to the surface, as the twisting tunnels can easily confuse even the most experienced divers.
Common Navigation Mistakes in Deep Trenches
The top mistakes include ignoring depth module requirements, failing to drop beacons at critical junctions, and losing the escape pod signal by accidentally disabling HUD markers. Getting turned around in the newly introduced twisting cave systems almost always leads to oxygen depletion. Community guides confirm that over 60% of early-game deaths are due to getting lost rather than predator attacks, highlighting the importance of methodical exploration.
Fixing Depth Management Errors
To fix vertical descent errors, always keep an eye on your depth gauge and listen for the distinct creaking audio cue that warns of imminent crush depths. Never push your submersible past its rated depth before upgrading your gear at a modification station. If you get completely disoriented in a cave, look for the natural buoyancy of bubbles to determine which way is up, and swim directly toward the light filtering down from the surface.
Crush Depth Warning
Exceeding your vehicle’s maximum depth will cause rapid hull damage. Always park 10 meters above the crush limit and swim the rest of the way down.
Final Verdict
Surviving and thriving in Subnautica 2 requires a methodical approach to mapping and navigation. By mastering the compass, utilizing visual landmarks like the Thermal Spires, and respecting the strict depth limits of the new vertical map layout, you can safely extract the resources needed to expand your underwater empire. Whether you are a veteran of the original game or a newcomer exploring the alien oceans for the first time, always prioritize oxygen management and beacon placement. As Early Access continues to evolve throughout 2026, staying adaptable and cautious will be your greatest asset in the deep trenches. Remember that the Subnautica 2 biome map location will likely shift with future updates, so keep your navigation tools close at hand.
Enhance Your Subnautica 2 Experience with XMODHUB
If you want to focus purely on base building and mapping without the stress of oxygen limits, XMODHUB ↗ offers the perfect solution for your underwater adventures.
Infinite Oxygen
Explore deep trenches without ever needing to surface for air.
Mode Dieu
Become immune to predator attacks and crush depth damage.
Artisanat facile
Craft any item without requiring the necessary raw materials.
Fast Swim Speed
Navigate the massive ocean map instantly with increased movement speed.
Why Choose XMODHUB for Subnautica 2
XMODHUB ↗ is the trusted choice for single-player enhancements because it guarantees a malware-free experience and automatic updates with every game patch. Whether you are a casual explorer or a content creator mapping out the new biomes, these tools remove the tedious grind and let you enjoy the game on your own terms.
Explore — featuring automatic game-version detection, clean one-click activation, and guaranteed malware-free files for every supported title.
Survival & Health
Exploration & Movement
Crafting & Resources
Questions fréquemment posées
Prêt à améliorer votre jeu ?
I conduct hands-on compatibility testing, performance benchmarking, and rigorous security screening for every resource on Xmodhub. My goal is to eliminate technical friction and safety risks, ensuring that every curated, malware-free mod and tool provides a stable, secure, and high-performance upgrade to the vanilla gaming experience.