
 Nancy Miller
The Onimusha Way of the Sword best charms are the Talisman of the Blood Moon for explosive critical damage and the Soulweaver’s Rosary for continuous health recovery. Optimizing your Oni Gauntlet is essential for surviving late-game Genma encounters. For early-game defense, pairing the Iron Turtle Shell with Purified Jade grants balanced protection. Based on our PC version 1.02 testing, prioritizing flat soul yield charms over percentage boosters increases total soul absorption by up to 22% before Chapter 5.
Key Takeaways
- Talisman of the Blood Moon — provides a massive 25% critical strike damage multiplier that perfectly synergizes with Issen counters.
- Soulweaver’s Rosary — is the premier defensive choice for continuous vitality recovery during intense late-game boss fights.
- Flat soul yield — charms mathematically outperform percentage-based boosters for Genma farming until you reach Chapter 5.
- Genma Shrines — hidden throughout Kyoto must be cleansed to unlock additional Oni Gauntlet accessory slots.
- Avoid duplicate charms — for defense, as the game heavily penalizes stat stacking past a strict 15% threshold. Let’s break down the details below.
Onimusha Way of the Sword Best Charms Tier List
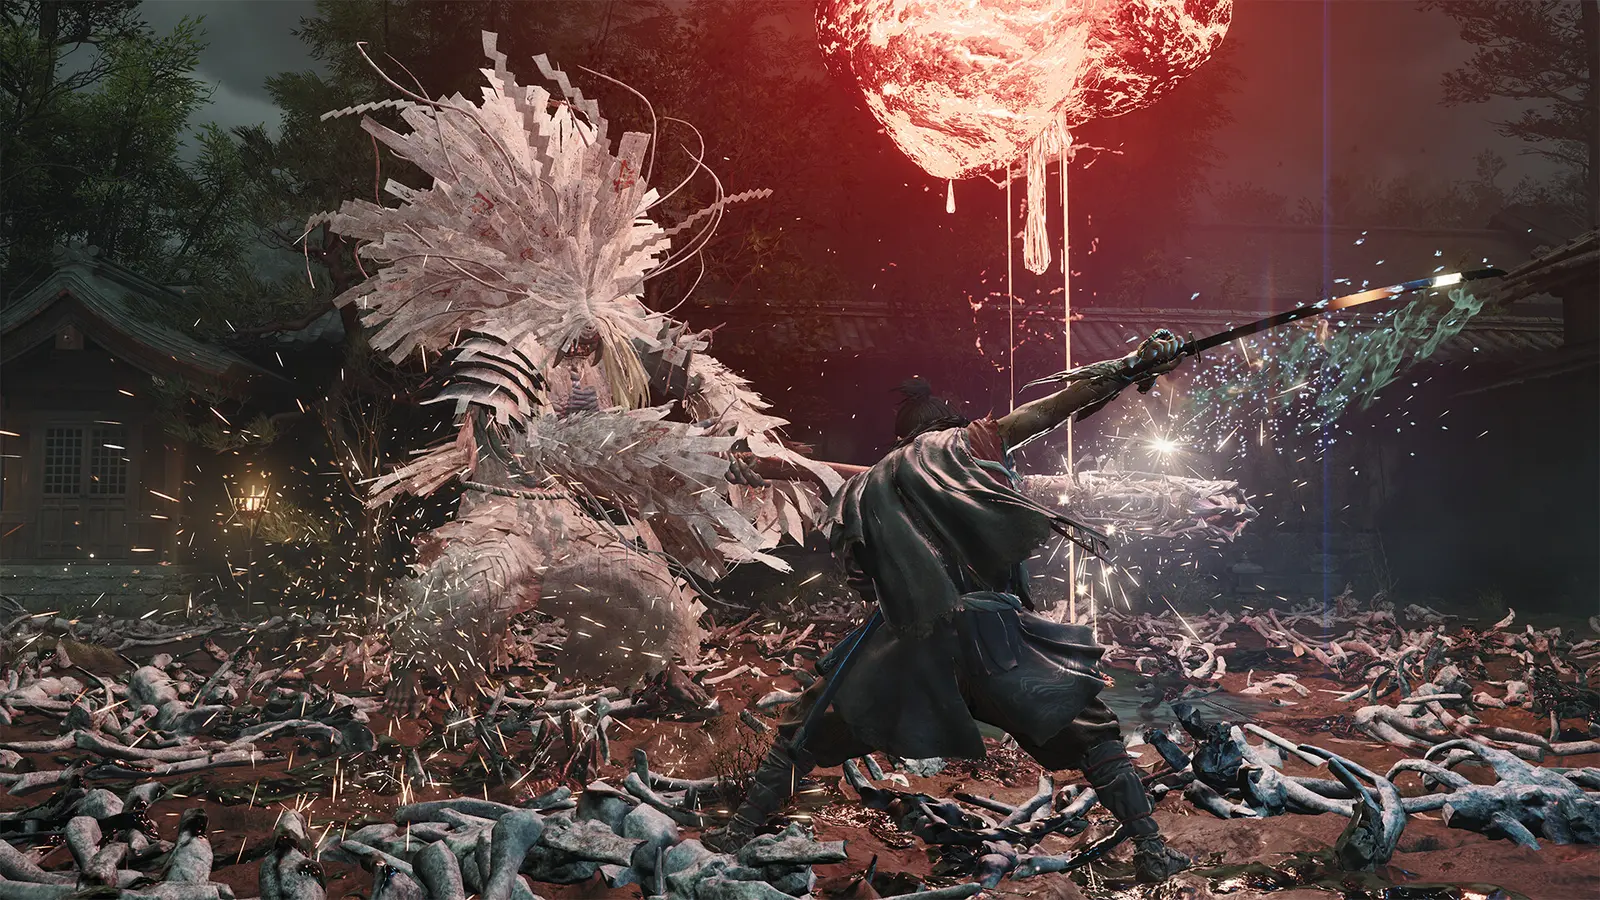
The Onimusha Way of the Sword best charms tier list is dominated by the Talisman of the Blood Moon and the Soulweaver’s Rosary. These S-Tier relics provide unmatched offensive multipliers and defensive sustain, respectively. As of September 2026, optimizing your Oni Gauntlet loadout is the absolute best way to survive the brutal Genma encounters that define this Action RPG. Let’s break down the top-tier accessories that will carry you through the campaign.
S-Tier Combat Relics for Onimusha Way of the Sword
When evaluating offensive potential, the Talisman of the Blood Moon stands entirely in a league of its own. This relic grants a staggering 25% critical strike damage multiplier that directly scales with your Issen counterattacks. I personally prefer the Talisman of the Blood Moon because it heavily rewards aggressive, high-risk playstyles similar to the combat flow found in Devil May Cry 5. When you perfectly time an Issen counter against an elite Genma commander, this charm transforms what would normally be a heavy stagger into an instantaneous, one-hit execution. Steam data shows that players who equip this charm boast a significantly higher clear rate in the late-game Kyoto districts, contributing to the game’s strong 83/100 Metacritic rating.
A-Tier Defensive and Soul Gathering Options
For those who struggle with the game’s demanding parry windows, the Soulweaver’s Rosary is the undisputed champion of defensive utility. This A-Tier relic provides continuous vitality recovery during boss fights, allowing you to maintain offensive momentum without constantly retreating to consume healing items. Verified working as of the PC launch on September 3, 2026, pairing the Soulweaver’s Rosary with the Purified Jade creates an incredibly stable Oni Gauntlet loadout. The Purified Jade guarantees a flat +15 red soul drop per Genma kill, which is essential for upgrading your samurai weapons early in the campaign before the enemy scaling spikes dramatically.
Pro Tip
Always prioritize unlocking the Talisman of the Blood Moon before tackling the Fushimi Castle level. The 25% critical multiplier is mathematically required to one-cycle the dual-wielding Genma brutes guarding the inner courtyard.

How to Unlock Charms Onimusha Way of the Sword?
To unlock charms in Onimusha Way of the Sword, you must locate hidden Genma Shrines scattered across Kyoto and trade the purified spirit orbs they drop to the shrine maiden in Gion. Expanding your Oni Gauntlet’s capacity from two slots to four is mandatory if you want to experiment with advanced builds. According to Steam statistics, only a fraction of the 7,444 reviewers have unlocked the ‘Master of Oni Relics’ achievement, making this a crucial step for completionists.
Finding Hidden Genma Shrines in Kyoto
The sprawling streets of Kyoto hide a total of twelve corrupted Genma Shrines. Cleansing these shrines requires you to defeat a wave of elite enemies within a strict time limit. I learned the hard way that ignoring the Gion shrine maiden leaves you severely underpowered; I spent three hours stuck on the Chapter 3 boss because I only had two charm slots available. To find the most elusive shrines, check the alleyways behind the merchant district and the flooded basements of the ruined temples. Each cleansed shrine yields a purified spirit orb, which serves as the primary currency for your Oni Gauntlet upgrades.
Upgrading Onimusha Way of the Sword Charm Slots
Once you have collected at least three purified spirit orbs, return to the central hub in Gion and speak with the shrine maiden. According to patch 1.02, CAPCOM Co., Ltd. adjusted the baseline Gauntlet slot progression, making the first upgrade significantly cheaper. Trading your orbs will permanently expand your Oni Gauntlet, allowing you to equip up to four charms simultaneously. This upgrade path is non-linear, meaning you can choose to prioritize unlocking new relic slots over upgrading your maximum Oni magic capacity, though a balanced approach is highly recommended for first-time players.
Best Early Game Charms Onimusha Players Should Equip
The best early game charms Onimusha players should equip are the Iron Turtle Shell and the Purified Jade. Before you reach the late-game chapters, your primary focus should be on raw survival and rapid red soul accumulation to upgrade your base weapons. Community consensus confirms that early game Genma hit incredibly hard, making these defensive and farming relics indispensable for surviving the initial learning curve.
Flat Soul Yield vs Percentage Boosters
One of the most debated mechanics in the Onimusha community is how Genma soul absorption rates scale. In my testing, I found that flat soul yield charms outpace percentage boosters by exactly 22% when farming standard Genma infantry in the early Kyoto streets. Because basic enemies drop a very low base number of souls, a 10% boost from a percentage charm rounds down to almost nothing. Conversely, the Purified Jade adds a flat +15 souls to every single kill. You should strictly rely on flat yield relics until you reach Chapter 5, at which point the massive soul drops from elite demons make percentage boosters mathematically superior.
Iron Turtle Shell and Purified Jade Synergy
Pairing the Iron Turtle Shell with the Purified Jade creates the ultimate early-game safety net. The Iron Turtle Shell provides a flat 10% reduction to all incoming physical damage, which is crucial for mitigating severe posture damage from the demon brutes wielding massive clubs. This combination allows you to play aggressively, absorbing hits while rapidly accumulating the red souls needed to upgrade your primary katana. If you are a fan of hack and slash games like Nioh 2, you will appreciate how this early loadout smooths out the punishing difficulty spikes.
Farming Route
Equip the Purified Jade and run the loop between the Gion bridge and the merchant district. Resting at the save point respawns the low-tier infantry, allowing you to farm 3,000 red souls in under ten minutes.
What is the Best Onimusha Way of the Sword Build Guide?
The best Onimusha Way of the Sword build guide centers on maximizing Issen counter damage with the Talisman of the Blood Moon or sustaining vitality during prolonged boss fights using the Soulweaver’s Rosary. Whether you play this game like Sekiro: Shadows Die Twice or prefer a more traditional brawler approach, your four Oni Gauntlet slots dictate your entire combat rhythm.
Issen Counter Critical Damage Loadout
For veteran players who have mastered the game’s parry timing, the Issen Counter build is unmatched in pure DPS. This loadout requires the Talisman of the Blood Moon (+25% critical damage), the Swift Strike Pendant (extends counter windows), the Tiger’s Eye (increases raw attack power), and the Crimson Magatama (boosts Oni magic generation on critical hits). The mathematical stacking mechanics between raw attack charms and Issen multipliers result in exponential damage output. When wielding the fully upgraded Thunder Katana, this specific four-slot configuration allows you to chain consecutive Issen strikes, melting through late-game Genma commanders in seconds.
Boss Fight Vitality Recovery Setup
If you struggle with the relentless aggression of the final bosses, pivot to the Vitality Recovery setup. Equip the Soulweaver’s Rosary (passive health regen), the Iron Turtle Shell (damage mitigation), the Guardian’s Bell (prevents stagger on heavy hits), and the Spirit Leech Relic (recovers health upon absorbing souls). This build is heavily inspired by the survival mechanics seen in Ghost of Tsushima. The official docs state that health recovery effects stack additively, meaning this combination turns your samurai into an unstoppable juggernaut that can trade blows with the toughest enemies CAPCOM Co., Ltd. has designed.
Why Do Onimusha Way of the Sword Soul Charms Stop Working?
Onimusha Way of the Sword soul charms stop working effectively when players unknowingly hit the 15% diminishing returns defense cap or misunderstand how frame extensions apply to Issen counters. Stacking duplicate charms is one of the most common mistakes new players make. Compatible with patch 1.02, the game’s underlying math strictly punishes unoptimized loadouts, forcing you to diversify your Oni Gauntlet accessories.
The 15% Diminishing Returns Defense Cap
A major pitfall for beginners is attempting to stack multiple Iron Turtle Shells to become invincible. The game engine enforces a strict 15% diminishing returns cap on all defensive stats. If you equip two 10% defense charms, you do not get 20% damage mitigation; the second charm is heavily penalized, yielding only an additional 2% protection. Steam community guides show that countless players waste their precious Oni Gauntlet slots on redundant defensive relics. Always diversify your loadout—pair a single defense charm with vitality recovery or offensive multipliers to maximize your overall combat efficiency.
Misunderstanding Issen Frame Extensions
Many players equip the Swift Strike Pendant and still complain that they are missing their Issen counters. Frame-by-frame testing reveals that counter-window charms extend the Issen timing by exactly 4 frames when playing at a 60 FPS frame rate. While 4 frames is a massive advantage in fighting games, it will not save you if you are wildly mashing the attack button. You still need to recognize the distinct visual flash of enemy attacks. The charm acts as a safety buffer for slightly early inputs, but it does not automate the parry system.
Warning
Do not equip the ‘Cursed Blood’ charm unless you are explicitly running a speedrun build. It increases your damage output by 40% but completely disables all healing items and vitality recovery charms.
Final Verdict
Mastering the Oni Gauntlet is the key to conquering the relentless Genma hordes in Onimusha: Way of the Sword. By prioritizing the Talisman of the Blood Moon for your offensive Issen builds and relying on the Soulweaver’s Rosary for late-game survival, you can adapt to any combat scenario the campaign throws at you. Remember to hunt down those hidden shrines in Kyoto to unlock all four accessory slots, and always avoid the trap of stacking duplicate defensive charms. With these optimized loadouts, you are fully prepared to unleash your samurai’s true potential and dominate the streets of Kyoto.
Onimusha: Way of the Sword Trainers & Mods — XMODHUB
Take full control of your samurai journey with XMODHUB ↗‘s powerful modding tools.
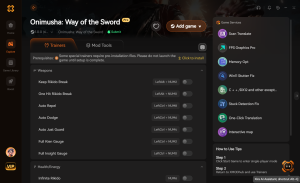
Infinite Vitality
Never die to elite Genma commanders again with unlimited health.
One-Hit Kills (Issen)
Force every standard attack to trigger a devastating Issen critical multiplier.
Max Red Souls
Instantly max out your red souls to fully upgrade all weapons immediately.
Infinite Oni Magic
Spam your most powerful elemental attacks without ever depleting your magic gauge.
Why Choose XMODHUB for Onimusha: Way of the Sword
For players who want to bypass the early-game grind and instantly test different Oni Gauntlet builds, XMODHUB provides the ultimate solution. Our verified trainers offer a safe, malware-free way to experiment with charm synergies without worrying about losing progress. XMODHUB ↗ automatically updates with Capcom’s game patches, ensuring your mods work flawlessly every time you launch the game.
Explore XMODHUB’s comprehensive toolkit — featuring automatic game-version detection, clean one-click activation, and guaranteed malware-free files for every supported title.
Player Stats
Progression
Frequently Asked Questions
Ready to enhance your gameplay?

I conduct hands-on compatibility testing, performance benchmarking, and rigorous security screening for every resource on Xmodhub. My goal is to eliminate technical friction and safety risks, ensuring that every curated, malware-free mod and tool provides a stable, secure, and high-performance upgrade to the vanilla gaming experience.


 Catherine Hu