Catherine Hu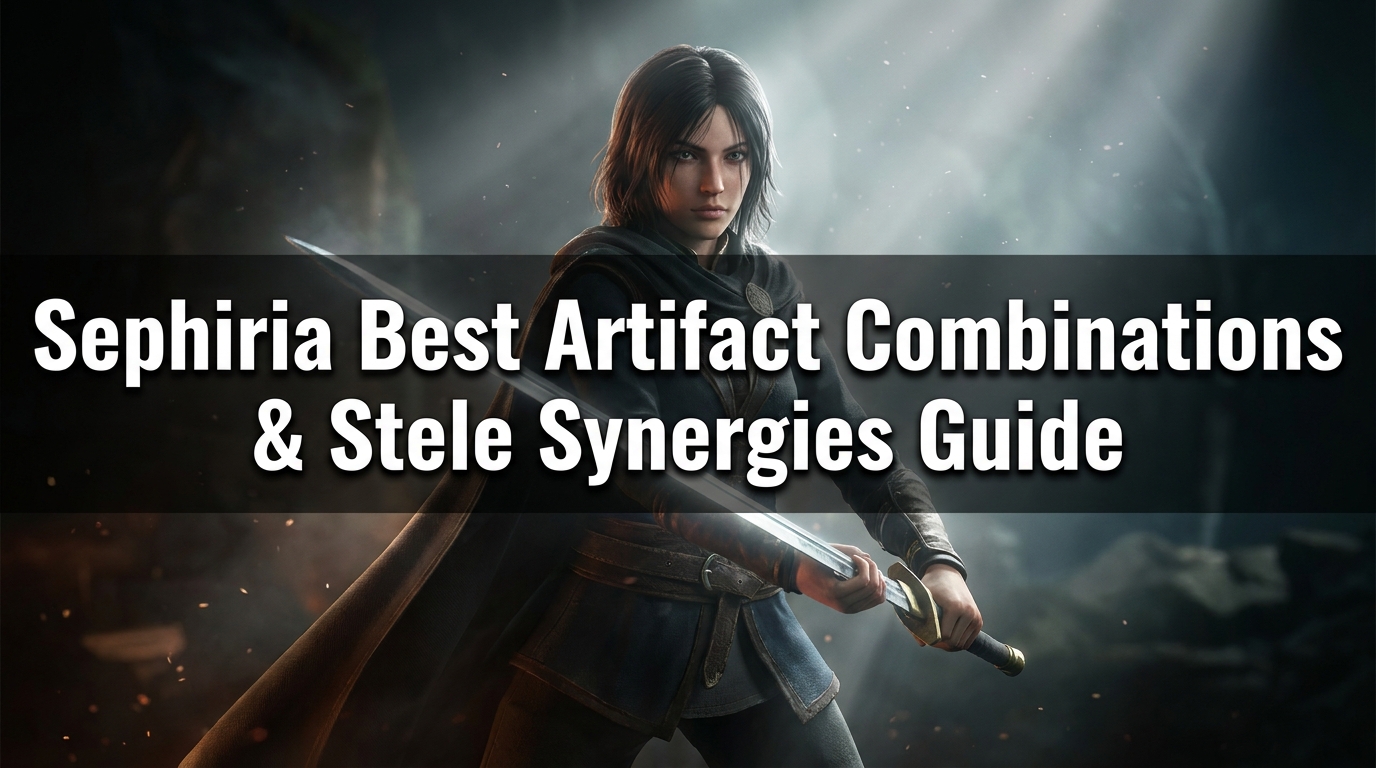
Picture this: you’ve finally descended to Chapter 4 of Sephiria, your brave bunny is wielding a fully upgraded weapon, and you’re feeling practically invincible. Then, a horde of elite enemies swarms you, and despite your frantic dodging, your poorly optimized grid of artifacts fails to proc any meaningful healing or damage mitigation, sending you straight back to the top of the tower. I have been there, staring at the “Game Over” screen, realizing that raw reflexes aren’t enough in TEAM HORAY’s pixel-art masterpiece.
Editor’s Note: With over 1,000 hours logged since the Early Access phase and pushing deep into the July 2026 1.0 release of Sephiria, I’ve tested every single inventory grid layout. The difference between a struggling run and a god-tier expedition lies entirely in how you arrange your backpack. This guide will break down the exact math behind artifact placement and stele (tablet) empowerment so you never waste a grid slot again.
TL;DR: The Short Answer
For players looking for the immediate Sephiria Best Artifact Combinations & Stele Synergies to dominate their next run, here is the absolute optimal meta setup:
- The Sweeping Bruiser Combo: Place the “Vampiric Fang” artifact directly adjacent to the “Wide Arc Pendant” to synergize sweeping attacks with massive lifesteal on multiple targets.
- Stele of Multiplication Placement: Position this specific Stele (Tablet) in the absolute center of your inventory grid to empower up to eight surrounding 1×1 artifacts simultaneously, granting them all a 25% stat boost.
- Precision Block Engine: Combine the “Iron Carrot Shield” with the “Counter-Strike Sigil” and empower them with a “Stele of Haste” to drastically reduce block cooldowns and guarantee critical hits on successful parries.
- Elemental Weapon Pairing: Always match your artifact elemental damage types with your main weapon’s innate element to trigger the hidden 50% synergy damage multiplier.
Table of Contents
- TL;DR: The Short Answer
- The Core Mechanics of Sephiria Inventory Management
- Common Mistakes Ruining Your Sephiria Builds
- Sephiria Best Artifact Combinations
- Mastering Stele Synergies (Tablet Placement)
- Alternative Methods: Early Game vs. Late Game Builds
- Advanced Tips for Inventory Tetris
- Skip the Grind: The XMODhub QoL Solution
- Sephiria Artifact and Stele Tier List
- Frequently Asked Questions
- Final Verdict
The Core Mechanics of Sephiria Inventory Management
Unlike traditional top-down action roguelites where picking up an item simply adds a passive buff to your character sheet, Sephiria demands strategic inventory management. Every time you descend further into the tower, you collect Artifacts and Tablets (often referred to as Steles or Slates in the lore). Your inventory is a grid, and how you arrange these shapes dictates your actual power level.
Artifacts provide your base passive buffs—things like increased attack speed, enhanced sweeping attack range, or larger windows for precise blocking. Steles, on the other hand, are empowerment tools. They do nothing on their own but project powerful buff auras to adjacent grid squares. To survive the 60+ distinct enemies and over 10 unique bosses Sephiria throws at you, you must master this spatial puzzle.
Of course, before you even worry about fine-tuning your backpack layout, you need raw, underlying damage. If you are struggling to output baseline DPS to clear standard rooms, you should first check out our comprehensive guide on How to Upgrade Weapons in Sephiria (Fast Material Route)) to ensure your base weapon stats are up to par.
Common Mistakes Ruining Your Sephiria Builds
Before we dive into the optimal setups, we must address why your current runs are failing. In Sephiria, poor inventory management will artificially inflate the game’s difficulty. Here are the most common mistakes players make:
1. The “Junk Drawer” Grid Lock
The most frequent mistake new players make is treating their inventory like a junk drawer. Whenever a new artifact drops, they simply slot it into the first available empty space. This leads to “Grid Lock,” where odd-shaped artifacts (like L-shapes or 1×3 lines) block the placement of crucial 2×2 Steles later in the run. If you aren’t leaving a 2×2 or 3×3 core open in the center of your inventory during Chapters 1 and 2, you are sabotaging your late-game potential.
2. Ignoring Directional Stele Synergies
Not all Steles buff in a 360-degree radius. Many powerful Tablets, such as the “Stele of the Forward Vanguard,” only buff artifacts placed directly to their left or right, ignoring the top and bottom slots. Players often place their highest-tier damage artifacts above this Stele, completely missing out on the intended 40% damage multiplier. Always read the directional arrows on your Steles.
3. Over-Stacking a Single Stat
Because Sephiria features fast-paced combat, players often panic and stack purely defensive artifacts, filling their grid with health boosts and block-window extenders. While precise blocking is a core mechanic, Sephiria’s bosses have enrage timers and escalating bullet-hell patterns. If you over-invest in defense without synergizing with offensive Steles, you will simply prolong an inevitable death because you lack the DPS to finish the fight.
Sephiria Best Artifact Combinations
To conquer the 6 chapters of Sephiria, you need to build with intent. Based on extensive testing across all 6 distinct weapons, here are the absolute best artifact combinations you should be hunting for.
The Sweeping Bruiser (AoE Lifesteal Build)
This combination is designed for players who prefer heavy weapons with wide sweeping attacks.
- Core Artifacts: Wide Arc Pendant (increases sweep radius by 30%) + Vampiric Fang (heals 2 HP per enemy hit).
- The Synergy: By placing these two artifacts next to each other and linking them with a “Stele of the Leech,” the healing effect is multiplied by the number of enemies hit in a single sweep. In crowded rooms in Chapter 4, a single well-timed sweeping attack can heal you from 10% to full health instantly.
The Precision Block Punisher (Parry/Crit Build)
If you prefer a high-skill ceiling playstyle focused on precise blocking, this is the ultimate boss-killer setup.
- Core Artifacts: Iron Carrot Shield (increases parry window by 0.2 seconds) + Counter-Strike Sigil (next attack after a successful block deals 200% critical damage).
- The Synergy: This combo relies on the “Stele of Haste.” Placing the Stele of Haste adjacent to the Counter-Strike Sigil reduces the internal cooldown of the critical buff. When executed perfectly, you can parry a boss’s multi-hit combo and retaliate with three consecutive 200% critical strikes, melting health bars in seconds.
The Elemental Status Spreader (DoT Build)
Perfect for four-player online cooperative play where one player needs to act as the debuffer.
- Core Artifacts: Toxic Vial (attacks apply poison) + Sparking Flint (attacks apply burn).
- The Synergy: Place these around a “Stele of Resonance.” This specific Tablet causes adjacent elemental artifacts to merge their effects. Instead of applying poison and burn separately, your attacks will now apply “Corrosive Fire,” a unique status effect that shreds enemy armor while dealing damage over time.
Mastering Stele Synergies (Tablet Placement)
Finding the Sephiria Best Artifact Combinations & Stele Synergies is only half the battle; placing them correctly is where true mastery lies. The geometry of your inventory grid changes as you unlock backpack expansions, but the fundamental placement strategies remain the same.
The “Cross” Formation
The most reliable setup for the mid-game (Chapters 3 and 4) is the Cross Formation. Place your most powerful, universally applicable Stele (like the Stele of Multiplication) dead center in your grid. Then, place your four most vital 1×1 or 1×2 artifacts directly on the top, bottom, left, and right edges of the Stele. This guarantees that your core artifacts are always receiving maximum empowerment without wasting grid space on diagonal dead zones.
The “Corner Anchor” Strategy
Some Steles have negative side effects, such as the “Stele of the Berserker,” which increases artifact damage by 50% but increases damage taken by 20% for every adjacent defensive artifact. To use this safely, place the Berserker Stele deep in the corner of your inventory grid. Surround it exclusively with offensive artifacts, and keep all your defensive artifacts (like health amulets) on the complete opposite side of the grid to prevent the negative synergy from triggering.
Alternative Methods: Early Game vs. Late Game Builds
RNG is a cruel mistress in any roguelite. You won’t always get the exact items needed for the Sephiria Best Artifact Combinations & Stele Synergies. When the game refuses to give you the pieces for a meta build, you must pivot to alternative methods.
Alternative Method 1: The Scrapper Route (Economy Focus)
If you reach Chapter 2 and haven’t found any synergistic Steles, abandon the dream of a god-tier combat grid. Instead, pivot to an economy build. Slot in “Golden Paw” artifacts and “Merchant’s Slates.” These increase the currency you get from defeated enemies and lower shop prices. Use this wealth to buy guaranteed high-tier artifacts from the animal character vendors in the safe zones. You will be weaker in combat, so you must rely heavily on your fundamental dodging and precise blocking skills, but you will guarantee a massive power spike by Chapter 5.
Alternative Method 2: The Defensive Turtle
If offensive artifacts simply aren’t dropping, you must adapt your playstyle. Stack every health, armor, and block-enhancing artifact you can find. While this violates the “don’t over-stack defense” rule mentioned earlier, it is a necessary survival tactic when RNG fails you. To make this work, you must rely entirely on the innate damage of your fully upgraded main weapon. Combat will take twice as long, requiring intense focus to maintain your precise blocks over extended boss fights, but it is a viable path to victory if you are patient.
Advanced Tips for Inventory Tetris
For the top 1% of Sephiria players, inventory management doesn’t stop when you leave a room.
- Dynamic Mid-Combat Swapping: While the game pauses when you open your inventory in single-player mode, you can actually rearrange your grid mid-boss fight. If a boss transitions from a melee phase to a bullet-hell phase, quickly open your inventory, detach your sweeping attack artifacts from your primary Stele, and slot in your movement speed and precise block artifacts.
- Co-op Grid Specialization: In four-player online cooperative play, trying to build a “jack-of-all-trades” grid is a massive mistake. Communicate with your team. One player should dedicate their entire grid to AoE sweeping synergies for crowd control, while another builds purely for single-target parry/crit damage to handle elite enemies.
- The Weapon Tree Pivot: Remember that your artifacts must complement your weapon tree. If you unlock a weapon talent that grants innate lifesteal, immediately remove your Vampiric Fang artifact from the grid. The effects suffer from diminishing returns, and that grid space is better utilized for raw damage or attack speed Steles.
Skip the Grind: The XMODhub QoL Solution
Let’s be brutally honest: testing the Sephiria Best Artifact Combinations & Stele Synergies requires an immense amount of grinding. Because Sephiria is a roguelite, dying in Chapter 5 means starting all over again. Trying to organically farm the exact “Counter-Strike Sigil” and “Stele of Haste” in the same run to practice your parry timing against the Chapter 6 boss can take dozens of hours of repetitive gameplay.
If you want to respect your own time, bypass the RNG, and immediately start theory-crafting and testing endgame builds, XMODhub is the ultimate Quality of Life (QoL) solution. XMODhub allows you to safely manipulate the game’s memory to grant yourself infinite health, infinite inventory currency, or even force specific artifacts to drop, letting you build your dream grid instantly.
Here is how to set up your ultimate testing environment in three simple steps:
- Download XMODhub: Visit the official XMODhub website and install the lightweight, secure client on your PC.

- Auto-Detect Sephiria: Launch Sephiria via Steam. Open XMODhub, and the software will automatically detect the game’s active process and load the specific, up-to-date mod menu for Sephiria’s latest patch.

- Toggle Cheats: Navigate to the overlay and toggle on features like “Infinite Currency” (to buy every artifact from vendors) or “God Mode” (to practice precise boss parry timings without the fear of ending your run).
With XMODhub, you can transform Sephiria from a punishing roguelite into a sandbox playground for build customization.
Sephiria Artifact and Stele Tier List
To truly master your inventory grid, you must know which items provide the highest return on investment for their spatial footprint. Below is a definitive tier list of the most impactful items to hunt for, optimizing your Sephiria Best Artifact Combinations & Stele Synergies.
| Tier | Item Name | Category | Core Synergy / Effect | Grid Size |
|---|---|---|---|---|
| S-Tier | Stele of Multiplication | Stele | Grants a +25% stat boost to all 8 surrounding artifact slots. | 2×2 |
| S-Tier | Counter-Strike Sigil | Artifact | Guarantees 200% Critical Damage on the next attack after a parry. | 1×1 |
| A-Tier | Vampiric Fang | Artifact | Heals 2 HP per enemy hit (Incredible for AoE sweeping builds). | 1×2 |
| A-Tier | Stele of Resonance | Stele | Merges adjacent elemental effects into dual-status debuffs. | 2×2 |
| B-Tier | Golden Paw | Artifact | Increases currency drop rate by 15% (Strictly for economy runs). | 1×1 |
| C-Tier | Iron Carrot Shield | Artifact | Increases parry window by 0.2s (Useful early, outscaled late game). | 2×1 |
Grid Expansion Milestones
Understanding when your inventory grows is just as crucial as knowing what to put inside it. You cannot force a late-game Stele of Resonance setup in Chapter 1. Plan your build around these critical expansion milestones:
- Chapter 1 & 2 (The 4×4 Grid): Focus purely on raw stats. Stick to 1×1 and 1×2 artifacts. Do not hoard large 2×2 Steles yet, as they will cause severe Grid Lock.
- Chapter 3 (The 6×6 Grid): This is your first major power spike. You now have enough room to execute the “Cross” Formation. Begin transitioning your early-game stat sticks into Stele-empowered synergy engines.
- Chapter 5 (The 8×8 Grid): The final expansion. By this point, you should be fully committed to your specialized endgame build, such as the Precision Block Punisher, utilizing the outer edges for utility and the core for massive boss DPS.
Frequently Asked Questions
Can I rotate artifacts in the Sephiria inventory grid?
Yes. Unlike some inventory management games, Sephiria allows you to rotate artifacts 90 degrees. This is absolutely critical for fitting L-shaped or awkward rectangular artifacts around your central Steles to maximize synergy coverage.
Do Stele buffs stack if they overlap on a single artifact?
Yes, they do, but with a caveat. If you place an artifact in a grid square that is being targeted by two different Steles, the buffs are additive, not multiplicative. For example, two Steles offering a 20% damage boost will grant the artifact a total 40% boost, not 44%.
What is the best artifact combination for the final Chapter 6 boss?
The Chapter 6 boss relies heavily on rapid, multi-hit combo attacks. The “Precision Block Punisher” build (Iron Carrot Shield + Counter-Strike Sigil + Stele of Haste) is widely considered the best setup, as it allows you to interrupt the boss’s combo string with guaranteed critical hits.
Does four-player co-op change artifact drop rates?
Yes. In online cooperative play, the game dynamically scales the number of artifact drops to ensure all four players can build their grids. However, the drop pool is shared, meaning you must communicate with your team to ensure players aren’t stealing artifacts that synergize better with another player’s Stele setup.
Final Verdict
Mastering the Sephiria Best Artifact Combinations & Stele Synergies is what separates average players from true roguelite veterans. By understanding the spatial puzzle of your inventory, avoiding grid lock, and prioritizing powerful synergies over random stat hoarding, you will transform your brave bunny into an unstoppable force capable of clearing all 6 chapters with ease. Remember to constantly adapt your grid based on the Steles you find, and never be afraid to pivot your build if the RNG dictates a different path.
For those who love the deep theory-crafting of games like The Binding of Isaac – Rebirth or Hades II but despise the mandatory hours of grinding just to test a single build concept, tools like XMODhub are a game-changer. Supporting over 5,000+ PC titles, XMODhub empowers you to skip the tedious farm and dive straight into the most enjoyable part of Sephiria: building the ultimate, screen-clearing inventory grid. Happy descending, and may your parries always be perfectly timed.

Stop Grinding, Start Enjoying.
Bypass the tedious resource gathering and unlock your full potential instantly.

I am a passionate gamer and writer at XMODhub, dedicated to bringing you the latest gaming news, tips, and insights.
Connect with me:
LinkedIn Profile ↗