Catherine Hu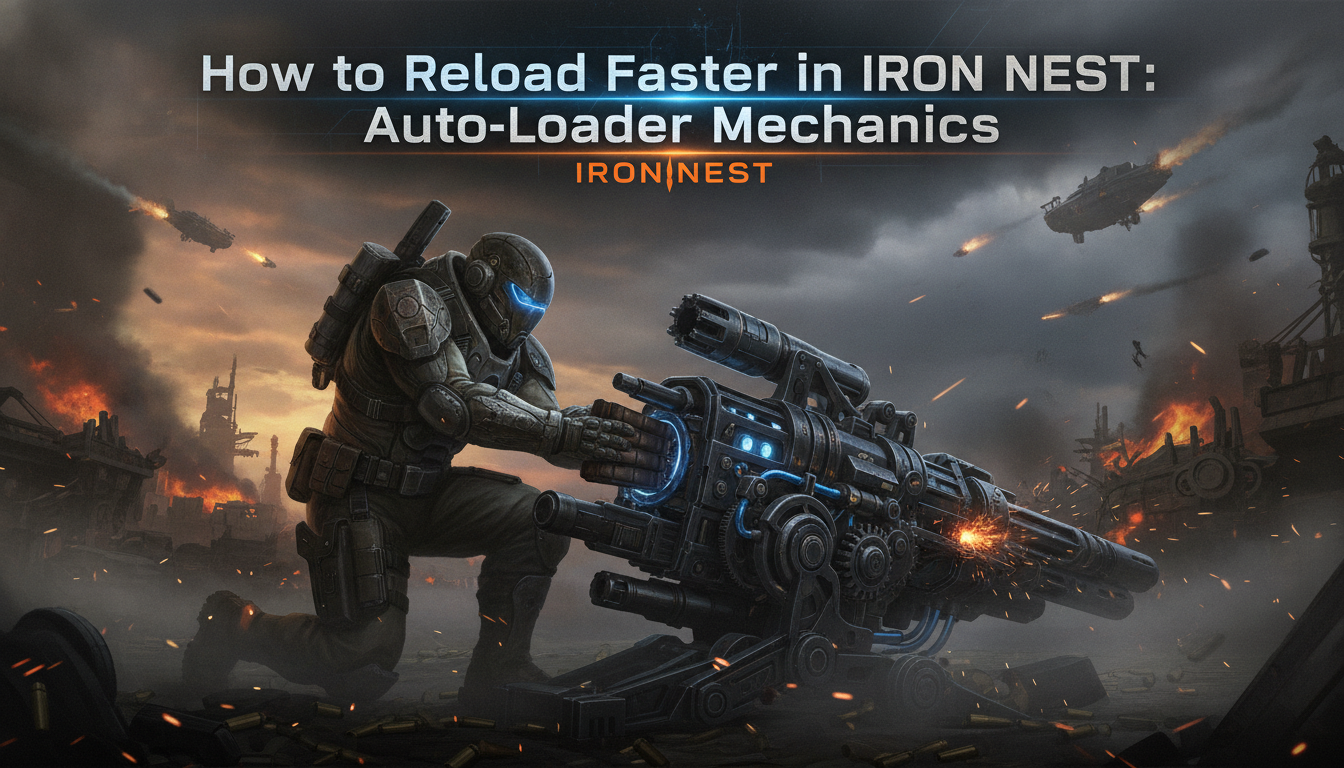
You’ve calculated the firing solution perfectly, lined up the shot, and pulled the trigger. The 5,000-ton turret roars, sending a shell hurtling toward the target. But then comes the grueling wait. You are staring at the immense breech of your cannon, frantically pulling levers, watching the pressure gauges slowly climb while High Command screams for a follow-up bombardment. If you are struggling with agonizingly slow reload times in IRON NEST: Heavy Turret Simulator, you are not alone. Failing to optimize the auto-loader mechanics is the number one reason operators miss critical mission windows or fail to establish sustained fire.
Editor’s Note: When I first stepped into the dieselpunk cabin of IRON NEST: Heavy Turret Simulator, my reload cycle took nearly 45 seconds. I was treating the machinery like a sequence of isolated tasks rather than a flowing system. After spending dozens of hours tweaking hydraulics and mastering the auto-loader timing, I brought that cycle down to a blistering 18 seconds. This guide breaks down the exact sequence you need to master.
TL;DR: The Short Answer
To reload faster in IRON NEST: Heavy Turret Simulator, you must synchronize your hydraulic pressure with the auto-loader sequence. Follow this optimized loop:
- Pre-Spool Hydraulics: Keep your auxiliary pump running at 60-75% capacity before firing to minimize post-shot spool-up time.
- Eject Immediately: Vent the breech gas exactly 1.5 seconds after the main recoil dampeners reset.
- Engage the Tray: Slide the auto-loader tray into position while the gas is venting, not after.
- Rammer Timing: Ram the shell the moment the tray locks; do not wait for the confirmation light.
- Close and Prime: Snap the breech shut manually and immediately route pressure back to the main firing pistons.
Table of Contents
- TL;DR: The Short Answer
- Understanding the 5,000-Ton Reload Cycle
- Mastering the Auto-Loader Mechanics
- Common Mistakes That Ruin Your Fire Rate
- Advanced Techniques: The “Hot Breech” Method
- Skip the Grind with XMODhub
- Ammunition Weight and Its Impact on Reload Speed
- Frequently Asked Questions
- Final Verdict: Mastering the Iron Beast
Understanding the 5,000-Ton Reload Cycle
IRON NEST: Heavy Turret Simulator is not a traditional shooter where pressing ‘R’ magically fills your magazine. You are operating a colossal dieselpunk war machine. The reloading process is a physical, mechanical operation that requires managing hundreds of tons of steel and high-pressure fluids.
The auto-loader is not truly “automatic” in the modern sense; it is a heavy mechanical assist system that still requires manual oversight. The entire cycle is dictated by hydraulic pressure. If your pressure is too low, the machinery moves sluggishly. If it is too high in the wrong subsystems, pipes burst, and you have to engage emergency overrides, costing you precious minutes. Speed comes from fluidity—knowing which valve to turn before the previous mechanism has even finished moving.
Mastering the Auto-Loader Mechanics
To significantly decrease your reload times, you need to break down the process into overlapping phases. The goal is to eliminate dead time where the machinery is waiting for your input.
Phase 1: Hydraulic Pre-Management
The most critical secret to a fast reload happens before you even fire the gun. Most novice operators focus entirely on the gunlaying process—taking map measurements, straining the hydraulics to adjust elevation and azimuth—and neglect their auxiliary pressure.
When you fire, the recoil system consumes a massive spike of hydraulic fluid. If your auxiliary pump is idling, the auto-loader will not have the power to move the heavy shell tray quickly.
To fix this, constantly monitor your secondary pressure gauge (usually located on the lower right of the main console). Keep the auxiliary pump throttled at around 60-75% while you are locking in your coordinates. This ensures that the moment the gun returns to battery (its resting position after recoil), the auto-loader system is fully pressurized and ready to move instantly.
For a complete breakdown on how to balance your power routing without causing a catastrophic system failure, check out our Iron Nest UI Explained: The Ultimate Guide to Dials & Indicators to ensure your initial shots hit the mark perfectly, making your follow-up reloads even more devastating.
Phase 2: The Ejection Sequence
Once the cannon fires, the cabin will shake, and the deafening roar will echo. Do not freeze. Watch the recoil dampener indicators. As soon as the massive barrel slides back into its forward locked position, you must eject the spent casing and vent the residual gases.
The rookie mistake is waiting for the green “Clear” light on the breech panel. That light has a deliberate delay built into the game’s hardware simulation. Instead, listen to the mechanical clunk of the dampeners resetting. Exactly 1.5 seconds after that sound, pull the breech release lever.
Simultaneously, you must activate the gas venting system. If you try to load a new shell while the breech is full of superheated dieselpunk exhaust, the safety interlocks will jam the auto-loader tray, costing you a minimum of ten seconds to reset. Vent and open the breech at the exact same time.
Phase 3: Tray Alignment and Ramming
This is where the actual “auto-loader” part comes in. The shell tray holds the massive projectile and must align with the open breech.
Do not wait for the breech to fully open before moving the tray. As the heavy steel doors of the breech are swinging outward, throw the lever to engage the auto-loader tray. By the time the tray reaches the center alignment point, the breech will have just finished opening. This overlapping of actions shaves crucial seconds off your cycle.
Once the tray locks into place with a heavy metallic thud, hit the rammer switch immediately. The hydraulic rammer pushes the shell from the tray into the chamber. The moment the shell clears the tray, reverse the tray lever to send it back to the magazine, and simultaneously slam the breech shut. Do not watch the rammer retract; start closing the door as the rammer is moving backward.
Common Mistakes That Ruin Your Fire Rate
Even if you know the steps, the pressure of procedurally generated objectives and High Command’s barking orders can lead to mistakes. Here is what to avoid:
- Redlining the Hydraulics: Pushing the main pump to 100% to speed up the gunlaying will starve the auto-loader. You must balance the flow.
- Ignoring the Heat Gauges: If you fire too rapidly without proper venting, the breech expands due to heat. A swollen breech means the auto-loader tray will struggle to align perfectly, causing a slow, grinding insertion that damages the machinery.
- Sequential Thinking: Waiting for Action A to finish completely before starting Action B. You must operate the levers like a pianist playing chords, not single notes.
Advanced Techniques: The “Hot Breech” Method
For the absolute fastest reload times, elite operators utilize a risky technique known as the “Hot Breech.” This involves bypassing the standard safety interlocks entirely.
By flipping the manual override switch on the main console (hidden under a red safety cover), you disable the sensor that prevents the breech from closing while the tray is still partially in the way.
In this mode, you initiate the breech closing sequence while the auto-loader tray is still retracting. The margin for error is razor-thin; if your timing is off by half a second, the heavy steel breech doors will crush the retracting tray, permanently jamming the weapon and failing the mission. However, if executed perfectly, the “Hot Breech” method allows you to fire follow-up shots in under 15 seconds, creating a truly devastating barrage.
Skip the Grind with XMODhub
Let’s be honest: manually operating hundreds of valves, managing hydraulic pressure, and perfectly timing a 5,000-ton auto-loader while trying to hit a target miles away is incredibly stressful. If you love the dieselpunk aesthetics and the strategic map work of IRON NEST: Heavy Turret Simulator but find the brutal manual labor of reloading tedious, there is a much better way to play.
Enter XMODhub. Why suffer through repetitive lever-pulling when you can automate the grunt work and focus on the tactical destruction? XMODhub offers a dedicated, undetectable toolset for IRON NEST: Heavy Turret Simulator, featuring an Instant Reload Toggle and Infinite Hydraulic Pressure.
Getting started takes less time than a single manual reload cycle:
- Download XMODhub: Install the lightweight client from the official site.

- Auto-Detect IRON NEST: Heavy Turret Simulator: Launch the app, and it will instantly recognize your game installation.
- Toggle Cheats: Activate “Instant Auto-Loader” and “Bypass Heat Mechanics” via the overlay.
Pull the trigger, and watch your colossal war machine rain uninterrupted hellfire on the coordinates. It completely changes the dynamic of the game, letting you enjoy the spectacle without the sweat.
Download IRON NEST: Heavy Turret Simulator Trainer Now
Ammunition Weight and Its Impact on Reload Speed
While mastering the hydraulic loop is the foundation of learning how to reload faster in iron nest, many operators overlook the physical mass of the ordnance. The auto-loader mechanics are heavily influenced by the type of shell you select. Heavier shells require more hydraulic pressure to lift and ram, inherently slowing down the cycle if you do not adjust your auxiliary pump flow to compensate.
If you are switching from standard high-explosive rounds to dense armor-piercing sabots, your tray alignment timing will change. You must anticipate the sluggishness of the Heavy AP shells and pre-allocate an extra 15-20% hydraulic pressure to the auto-loader subsystem before triggering the rammer.
Shell Type Hydraulic Cost Analysis
To optimize your sustained fire rate, memorize how different munitions affect your mechanical output. Below is the operational data for the most common shell types and their impact on your reload speed:
| Shell Type | Weight (Tons) | Required Hydraulic Draw | Tray Speed Modifier |
|---|---|---|---|
| Standard HE (High Explosive) | 2.5 | 45% | 100% (Base Baseline) |
| Heavy AP (Armor Piercing) | 3.8 | 65% | 85% (-15% Speed) |
| Incendiary Cluster | 2.1 | 35% | 110% (+10% Speed) |
| Tungsten Bunker Buster | 4.5 | 80% | 70% (-30% Speed) |
When loading a Tungsten Bunker Buster, attempting the “Hot Breech” method is virtually a guaranteed catastrophic failure due to the 30% reduction in tray speed. Always stick to standard sequential loading for super-heavy ordnance unless you are running infinite pressure modifications.
Frequently Asked Questions
Why does my auto-loader tray get stuck halfway to the breech?
This is almost always a hydraulic pressure issue. If you diverted too much pressure to the turret traverse motors (rotating the massive gun) and didn’t leave enough in the auxiliary tank, the tray won’t have the power to move. Reset your flow valves.
Is there a way to upgrade the auto-loader in the game?
No, IRON NEST: Heavy Turret Simulator does not feature an RPG-style upgrade tree. The speed of the machine is fixed; the only thing that upgrades is your skill and timing as an operator in the cabin.
What happens if I forget to vent the gases before ramming a new shell?
The game simulates backpressure. If you try to force a shell into an unvented, hot breech, the resulting pressure spike will trigger a safety lockout. You will have to manually bleed the valves, costing you massive amounts of time.
Can I operate the turret completely solo?
Yes, the game is designed as a single-player experience. While it feels like a multi-crew vehicle, the layout of the cabin allows a skilled solo player to manage the map, the communications, the hydraulics, and the firing sequence—if they move efficiently.
Final Verdict: Mastering the Iron Beast
Learning how to reload faster in IRON NEST: Heavy Turret Simulator is the true test of your capability as an operator. It requires shifting your mindset from playing a video game to operating a complex piece of heavy machinery. By pre-spooling your hydraulics, perfectly timing your ejection sequences, and overlapping your mechanical inputs, you can tame the 5,000-ton beast and deliver punishing, sustained artillery fire. The learning curve is steep, but the mechanical satisfaction of a perfectly executed 18-second reload cycle is unmatched in the simulation genre.
Of course, if you prefer to bypass the mechanical grind and focus purely on the tactical bombardment, XMODhub is your ultimate commander. With support for over 5,000 single-player PC games, XMODhub ensures you play exactly how you want. Whether you are manipulating resource economies in IRON NEST: Heavy Turret Simulator, surviving the harsh winters in Frostpunk, or building massive defensive perimeters in They Are Billions, XMODhub gives you the power to play the game exactly how you want. 
Stop Grinding, Start Enjoying.
Bypass the tedious resource gathering and unlock your full potential instantly.

I am a passionate gamer and writer at XMODhub, dedicated to bringing you the latest gaming news, tips, and insights.
Connect with me:
LinkedIn Profile ↗
 Nancy Miller