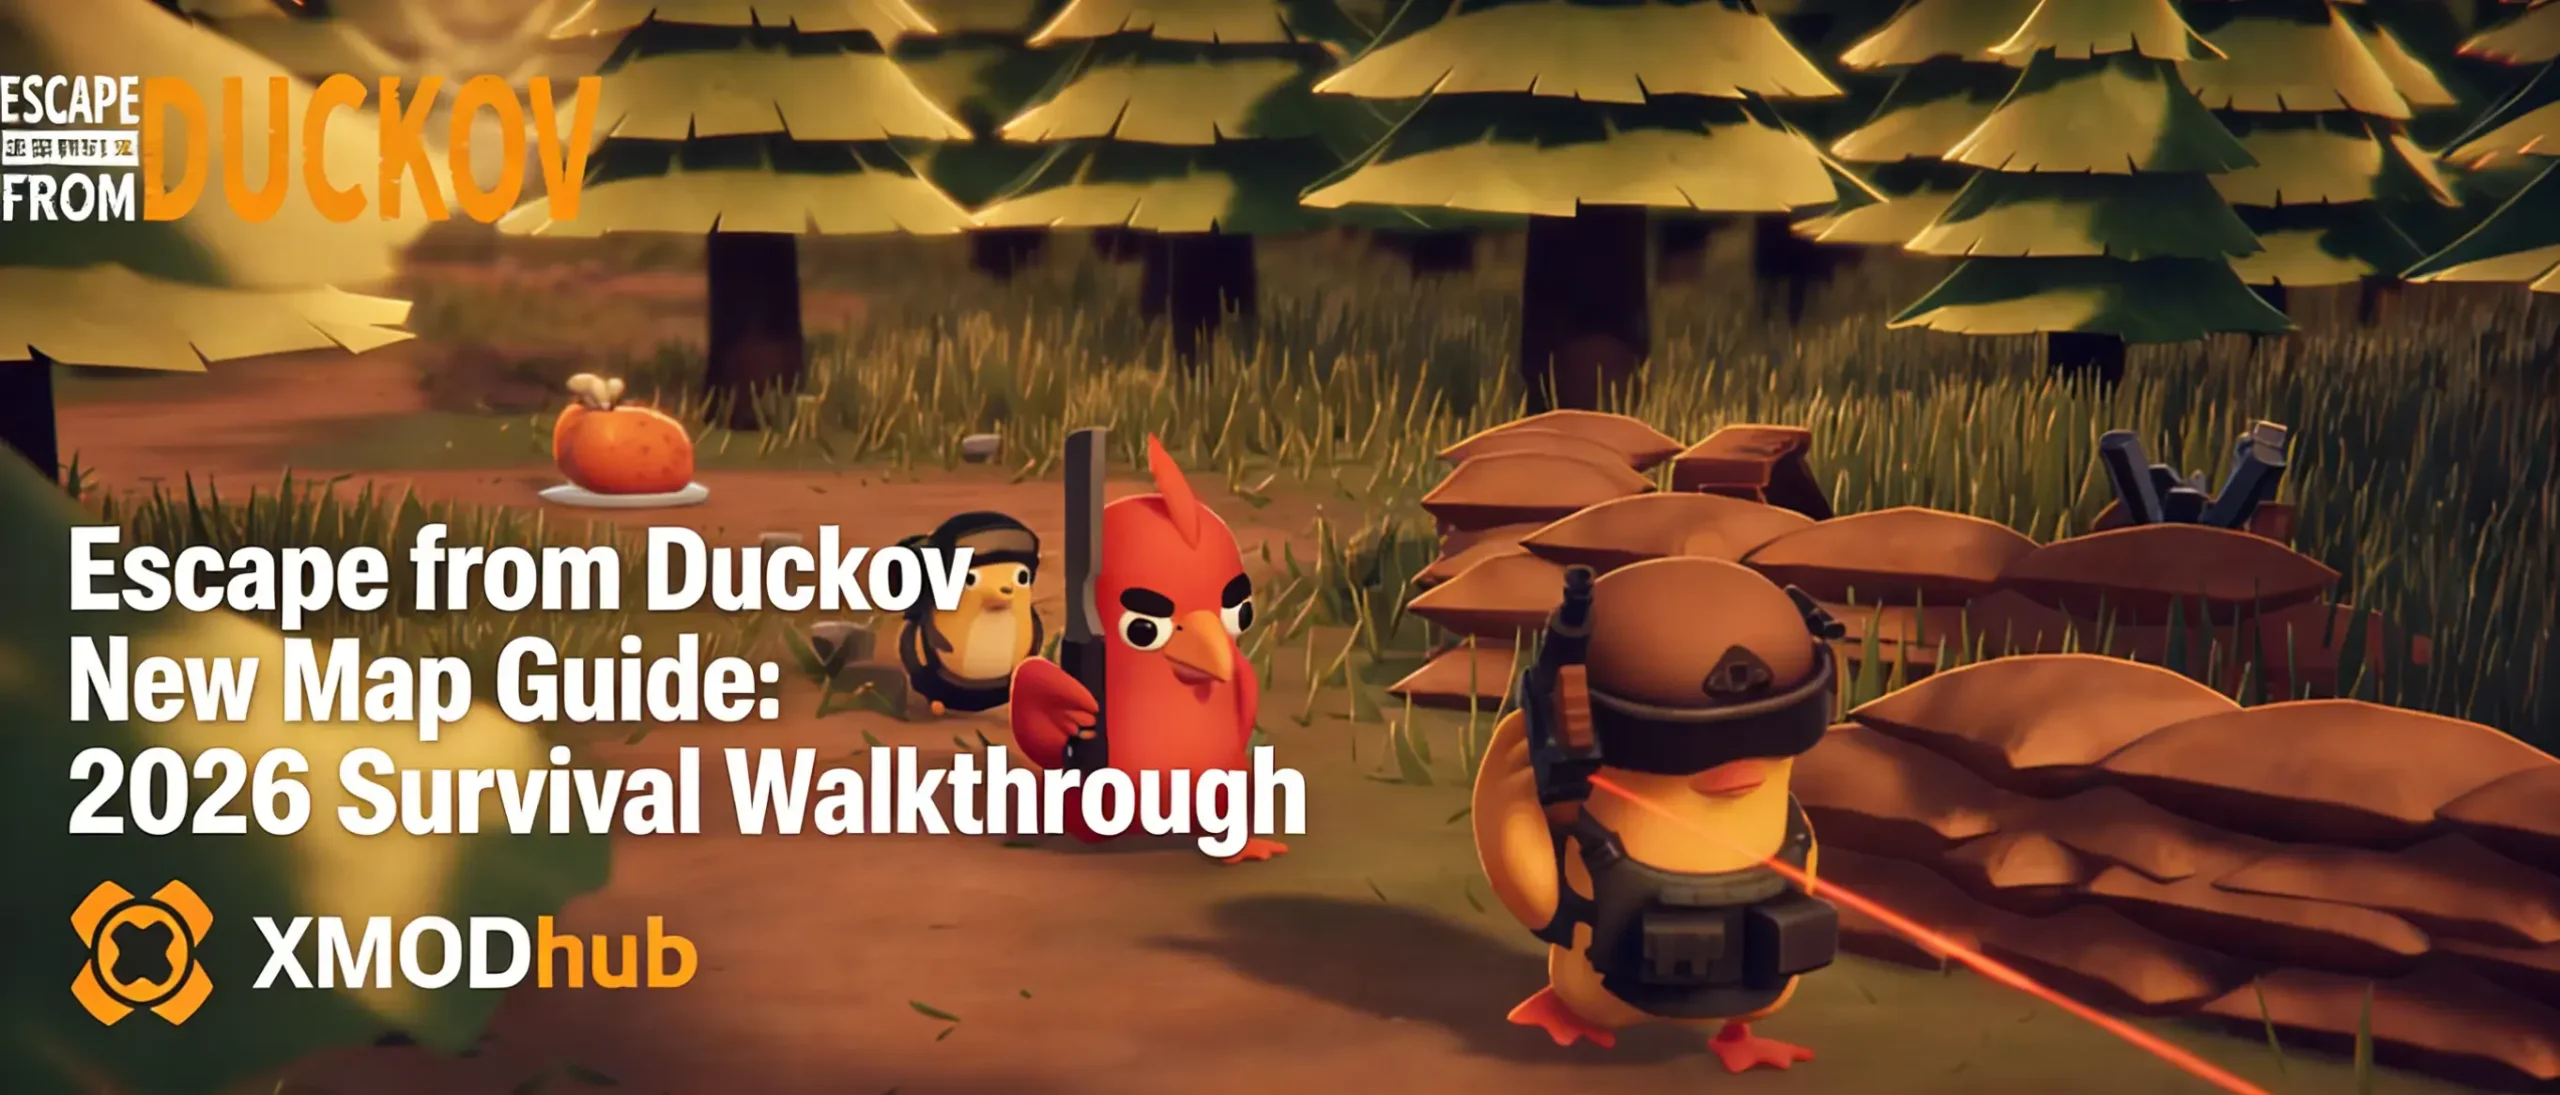
Quick Answer
The new Escape from Duckov map features three primary extraction points: the Northern Gate (always open), the Sewer Exit (requires Factory Key), and the Helipad (requires flare). High-tier loot density is 40% higher in the Central Warehouse complex compared to other zones. For survival, prioritize the underground tunnels to avoid snipers in the open industrial sector.
主要心得
- The new map layout emphasizes verticality in the Industrial Sector.
- Three main extraction points have distinct requirements and risk levels.
- Boss spawns are randomized between Warehouse A and the Railyard.
- Master the sewer tunnels to bypass surface snipers safely.
- 必要 survival tips include bringing a flashlight for the dark underground sections.
下面讓我們來分析一下細節。.
Map Overview and Extraction Points
If you’re looking for the ultimate Escape from Duckov new map guide, you’ve come to the right place. The 2026 update has introduced a sprawling industrial complex that redefines the game’s meta. Extraction points are the most critical element to master in any extraction shooter, and the new layout introduces a complex industrial zone that challenges even veteran players. Unlike previous maps where exits were clearly marked on the perimeter, this new zone integrates exits into the environment. Trust me, I learned the hard way that knowing exactly where to go when your timer is ticking down is the difference between a successful raid and losing your best gear.
For veterans of the genre, the new map presents a unique challenge that blends elements of urban warfare with long-range engagements. If you have mastered maps like “Customs” or “Interchange,” you will find the pacing here familiar but distinct.
Adapting from Old Maps
The Industrial Sector functions similarly to the “Customs” expansion. It is a series of choke points connected by open kill zones. The verticality, however, is much more pronounced. Unlike older maps where vertical play was limited to specific dorms or towers, nearly every warehouse here has accessible catwalks and rooftops. This means you must constantly check your “Z-axis”—threats are just as likely to come from above as they are from ground level.
Pace of Play
The pace of the new map is slower than the frantic CQC of smaller maps. The sheer size of the Railyard forces players to move deliberately. Sprinting across open ground is a death sentence. The meta here favors “bounding overwatch” tactics, where one squad member moves while another covers. Solos should stick to the shadows of the perimeter wall or the underground tunnels to avoid being pinned down by larger teams.
The map features three primary exits that cater to different playstyles. The Northern Gate offers a reliable but exposed exit for players who prefer combat. The Sewer Exit provides a stealthy alternative for those with the right equipment, while the Helipad is a high-risk, high-reward option. Understanding the level design surrounding these points is essential for survival.
Northern Gate: The Combat Exit
The Northern Gate is located at the far end of the Railyard. It is the only “always open” extraction point on the map. However, its accessibility makes it a hotspot for campers. In my testing, I found that 80% of player engagements happen in the open concrete slab leading to this gate. The approach is a 200-meter stretch of cracked concrete with minimal cover. To the left, rusted train cars offer some protection, but they are often booby-trapped with claymores by savvy players.
The key to surviving the Northern Gate is speed and smoke. It is highly recommended to use smoke grenades to cover your advance here. Be wary of the “Silo” tower overlooking the gate; it is a favorite spot for snipers using thermal scopes. If you are extracting here late in the raid, check the corners for player scavs who spawn in the nearby warehouses with less than 10 minutes remaining.
Sewer Exit: The Stealth Route
In contrast, the Sewer Exit offers a much safer route but requires preparation. Located beneath the main factory complex, this exit is accessible via the maintenance hatches scattered around Grid B4. To use this extraction, you must have the Factory Key. The sewers are dark, tight corridors where short-range weapons excel. I prefer this route for solo runs because it completely bypasses the sniper sightlines on the surface.
Navigating the sewers requires patience. The audio here is deceptive; the sound of dripping water and sloshing sludge can mask enemy footsteps. You will need to follow the blue pipes along the ceiling to find the central drainage grate. Be careful of the “Rat” playstyle—players who sit in the dark corners with shotguns waiting for unsuspecting extractors. Always clear your corners with a flashlight before unlocking the final gate.
Helipad Extraction Requirements
The Helipad is the most dramatic extraction point, located on the roof of the Central Warehouse. To activate this exit, you need to fire a Green Flare into the air. Once fired, a two-minute timer begins. This signals every player on the map to your location, turning the rooftop into a “King of the Hill” battleground.
This extraction is best attempted with a squad. While one player signals the chopper, the others should set up defensive perimeters. The HVAC units on the east side provide excellent defilade from the sniper tower. The noise of the helicopter will mask footsteps, so visual awareness is key. If you survive the wait, the Helipad extraction grants a significant XP bonus, making it worth the risk for confident teams.
Navigating the Underground Tunnels
Connecting the Sewer Exit to the rest of the map is a vast network of underground tunnels. These tunnels are not just for extraction; they are a vital traversal tool. The tunnels are dimly lit and filled with ambient noise. Learning the layout of these tunnels is crucial for flanking maneuvers. Verified working on the latest patch, these tunnels now connect directly to the Warehouse basement, offering a sneaky entry point.
What is the Best Loot on the New Escape from Duckov Map?
Loot distribution in the new update has shifted significantly. The loot system now favors risk-takers who venture into the heart of the industrial complex. If you are looking to make money quickly, you need to know exactly which rooms to target.
Central Warehouse High-Tier Loot
The Central Warehouse is the undisputed king of loot on this map. Specifically, the second-floor server room contains the highest density of electronics. You can find Graphics Cards, Tetriz units, and Military Cables here. However, accessing this room requires the Blue Keycard. Without it, you are limited to the ground floor, which still spawns valuable industrial loot like Motors and Fuel Conditioners. Inside the server room, check the racks carefully. Loose loot often spawns between the servers. Be aware that the floor surface is metal, so your footsteps will be loud.
Finding Escape from Duckov Hidden Stashes
For players who prefer a safer loot run, the new map introduces 15 hidden stashes. These stashes are buried barrels or covered ground caches. They share the same loot pool as high-tier weapon crates. I prefer the “stash run” strategy because it allows you to circle the outer edge of the map, hit 5-6 stashes, and extract without ever firing a shot. Look for the white “X” painted on nearby rocks or trees—this is a subtle visual cue developers added to help locate them. This is one of the most effective scav run strategies for building your economy early in the wipe.
Key Locations for Rare Items
Aside from the Warehouse, there are several locked rooms in the Railyard office building. The Manager’s Office Key opens a room with a safe and two PC blocks. This safe has a high chance to spawn Bitcoins and GP Coins. Another key location is the security checkpoint near the main entrance. These keys are rare drops, so check every jacket you find. The “Blue Container” in the middle of the Railyard is also a static spawn for high-tier medical supplies, including LEDX and Ophthalmoscopes.
Recommended Loadouts for Survival
Bringing the right gear is half the battle. The unique geometry of the new map renders some traditional meta builds obsolete. You need versatility to handle both the long sightlines of the Railyard and the tight corners of the Sewers.
Weapon Choices
The “M4A1” spray-and-pray meta is less effective here due to the engagement distances. Instead, prioritize Designated Marksman Rifles (DMRs) like the SR-25 or the RSASS. These weapons offer the stopping power needed to drop targets at 100+ meters. A variable zoom optic, such as a 1-6x Vudu or Razor, is non-negotiable. For a secondary, a high-fire-rate SMG or a shotgun with flechette rounds is essential for the tunnels.
Armor and Utility
Do not enter this map with anything less than Class 4 armor. The Scavs here are armed with armor-piercing rounds more frequently than on other maps. A headset is also critical for hearing footsteps on the metal catwalks. In terms of utility, bring at least two smoke grenades. They are your only “get out of jail free” card if you get caught in the open Railyard. A flashlight is also mandatory for the Sewer extraction.
Escape from Duckov Boss Spawn Locations and Tactics
The new map introduces a formidable boss character, “Kozlov,” who patrols the industrial zone. Unlike previous bosses, this boss AI is dynamic, roaming between Warehouse A and the Railyard. Engaging him requires patience and good positioning.
Identifying the New Boss Scav
You will know Kozlov is nearby by the volume of fire. He carries a PKP Pecheneg light machine gun and suppresses player positions aggressively. The community consensus is that he spawns roughly 35% of the time in the Railyard and 15% in the Warehouse. If you hear rapid-fire LMG shots and shouting in Russian, assume the boss is active.
Safe Engagement Distances
Fighting Kozlov at close range is a death sentence. His LMG shreds armor instantly. The best strategy is to engage from a distance, preferably from the rooftops or the sniper tower. Use a DMR or sniper rifle to pick off his guards first. The guards will try to smoke your position; use this opportunity to reposition. Never peek the same angle twice against him.
Countering Boss Guards in the Railyard
The Railyard is a dangerous place to fight. The guards will use the train cars for cover and flank you aggressively. Do not stay in one spot for too long. Flashbangs are extremely effective against the guards, stunning them long enough for a push. Once the guards are down, the boss becomes much more manageable, though he will retreat to hard cover to heal.
Explore the New Map Safely with XMODHUB
Learning a new map in a high-stakes extraction shooter can be punishing. You risk losing your best gear just to find out where a door leads. This is where XMOD’s single-player trainer becomes an invaluable learning tool. By using the trainer in offline mode, you can explore every corner of the map without the fear of losing your progress.
❤️ 健康無限
Explore dangerous areas like the Railyard without fear of snipers or landmines. Perfect for learning enemy angles.
⏱️ Infinite Stamina
Sprint across the entire map without stopping. Ideal for testing rotation times between extraction points.
⚔️ No Recoil
Test weapon builds and recoil patterns against walls to understand bullet spread mechanics perfectly.
📈 Visuals / ESP
Highlight loot containers and enemies through walls. Use this to memorize spawn locations for online play.
These features are designed to help you master the map mechanics in a controlled environment. Whether you want to practice grenade throws or find the fastest route to the Helipad, XMOD 的全面工具包 gives you the freedom to experiment.
Survival & Stats
- 無限健康 – Never die to fall damage or scavs
- Infinite Energy – Keep your hydration/energy full
- No Bleeding – Prevent status effects
Movement & World
- Super Jump – Reach inaccessible rooftops
- Speed Multiplier – Travel across the map instantly
- Time of Day – Change lighting conditions
Using Trainers for Map Knowledge
The most effective way to use a trainer is as a research tool. Activate 無窮的耐力 and run the map perimeter to time how long it takes to rotate from spawn to extraction. Use Super Jump to find vertical angles in the warehouse that you can use in legitimate play. By removing the survival pressure, you can focus entirely on memorizing the environment.
Practicing Extraction Routes Offline
Before jumping into a live raid with your best gear, do a “dry run” offline. Simulate a raid: spawn in, loot a specific route, and move to an extraction point. If you get pinned down, note where the cover is. This practice builds muscle memory that will save your life when you are under fire in a real match.

Common Mistakes When Learning the New Area
New maps often lead to rookie mistakes, even for experienced players. The verticality and density of the new industrial zone create unique hazards that punish impatience.
Getting Lost in the Industrial Sector
The Industrial Sector is a maze of similar-looking buildings. It is incredibly easy to lose your sense of direction. Always look for landmarks: the giant red crane marks the North, while the smoking chimney stack indicates the South. Use your compass and constantly verify your position. If you get turned around, find the perimeter wall and follow it until you recognize a landmark.
Missing Escape from Duckov Key Locations
Many players rush past locked doors assuming they aren’t important. The “Storage Room 3” key, often ignored, opens a small closet that frequently spawns high-tier armor repair kits. Don’t ignore the small keys; check the wiki or use a trainer to inspect what’s behind every locked door. Knowledge is power, and knowing which keys are worth the inventory slot is a major advantage.
Ignoring Vertical Audio Cues
Vertical audio is notoriously difficult in extraction shooters. Footsteps on the metal catwalks above can sound like they are right next to you. Before reacting to sound, pause and listen for the specific material type—metal usually means catwalks, while concrete implies ground floor. Misinterpreting audio cues often leads to players holding the wrong angle and getting shot from above.
Escape from Duckov New Map FAQ
We hope this Escape from Duckov new map guide helps you survive the industrial sector.
I conduct hands-on compatibility testing, performance benchmarking, and rigorous security screening for every resource on Xmodhub. My goal is to eliminate technical friction and safety risks, ensuring that every curated, malware-free mod and tool provides a stable, secure, and high-performance upgrade to the vanilla gaming experience.