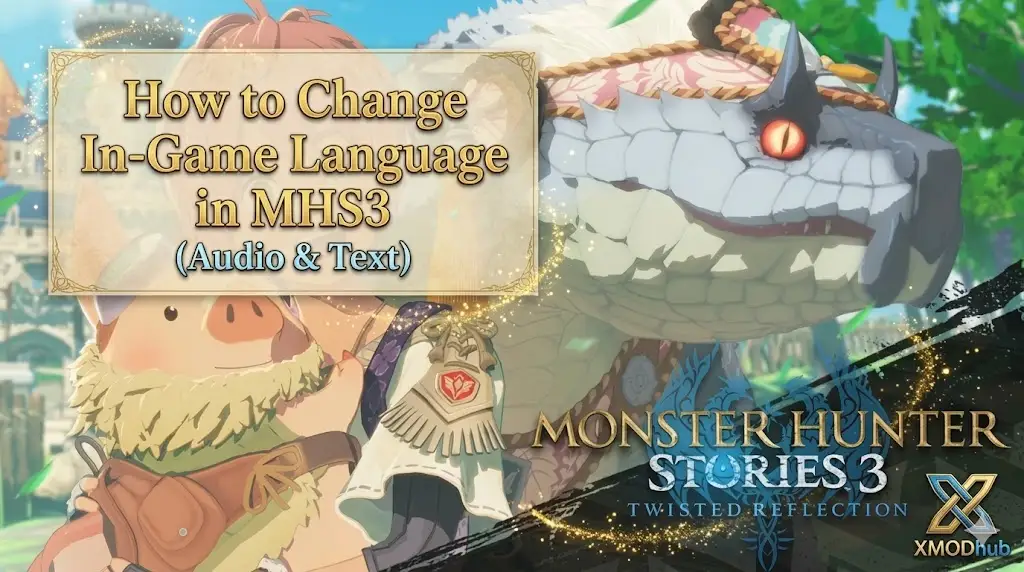
We have all been there. You snagged a discounted global key online, waited hours for the 60GB download to finish, and eagerly booted up Monster Hunter Stories 3: Twisted Reflection. The epic RE Engine cinematic plays, but when the main menu pops up, you realize something is terribly wrong: you cannot read a single word on the screen.
Whether your game defaulted to Russian, Chinese, or Spanish, or you accidentally clicked the wrong flag icon during the initial setup, navigating an 80-hour RPG in a language you don’t understand is impossible. And for the anime purists out there, figuring out how to swap the English dub back to the original Japanese voice actors (Sub vs. Dub) is always priority number one.
In this targeted quick-fix guide, we will show you exactly how to change the language settings, how to “blindly” navigate the menus if you are stuck, the ultimate config.ini file fix for PC players, and how to use the XMODhub Trainer to fast-track your progression once you can actually read your quest log.
Monster Hunter Stories 3: Twisted Reflection Cheat Engine Table vs. XMODhub Trainer: Best Free Alternative (2026)
Editor’s Note: By Catherine Hu, Senior Editor at XMODhub.
A crucial warning for all Riders: You cannot change the Voice Audio Language while actively playing your save file! Like most RE Engine games, Monster Hunter Stories 3 locks the voice-over settings once you load into the world of Azuria. If you want to switch from English to Japanese voices, you must save at a Catavan Stand and return to the Main Menu Title Screen first.
Quick Answer: How to Change Language in Monster Hunter Stories 3
(Sitting at the main menu and need to change your text or voice language immediately? Follow these exact steps.)
Go to the Main Menu: Ensure you are at the Title Screen, not loaded into a save file.
Open Options: Select the Options menu (indicated by the Gear icon).
Navigate to Language: Scroll down to the Language tab on the left sidebar.
Change Text Language: Adjust the first slider to change your UI, Subtitles, and Menu text.
Change Voice Language: Adjust the second slider to change the spoken dialogue (English, Japanese, or Monster Hunter Language).
Apply and Save: Press the prompt at the bottom of the screen (usually Spacebar or ‘X’ / ‘A’ on a controller) to apply changes.

Blind Navigation: Stuck in a Foreign Language?
If your game booted up in a language using an alphabet you cannot even read, finding the “Options” menu feels like defusing a bomb. Do not panic. Follow this exact “blind navigation” path from the “Press Any Button” title screen:
✦
Press Start/Enter to get past the initial splash screen.
✦
You will see a vertical list of menu options. Press DOWN on your D-Pad or keyboard until you reach the second to last option at the very bottom. This is always the Options (Gear Icon) menu.
✦
Press confirm to enter Options. Look at the vertical tabs on the left side of the screen. Scroll down to the 5th Tab (this is the Language Tab).
✦
The top slider in this menu is Text Language. Press RIGHT on your D-pad until you see the word “English” (or your preferred language natively spelled out). The menu will automatically translate in real-time!
Sub vs. Dub: How to Get Japanese Voices with English Text
Many hardcore JRPG fans prefer to listen to the original Japanese Voice Actors (Seiyuu) while reading English subtitles. Twisted Reflection fully supports this.
- ➤Go to the Options > Language tab from the Main Menu.
- ➤Set Text Language to English.
- ➤Set Voice Language to Japanese.
🔥 Crucial Step: Go to the Display tab and ensure Subtitles are turned ON. (They occasionally default to OFF when you swap voice tracks, leaving you with Japanese audio and zero translation).
Note: You can also choose “Monster Hunter Language” for the voices, which is the fictional, grunting dialect used in the classic mainline Monster Hunter games for maximum nostalgia.
The Hard Fix: Changing Language via config.ini (PC Only)
Sometimes, due to read-only folder permissions, changing the language in-game doesn’t save when you restart. If your game keeps reverting to the wrong language, you need to force the RE Engine via the config file.
1.
Make sure the game is completely closed.
2.
Navigate to your Steam installation folder:
\SteamLibrary\steamapps\common\MonsterHunterStories3\
3.
Locate the file named config.ini and open it with Notepad.
4.
Press Ctrl + F and search for Language.
5.
Change the text line to Language=en (for English) or Language=ja (for Japanese).
6.
Save the file. To prevent the game from changing it back, right-click config.ini, go to Properties, and check Read-only.
Steam/Epic Settings: Forcing the Launcher Language
If the .ini file tweak isn’t working, your PC launcher might be aggressively overriding the game based on your Windows region settings.
- ✦Open your Steam Library, right-click Monster Hunter Stories 3 > Properties.
- ✦In the General tab, look for the Language drop-down menu on the right side.
- ✦Select your preferred language. Steam might initiate a small patch to download the specific localized audio .pak files.
(Epic Games Store users: You can force this by clicking your Profile Icon in the top right > Settings > Language, which changes the baseline language for all supported games).
Skip the Grind: Focus on the Story with XMODhub
Now that you have your subtitles and voice acting perfectly configured, you can actually sit back, understand the dialogue, and enjoy the incredible narrative of the twin Rathalos.
But what happens when the cinematic story comes to a grinding halt because you need to farm 50,000 Zenny to afford the High Rank armor required for the next boss? You shouldn’t have to choose between experiencing the plot and spending your entire weekend hitting rocks in a cave. This is where the [XMODhub PC Trainer] steps in.
- 1
Download the XMODhub Desktop App and launch your game. 
- 2
Click “Play” to securely hook into the RE Engine. 
- 3
Activate the Anti-Grind Hacks:
- ✨Set Zenny to Max: Instantly buy all the potions and armor upgrades you need to progress the plot.
- ✨Instant EXP / Max Level: Did you hatch a new story-relevant Monstie but it’s Level 1? Use our EXP multiplier to instantly catch them up to your party’s level.
- ✨100% Retreat Rate: Don’t waste time throwing Paintballs and hoping a monster retreats. Force them into their dens instantly so you can get back to the main quest.
Frequently Asked Questions (FAQ)
Q: Can I change the language in the middle of a battle?
A: No. While you can tweak graphic and audio volume settings mid-game, Language options are completely locked out while a save file is actively loaded. You must save at a Catavan Stand and return to the Title Screen.
Q: Why is there no lip-sync for the English dub?
A: Because Monster Hunter Stories 3 was developed by Capcom in Japan, the character facial animations and lip-syncing are hard-coded to the original Japanese voice track. Playing in English or Spanish will result in slight lip-sync mismatches during cinematic cutscenes.
Q: Will altering the config.ini language delete my save file?
A: Absolutely not. Changing the language parameters in the config.ini only tells the engine which UI assets to load. Your save data in the userdata folder remains completely untouched and safe.
Conclusion: Enjoy the Narrative
Language barriers shouldn’t keep you from exploring the shattered realms of Azuria. By using our blind navigation trick, modifying the config.ini, or forcing the language via Steam Properties, you can quickly tailor the text and voice acting to your exact preferences.
Now that you can finally read your quest log, don’t let the artificial RPG grind slow you down.
[Download the XMODhub Monster Hunter Stories 3 PC Trainer today]
skip the tedious material farming, and experience this epic JRPG story exactly the way you want to!

I am a passionate gamer and writer at XMODhub, dedicated to bringing you the latest gaming news, tips, and insights.
Connect with me:
LinkedIn Profile ↗