Hogwarts Legacy has moved into a phase where PC modding is no longer a niche hobby—it’s a mainstream way players improve quality-of-life, accessibility, and replay value. That growth is great, but it comes with a predictable downside: updates break things. Mods disappear. Load orders drift. Saves feel “off.” Performance tuning becomes guesswork again.
This guide is designed to be the “serious” reference you keep coming back to. It explains why mod setups break, how to build a stable workflow that survives patches, how to protect saves, and how to troubleshoot problems quickly—without turning your gaming time into a maintenance job. Along the way, I’ll show where a centralized tool like XMODHUB fits into a safer, cleaner, lower-friction mod experience.
Why Hogwarts Legacy Modding Can Feel Unstable
Most players experience modding instability in one of three ways:
- Patch Day Breakage: The game updates and your mods or trainers no longer behave as expected.
- Silent Drift: You add “just one more mod,” and two hours later you’re chasing random crashes or weird AI behavior.
- Save Anxiety: You’re not sure if your save is still “clean” or whether a mod permanently changed something.
The root cause is simple: modding adds moving parts to a game that is also evolving.
What changes during updates that impacts mods
Even when patch notes sound minor, updates can alter:
- Executable code paths (affecting tools that hook or inject at runtime)
- Asset formats or packaging (impacting texture/model mods, UI mods, and localization)
- Scripting behavior (breaking quest tweaks, NPC behavior adjustments, or spell timing)
- Performance settings and render pipeline (affecting ray tracing presets, DLSS/FSR behavior, shader compilation)
You don’t need to know reverse engineering to manage this—you just need a workflow built around a compatibility mindset.

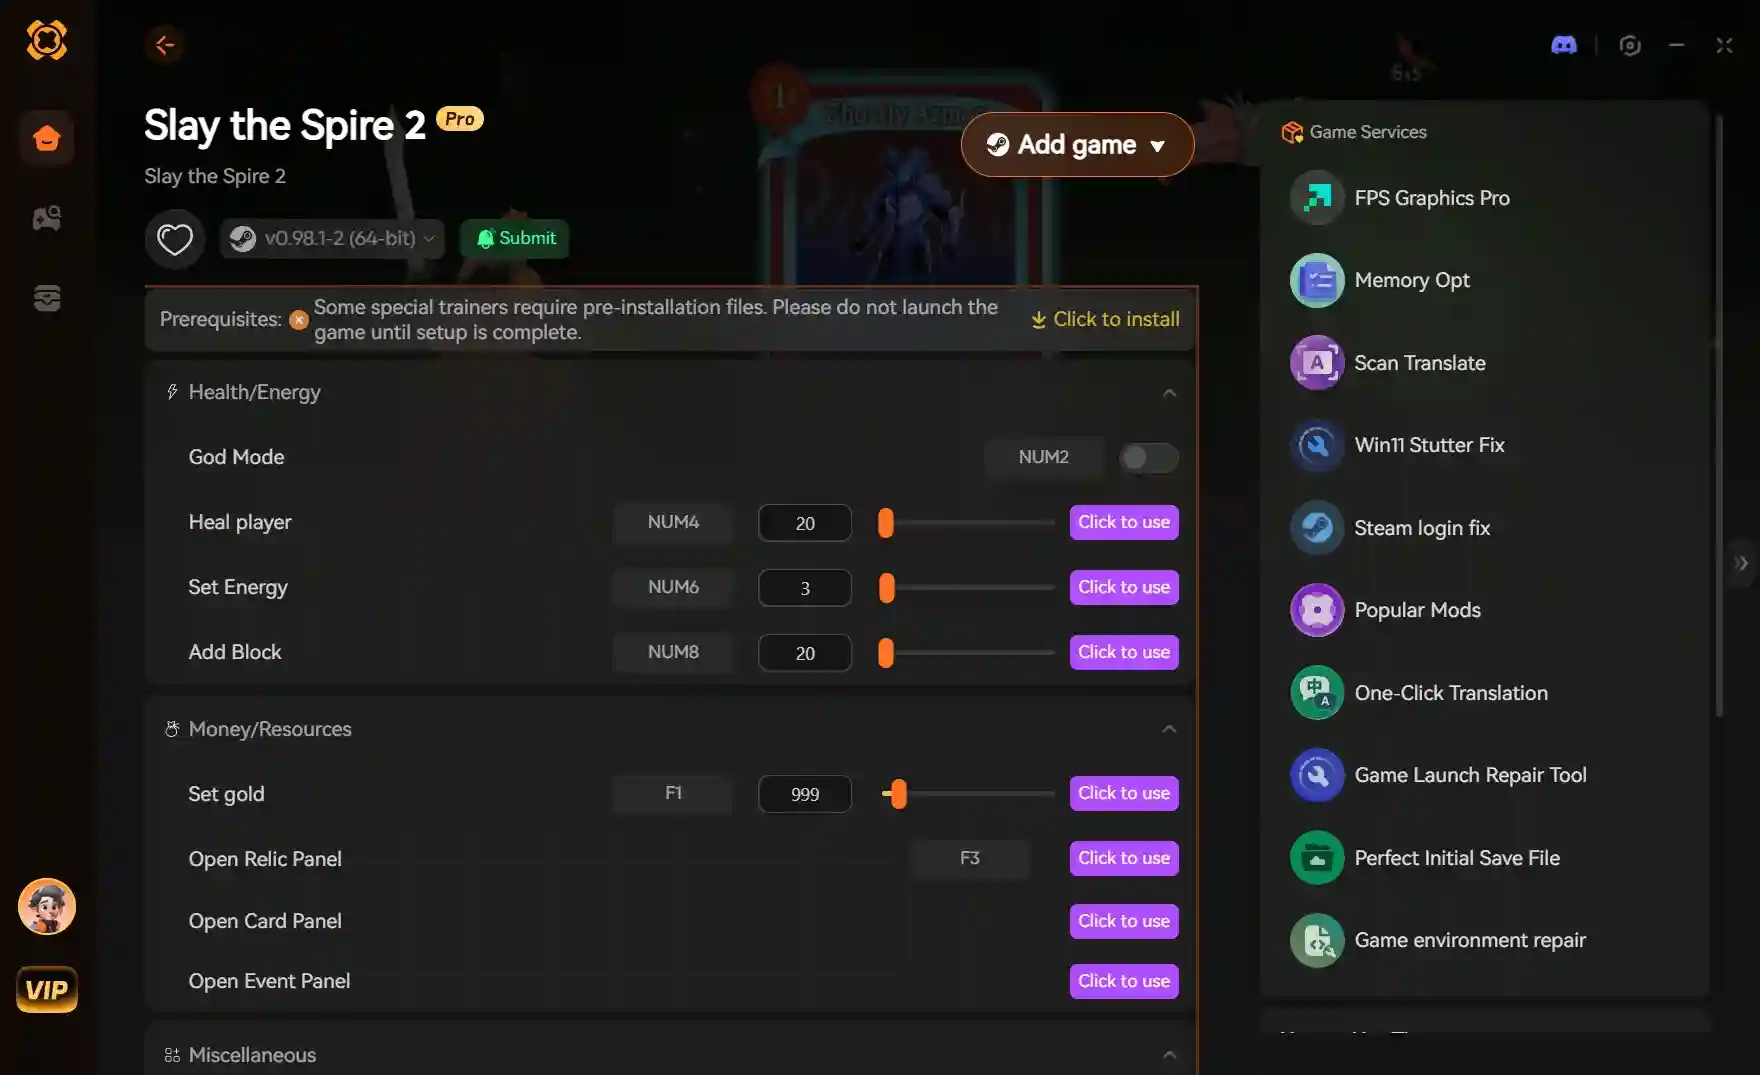
Trainers vs Mods: Know What You’re Installing
“Hogwarts Legacy mods” can mean very different things, and stability depends on which category you’re using.
File-based mods (content, visuals, UI)
These typically modify or add files that the game loads. They can be stable across versions, but they can also break when:
- assets change structure,
- UI elements get reworked,
- the game introduces new validation or packaging behavior.
Script or logic mods (gameplay changes)
These can be more fragile because they rely on game logic running in a specific way. A patch that changes quest triggers or ability timing can quietly invalidate assumptions.
Runtime tools (trainers, injectors, overlays)
These are often the most sensitive to updates because they interact with memory/runtime behavior. They can deliver powerful QoL features, but they need precise compatibility.
Stability tip: A “good” setup usually uses file-based mods for always-on improvements and runtime tools for temporary tuning (testing, accessibility, time-saving), not the other way around.
Build a Patch-Resilient Modding Workflow
If you do one thing after reading this article, do this: stop treating mod breakage as random. Treat it as a predictable compatibility event with a standard operating procedure.
The Two-Lane Save Strategy
Before we touch tools, protect your progress.
Lane 1: Your “Story Save” (clean and stable)
- Minimal or no gameplay-altering mods
- Visual/QoL-only mods if you must
- This lane is where you protect long-term progression
Lane 2: Your “Sandbox Save” (experiment-friendly)
- New mods, new trainer features, aggressive changes
- Used for testing and “what happens if…” play
This strategy prevents the most painful outcome in modding: “My main save feels permanently broken and I can’t tell why.”
How to checkpoint like a pro
- Make a manual save checkpoint before:
- major story missions,
- installing a batch of mods,
- enabling new trainer features,
- playing after a patch.
- Keep at least 2–3 rotating checkpoints (not just one).
Patch Day Playbook: What to Do When Something Breaks
The most common mistake is debugging the wrong problem. If the game updated recently, assume mismatch until proven otherwise.
Step 1: Validate vanilla first (3 minutes)
- Launch the game without any enhancements.
- Load a save.
- Confirm the game runs normally.
If vanilla doesn’t run, your issue is not mod-related; it’s installation, drivers, or the patch itself.
Step 2: Reintroduce changes in layers (10 minutes)
Add complexity back in this order:
- Base game settings (graphics, keybinds, accessibility)
- File-based mods (visual/UI)
- Gameplay mods
- Runtime tools (trainers/injectors)
When something breaks, you now know which layer caused it.
Step 3: Use progressive enablement (the “one toggle at a time” rule)
If you’re using a trainer, do not enable everything immediately.
- Enable one feature
- Play for 2–3 minutes
- Enable the next feature
This is how you avoid the “everything is broken” trap when only one specific feature is incompatible.
A Stability Framework: The Four Things That Break Most Often
Understanding what’s likely to fail makes you faster at recovery.
1) Compatibility: wrong game build for the mod/tool
Symptoms:
- trainer can’t detect the game,
- mod loads inconsistently,
- features do nothing.
Fix:
- Confirm your store/build
- Confirm the mod/tool explicitly supports your current build
- Wait for compatibility updates rather than reinstalling your entire PC
2) Conflicts: two mods modify the same system
Symptoms:
- crashes after loading a save,
- missing UI, broken menus,
- weird behavior that only appears after playing for a while.
Fix:
- Remove half your mods (binary search)
- Confirm which one introduces the issue
- Prefer one mod per system (don’t stack multiple economy/XP tweaks)
3) Load order and dependency drift
Symptoms:
- mods “worked yesterday” and now don’t,
- one mod breaks when another is added.
Fix:
- Track dependencies intentionally
- Install in batches and test between batches
- Keep a “known-good” mod list snapshot (even a simple text file)
4) Performance pipeline changes (RT/DLSS/shaders)
Symptoms:
- stutter after patch,
- sudden FPS drops,
- visual artifacts or ghosting.
Fix:
- Rebuild settings systematically (see performance section below)
- Avoid mixing old reshade/shader mods until you confirm compatibility
Performance Deep Dive: How to Tune Hogwarts Legacy Without Guesswork
Performance is part of stability. Stutter and crashes are often treated as “mod issues” when they’re actually pipeline, VRAM, or shader compilation problems.
Start with a decision tree, not random toggles
If you’re stuttering after an update
- Reduce settings that spike VRAM and shader complexity first:
- ray tracing features,
- high-res texture packs,
- heavy post-processing mods.
- Then test in the same location (same save, same area) for apples-to-apples comparison.
If your FPS is fine but you crash randomly
- Treat this as memory/instability first, not “FPS settings”:
- reduce RT,
- reduce mod stack,
- disable overlays you don’t need,
- test vanilla again.
If you’re chasing visual artifacts (ghosting, shimmering)
- Evaluate upscaling settings and sharpening
- Avoid stacking multiple post-processing layers (RT + reshade + cinematic filters)
Build a stable baseline profile
Create a “baseline profile” that is stable and decent-looking—then only change one category at a time:
- Resolution and upscaling
- Ray tracing
- Shadows/foliage/post-processing
- Mods that alter visuals
Stability comes from controlling variables.
What “Safe Modding” Actually Means
“Safe” is often used as marketing. For players, safe means you can answer three questions clearly:
- Where did this file come from?
- What exactly is it changing?
- Can I roll back if it goes wrong?
Practical safety rules that reduce risk immediately
Rule 1: Avoid “bonus installers” and misleading download pages
If a download requires a “manager” or bundles extra software, walk away.
Rule 2: Prefer sources with version clarity
A mod/tool should have:
- a version number,
- an update history or changelog,
- compatibility notes.
Rule 3: Test on the sandbox lane first
If you’re experimenting with:
- economy changes,
- progression edits,
- item injection,
test on the sandbox save before touching your story save.
Rule 4: Keep your enhancement stack minimal
Every additional layer (mods + reshade + overlays + injectors) increases the chance of conflicts.
A “clean” setup almost always beats an “impressive” setup.
Troubleshooting: A Fast Taxonomy That Saves Hours
When something breaks, categorize it. Don’t just react.
Category A: The game won’t launch (or crashes immediately)
Likely causes:
- incompatible runtime injection
- conflicting overlays
- post-patch executable behavior changes
What to do:
- launch vanilla
- disable overlays (recording tools, FPS overlays, reshade)
- reintroduce mods/tools layer by layer
Category B: The game launches, but mods don’t load
Likely causes:
- mod loader change or path mismatch
- file-based mod structure no longer matches the game’s packaging
- a patch changed loading behavior
What to do:
- verify file placement
- remove newest mods first
- test a single known-good mod
Category C: Mods load, but gameplay feels “broken”
Likely causes:
- conflicts (two mods touch the same values)
- a gameplay mod is no longer aligned with current logic
- save state is carrying forward unexpected flags
What to do:
- revert to a pre-mod checkpoint save
- disable gameplay mods and test with visual/QoL only
- avoid irreversible edits in the story lane
Category D: Trainer attaches but features do nothing
Likely causes:
- version mismatch
- feature is context-sensitive (requires being in combat, having a spell equipped, etc.)
- the patch moved the memory signature
What to do:
- confirm build compatibility
- test features in correct context
- enable one feature at a time
How to Turn This Into “Hot” Content That Performs in Search
If you’re writing for XMODHUB, “hot” doesn’t mean chasing random viral headlines. It means writing into moments of high intent:
- right after patches,
- right after major content updates,
- when players are stuck, stuttering, or confused.
High-performing article formats for Hogwarts Legacy
1) Patch Day Status + Recovery Guide
What it delivers:
- “Is it broken or is it me?”
- a recovery checklist
- compatibility updates and what to do meanwhile
2) Safe Modding Starter Kit (2025–2026 edition)
What it delivers:
- a curated “minimal stack” approach
- save lane strategy
- performance baseline profile
3) Performance + Visual Quality Guide
What it delivers:
- a settings decision tree
- stable configurations for mid-range vs high-end PCs
- how to avoid “modded visuals” becoming unstable
These are naturally aligned with product conversion because the reader is already trying to solve a problem that a centralized manager can reduce.
Where XMODHUB Fits: Less Hunting, More Control
A centralized platform only matters if it reduces real pain. For Hogwarts Legacy modding, that pain is usually:
- compatibility confusion,
- scattered downloads,
- inconsistent versioning,
- unclear “what changed” after patches.
What a good Hogwarts Legacy experience should look like in XMODHUB
Clear mapping: game build → compatible items
Users should immediately know whether an item is compatible with their current build, and what version they’re installing.
Curated packs for real player goals
Instead of “here are 200 mods,” make it:
- “Story-safe QoL pack”
- “Sandbox experimentation pack”
- “Performance-first visual pack”
Update clarity and rollback friendliness
When patches hit, users want:
- “what broke,”
- “what’s fixed,”
- “what’s the safest temporary workaround,”
without doomscrolling through comment threads.
If your blog teaches the workflow and your product reduces the friction, the conversion becomes natural rather than forced.
Recommended Modding Habits That Scale Over Time
The difference between a stable modder and a frustrated modder is not technical skill; it’s process.
Maintain a “known-good snapshot”
After you reach a stable setup, save:
- a list of installed mods/tools and versions
- key settings (graphics, DLSS/RT choices)
- any must-have notes (“Mod X conflicts with Mod Y”)
Even a simple text file is enough.
Install in batches, not drips
Installing one mod every day makes troubleshooting impossible. Install a batch, test, and then lock it.
Treat major gameplay changes as experiments
If you change progression, economy, or quest behavior, do it in the sandbox lane first.
FAQ
Will mods break my Hogwarts Legacy saves?
They can, especially mods that alter progression, inventory, or quest logic. The safest approach is the two-lane save strategy (story lane vs sandbox lane) plus manual checkpoint saves before experiments.
Why did my setup break even though I didn’t change anything?
The game likely updated, or one dependency changed. Compatibility drift is common in live-updated PC games. Validate vanilla first, then reintroduce enhancements in layers.
What’s the safest way to start modding without losing stability?
Start with a minimal stack:
- one or two visual/QoL mods,
- no deep gameplay edits,
- a stable baseline graphics profile,
- a sandbox save for testing.
How do I know whether the issue is performance or a mod conflict?
If vanilla stutters in the same area, it’s likely performance/shader pipeline. If vanilla is stable but modded isn’t, it’s likely a mod conflict or compatibility issue. Always test vanilla first.
Closing: Make Hogwarts Legacy Modding Feel Reliable
Modding Hogwarts Legacy can be smooth and stable—but only if you stop treating it as “download and hope.” Use a workflow:
- protect saves with the two-lane strategy,
- handle patches with the Patch Day Playbook,
- add changes in layers,
- test systematically,
- keep a known-good snapshot.
👑 Stay Ahead. Play Without Limits.
Follow us for continuous updates and instant access to 5,000+ trainers & mods. Unlock resources, test builds, and try everything free right now.
👉 Try 5,000+ Mods & Trainers for FreeThat’s the difference between a hobby that steals your time and a toolchain that improves your game.
I create content for Xmodhub, where I curate and share game mods, tools, and other resources. My goal is to help players discover great add-ons, enjoy a smoother experience, and have more fun.