We have all been there: you finally reach the third boss in Alabaster Dawn, feeling confident in your build, only to be stun-locked into oblivion by a sequence you did not even know was possible. You check your inventory, swap a few items, and try again, but the result is the same—a frustrating “Game Over” screen that mocks your lack of preparation. The Alabaster Dawn combat system is notoriously unforgiving, punishing those who rely on button-mashing rather than calculated strategy. If you are tired of losing progress and want to turn the tide, you have come to the right place.
🛡️ Editor’s Note
Having sunk over 100 hours into Alabaster Dawn since its early alpha, I have dissected every frame of the combat animations and stress-tested every elemental interaction. This guide is not just theory; it is the culmination of thousands of deaths and victories. We are going to move past the basics and into the high-level mechanics that separate the casual players from the true masters of the Dawn.
⚡ TL;DR: The Short Answer
| Combat Pillar | Primary Strategy | Impact |
|---|---|---|
| Divine Weapons | Focus on Stagger-Damage scaling. | Breaks boss poise for critical windows. |
| Element Combos | Prioritize Water+Lightning or Fire+Earth. | Massive Area-of-Effect (AoE) damage spikes. |
| Stamina Mgmt | Keep 20% stamina reserve for emergency dodges. | Prevents being trapped in recovery frames. |
| Weapon Swapping | Swap types mid-combo to reset animations. | Allows for infinite-chain capability. |
⚔️ Understanding the Core Combat Mechanics
The combat system in Alabaster Dawn is built upon a foundation of “Animation Commitment.” Unlike faster hack-and-slash titles, every swing, cast, and dodge in Alabaster Dawn has a weight and a fixed duration. Understanding this is the first step toward mastery. If you commit to a heavy attack animation, you are locked into that movement for a specific number of frames. During this window, you cannot dodge, block, or parry. This is where most players fail—they over-extend, assuming they have infinite freedom of movement.
Furthermore, the “Posture” or “Stagger” system is the hidden engine of the game. Every enemy, from the smallest mob to the most imposing boss, has a hidden poise bar. Heavy weapons are designed to deplete this bar, while light weapons are designed to chip away at health while keeping the enemy locked in a stagger state. Your goal is to maximize the overlap between these two phases: use light attacks to build up the combo meter, and then unleash a heavy attack at the exact moment the enemy’s poise is about to break.
⚠️ Common Mistakes That Kill Your Run
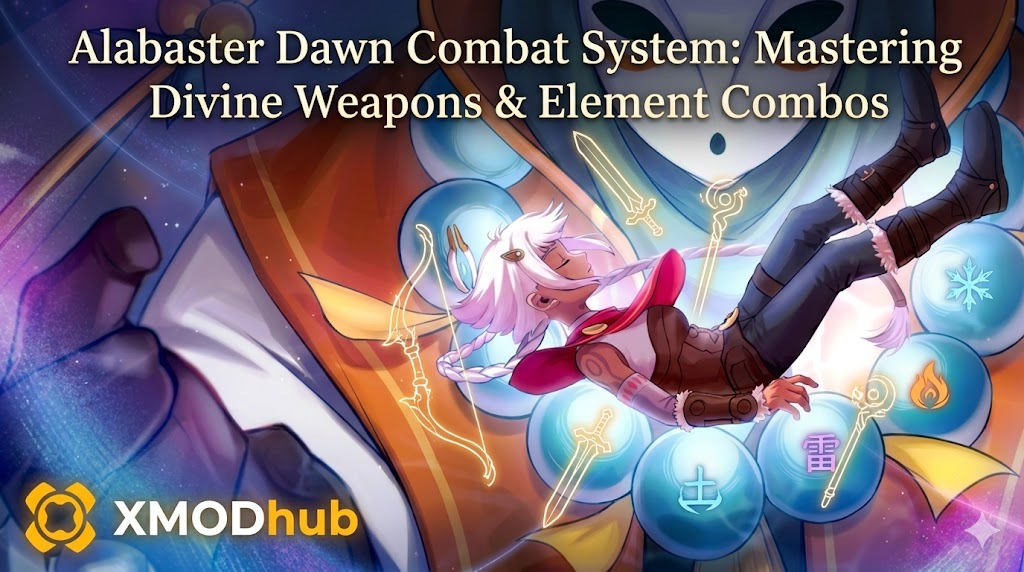
🏺 Divine Weapons Mastery: Choosing Your Arsenal
Divine Weapons are the centerpiece of your offensive capabilities. Each weapon class in Alabaster Dawn behaves differently. Before we dive deep into specific synergies, make sure you have checked our Alabaster Dawn Best Weapons Tier List: Top Divine Combos for Juno.
The Heavy Hitter: Greatswords & Hammers
These weapons are the kings of breaking poise. They are slow, cumbersome, and require precise timing, but one well-placed heavy attack can stagger even the largest bosses. The trick is to use these weapons only when you have a clear opening.
The Swift Striker: Daggers & Twinblades
These excel at applying status effects. Because they hit rapidly, they are the most effective vessels for elemental infusions. If you are aiming for a “Frozen” or “Burn” build, opt for high-attack-speed weaponry.
Alternative Methods: The Hybrid Build
If you are struggling with a single weapon type, try a “Hybrid Build.” Use a fast, one-handed sword for quick pokes and a heavy mace in your off-hand. Use the sword to bait the enemy, then switch to the mace for a heavy counter-hit. This dual-wielding strategy provides versatility without constant menu swapping.
🔥 Element Combos: The Science of Destruction
It is not just about dealing elemental damage; it is about “Reaction Damage.” When you apply one element, it leaves a “primed” status. Hitting that enemy with a secondary element triggers a massive damage multiplier.
🚀 Advanced Player Techniques
📋 The Tactical Preparation Checklist
📉 Stat Scaling & Build Optimization
| Stat | Primary Benefit | Weapon Archetype |
|---|---|---|
| Might (STR) | Physical poise damage & duration. | Greatswords, Hammers. |
| Finesse (DEX) | Attack speed & critical hit mult. | Daggers, Twinblades, Rapiers. |
| Attunement (INT) | Reaction damage & infusion potency. | Magic swords, Staves. |
| Endurance (STA) | Max stamina pool & recovery rate. | Required for heavy-combo builds. |
🚀 Optimizing Your Experience with XMODhub
We understand that Alabaster Dawn can be incredibly demanding. The “grind” for upgrade materials or the sheer difficulty of mastering frame-perfect parries can turn an enjoyable game into a chore. This is where XMODhub comes into play. Bypass the tedious farming and focus on mastering the combat system. Whether you need infinite stamina for combo practice or a god-mode toggle to learn patterns, XMODhub provides the ultimate QoL control.
Getting started is seamless:

💬 Frequently Asked Questions
A: Fire is generally the most effective in the early game because most early-game enemies have low resistance to heat, and the “Burn” effect provides consistent, passive damage that helps you manage lower health pools.
A: Yes. Alabaster Dawn uses a “Weight Class” system. If you are in the “Heavy” bracket, your dodge animation is slower and has fewer invincibility frames. Aim to keep your equipment load in the “Medium” or “Light” bracket for optimal combat fluidity.
A: Yes, you can re-infuse weapons at the Blacksmith, but be aware that you will lose the materials used for the previous infusion. It is expensive, so choose your element combinations wisely.
A: This usually happens if you are using a weapon that deals “Chip” damage rather than “Poise” damage. If you fail to follow up a stagger with a heavy attack, the enemy will recover their poise bar much faster.
🌟 Final Verdict
Mastering the Alabaster Dawn combat system is a journey of patience and precise execution. By understanding the weight of your animations, the science behind elemental reactions, and the strategic importance of weapon selection, you can overcome even the most daunting encounters.
If you find that the struggle is starting to overshadow the fun, remember that tools like XMODhub are there to bridge the gap. Whether you are mastering Alabaster Dawn or tackling other massive titles like Кольцо Элдена или Киберпанк 2077, XMODhub ensures you play on your terms.

Я страстный геймер и писатель XMODhub, который стремится предоставить вам самые свежие игровые новости, советы и мнения.
Свяжитесь со мной:
Профиль LinkedIn