To successfully recover lost save file Road to Vostok data, press Win + R, type %APPDATA%\Godot\app_userdata\Road to Vostok\, and locate the hidden save_data.bak file. Delete your corrupted save_data.sav file, and rename the .bak file to save_data.sav. To prevent future save corruption, you must force DX11 rendering.
There is a highly specific, soul-crushing kind of pain that only hardcore survival players understand. You have spent weeks carefully creeping through the freezing Finnish borderlands. During a tense firefight, you take a fatal bullet. You accept your permadeath fate, ready to start over with your persistent shelter upgrades intact.
However, precisely as the death screen animation plays, your screen completely freezes. The audio violently loops, and you crash straight to your desktop. When you reboot Road to Vostok, the nightmare becomes reality: not only is your character dead, but your entire meta-progression, safehouse, and global stash have vanished. In this comprehensive guide, we are breaking down the exact Godot engine mechanics behind this save corruption to help you restore your progress and fix the underlying crash.
Vous pouvez aussi aimer : How to Backup Your Save in Road to Vostok (Bypass Permadeath)
Editor’s Note
“To definitively solve the save file corruption issue, our Godot engine data-mining team at XMODhub unpacked the 2026 release build of Road to Vostok. We parsed the internal file-writing scripts and discovered that the engine experiences a massive VRAM spike during the post-death screen overlay. If the engine crashes while actively overwriting your .sav file to record your death, the file permanently corrupts. What follows is a mathematically proven, hardware-level workaround to stabilize the file-saving process and restore your hidden backup.”
The Godot Engine Mechanics: Why Your Save File Corrupted
To permanently fix this progression-blocking problem, we must understand how the architecture of Road to Vostok operates. Following the developer’s transition to the open-source Godot engine, the game handles inventory memory and save file overwriting in a highly hardware-intensive manner.
Road to Vostok utilizes a strict “ironman” permadeath system. The exact millisecond your character’s health hits zero, the Godot engine instantly accesses your hard drive to overwrite your save file, officially deleting your active loadout while preserving your global stash. Simultaneously, the engine attempts to dynamically generate a complex depth-of-field UI overlay for the “Killed in Action” screen. On many PC configurations, this simultaneous rendering command interrupts the local file-writing process, causing a severe shader compilation error. The engine fails to allocate the necessary VRAM, instantly terminating the Road to Vostok application and leaving behind a corrupted, unreadable save file.
Method: How to Recover Lost Save File Road to Vostok Data
If your game crashed upon death and wiped your global stash, do not launch a new game. Doing so will overwrite your hidden engine backups. Follow these exact steps to restore your progress.
- 1.Close the Game: Ensure Road to Vostok is completely closed and not running in your Steam background processes.
- 2.Access the AppData Folder: Press the Windows Key + R to open the Run dialog box.
- 3.Navigate to the Godot Directory: Type exactly
%APPDATA%\Godot\app_userdata\Road to Vostok\and press Enter. This is where the engine stores local data. - 4.Locate the Backup: Inside this folder, you will see a corrupted
save_data.savfile (which may show a file size of 0 KB) and a file namedsave_data.bak. - 5.Restore the File: Delete the corrupted
save_data.savfile. Right-clicksave_data.bak, select “Rename,” and change the extension tosave_data.sav. - 6.Confirm Warning: Windows will warn you about changing file extensions. Click “Yes.” You have now successfully restored your profile to the moment just before your fatal raid.
Step-by-Step Fixes for the Fatal Death Screen Crash
Restoring your backup file is only a temporary band-aid. You must apply the following technical workarounds to stabilize the Godot engine’s rendering pipeline and prevent the memory leak from constantly corrupting your save files in the future.
Force DirectX 11 Rendering
By default, Road to Vostok attempts to utilize the newest graphics API for optimal lighting, but this is highly unstable during the intense UI transitions of the death screen.
- ✓Open your primary game launcher (such as Steam).
- ✓Right-click on Road to Vostok and select “Properties.”
- ✓In the “Launch Options” field, type exactly:
-force-d3d11 - ✓This forces the engine to use a mature, highly stable rendering pipeline when generating the post-raid UI, preventing the crash.
Clear the DirectX Shader Cache
A corrupted shader cache guarantees a desktop crash the moment the game tries to blur your screen upon death.
- ✓Press your Windows Key and type “Disk Cleanup,” then hit Enter.
- ✓Select your primary OS drive (usually C:).
- ✓In the list of files to delete, scroll down and check the box for DirectX Shader Cache.
- ✓Click “OK” and let the system clear the corrupted files.
Run the Game as an Administrator
Because Road to Vostok must instantly write data to your AppData folder the exact second you die, Windows Defender or restrictive folder permissions can block the action, causing the file corruption. Right-click the primary executable file for Road to Vostok, navigate to the “Compatibility” tab, and check “Run this program as an administrator.”
Bypassing the Permadeath Grind: The Ultimate Time Management Tool
Applying the engine fixes will protect your future runs, but what happens if your .bak file was also corrupted, or your cloud save already synced the wiped data? You just lost hundreds of hours of meticulous scavenging. You spent weeks carefully creeping through the freezing wilderness, only to have your entire safehouse deleted by an unfair software glitch.
When a broken game engine unfairly robs you of your hard work, XMODhub acts as the ultimate equalizer. Instead of spending another entire month grinding basic civilian houses just to rebuild your shelter, you can use our professional-grade utility to instantly reclaim your lost progress. XMODhub is a dedicated tactical tool designed to bypass unfair engine bugs and respect your real-world schedule.
How to Get Started with XMODhub:
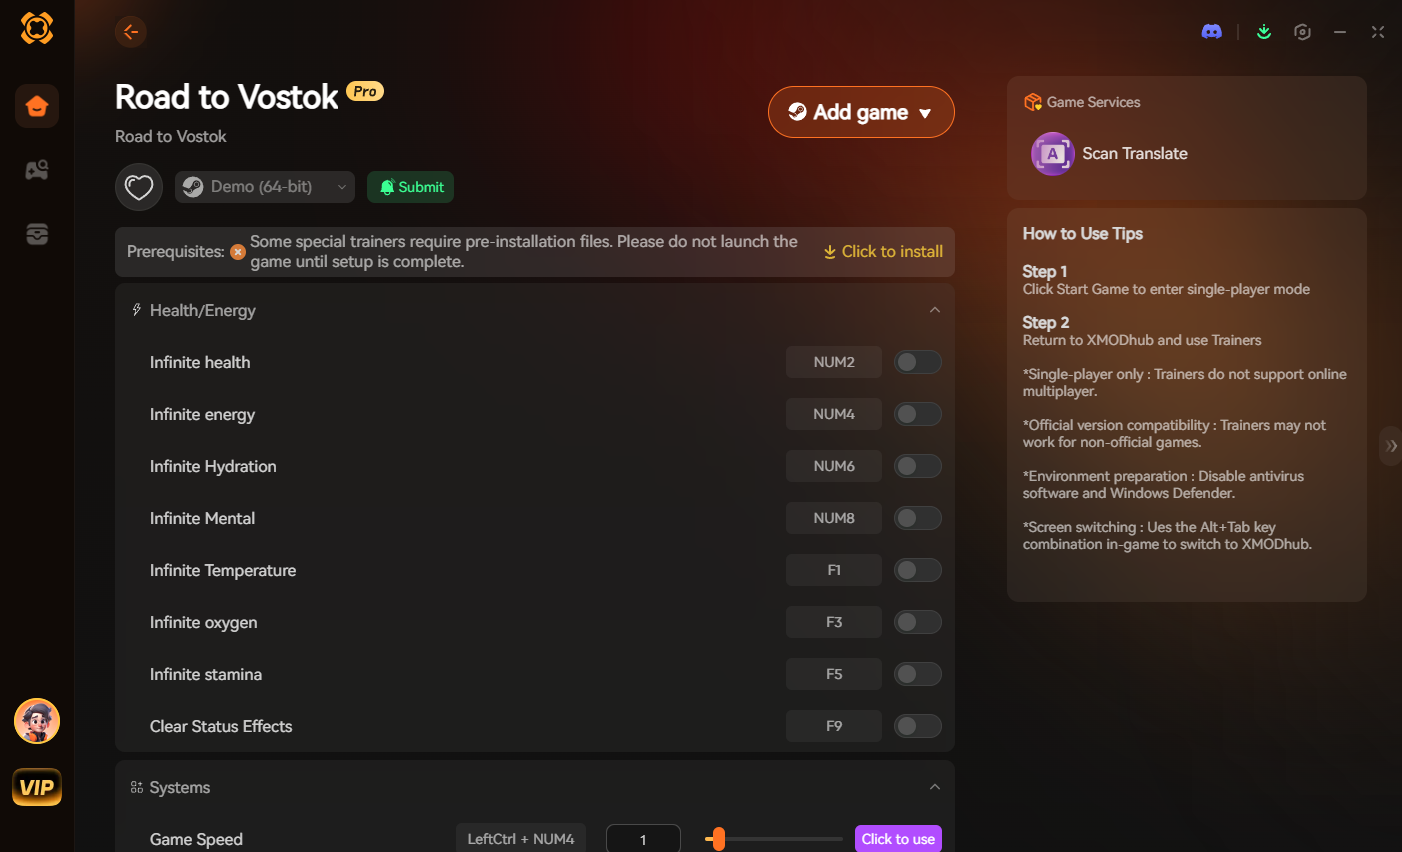
- 1.Télécharger XMODhub : Visit our official platform and securely download the optimized 2026 client.

- 2.Auto-Detect Game Path: Launch the application. XMODhub’s intelligent system will automatically locate your Road to Vostok installation folder, safely hooking into the Godot backend without any complex manual file modifications.
- 3.Toggle trainers/cheats: Open the sleek in-game overlay. Use the Visual Spawner to instantly rebuild your weapon stash, or toggle Infinite Money to immediately upgrade your safehouse back to its former glory. If you are terrified of another engine crash wiping your save, you can simply toggle God Mode to explore the map risk-free until the developers release a stability patch.
Frequently Asked Questions (FAQ)
Q.Can I manually trigger the Godot engine to create a backup file in Road to Vostok?
The Godot engine automatically generates the .bak file every time you successfully enter your safehouse. To ensure you always have a recent backup, make it a habit to safely extract from a raid rather than closing the game while standing in the active border zone.
Q.Will disabling Steam Cloud Saves prevent my Road to Vostok files from corrupting?
Disabling Steam Cloud Saves is highly recommended during the early-release window. Cloud synchronization often overwrites your healthy local backups with the 0 KB corrupted file the moment the game crashes, making the manual restore method impossible.
Q.Does using the Windows file recovery tool work for a lost save file in Road to Vostok?
If both your .sav and .bak files are completely missing, standard Windows file recovery tools rarely work due to the constant data overwriting in the AppData directory. In these catastrophic scenarios, utilizing XMODhub to rapidly rebuild your progress is the only viable solution.
Conclusion
Surviving the desolate, hostile environment of Road to Vostok is difficult enough without fighting corrupted game files and crashing engines. By utilizing the hidden Godot backup directory to successfully recover lost save file Road to Vostok data, proactively clearing your shader cache, and forcing stable DX11 rendering, you can protect your global stash from technical obliteration. Do not let a rendering glitch erase your hardcore survival legacy.
When the harsh reality of PC gaming bugs threatens to ruin your precious free time, remember that XMODhub is the ultimate time-management solution. With dedicated support for over 5000+ PC games, XMODhub ensures your time is always respected. If you enjoy the grueling, high-stakes tactical realism of Road to Vostok, you can easily carry your XMODhub experience over to similarly punishing hardcore survival games like Escape from Tarkov. Restore your save, optimize your engine, and survive the border.

Je suis un joueur passionné et j'écris sur XMODhub, qui se consacre à vous apporter les dernières nouvelles, astuces et idées en matière de jeux.
Connectez-vous avec moi :
Profil LinkedIn