Key Takeaways
- Jotunnslayer Hordes of Hel trainer improves run consistency when used for QoL.
- Good presets cut reset time and reduce fatigue.
- Reverse-fix workflow prevents most crashes and soft-locks.
- Accessibility-first visuals make telegraphs easier to read.
- Treat trainers like builds: purpose, trade-offs, and stability checks.
Below, we’ll break down safe use cases, common pitfalls, and tested setups that keep the game fun instead of turning it into a one-button chore.
What players really want from a Jotunnslayer Hordes of Hel trainer
When people search for a trainer, they rarely want to delete the challenge completely. Most want one of these outcomes:
smoother practice, faster iteration, less grind, or accessibility-friendly comfort. In a horde survival roguelite, that makes sense—runs can be long,
and one mistake late-game can waste a whole session.
The trick is to use Jotunnslayer Hordes of Hel trainer options as a tuning layer—not as a “skip the game” button.
If you push the dial too far, your decision-making loop collapses and the run becomes boring surprisingly fast.
Most common use cases
- Practice: learn patterns without full resets
- QoL: reduce friction (speed, inventory, UI)
- Accessibility: readability and comfort
- Experimentation: test builds and synergies
Where it goes wrong
- Infinite resources remove all tension
- Over-tuned damage hides bad decisions
- Aggressive toggles cause instability
- Multiplayer fairness issues (if applicable)
Personal note (short): I use “practice-only” toggles to learn wave spikes, then turn them off for real runs.
Mechanics: why tiny advantages snowball in horde roguelites
Horde roguelites are built on compounding outcomes: early efficiency creates better upgrades, which creates faster clears, which creates safer positioning,
which creates more upgrade choices. Even a small edge can cascade into a winning run. That’s why “minor” toggles in a trainer can feel huge.
The core loop often looks like: position → clear → collect → upgrade → survive spike. A trainer affects two parts of this loop:
collection/upgrade pacing (less friction) and survival spike tolerance (less punishment for a mistake).
Used responsibly, this is closer to game design tuning than cheating.
A practical way to think about “fair” trainer usage
- Fair: reduce repetition so you can learn faster (practice).
- Fair: improve readability and reduce fatigue (accessibility).
- Borderline: small resource boosts to test build paths.
- Unfair: invincibility or massive multipliers for “real” clears.
If you can’t lose, you stop learning. If you can’t iterate, you stop improving.
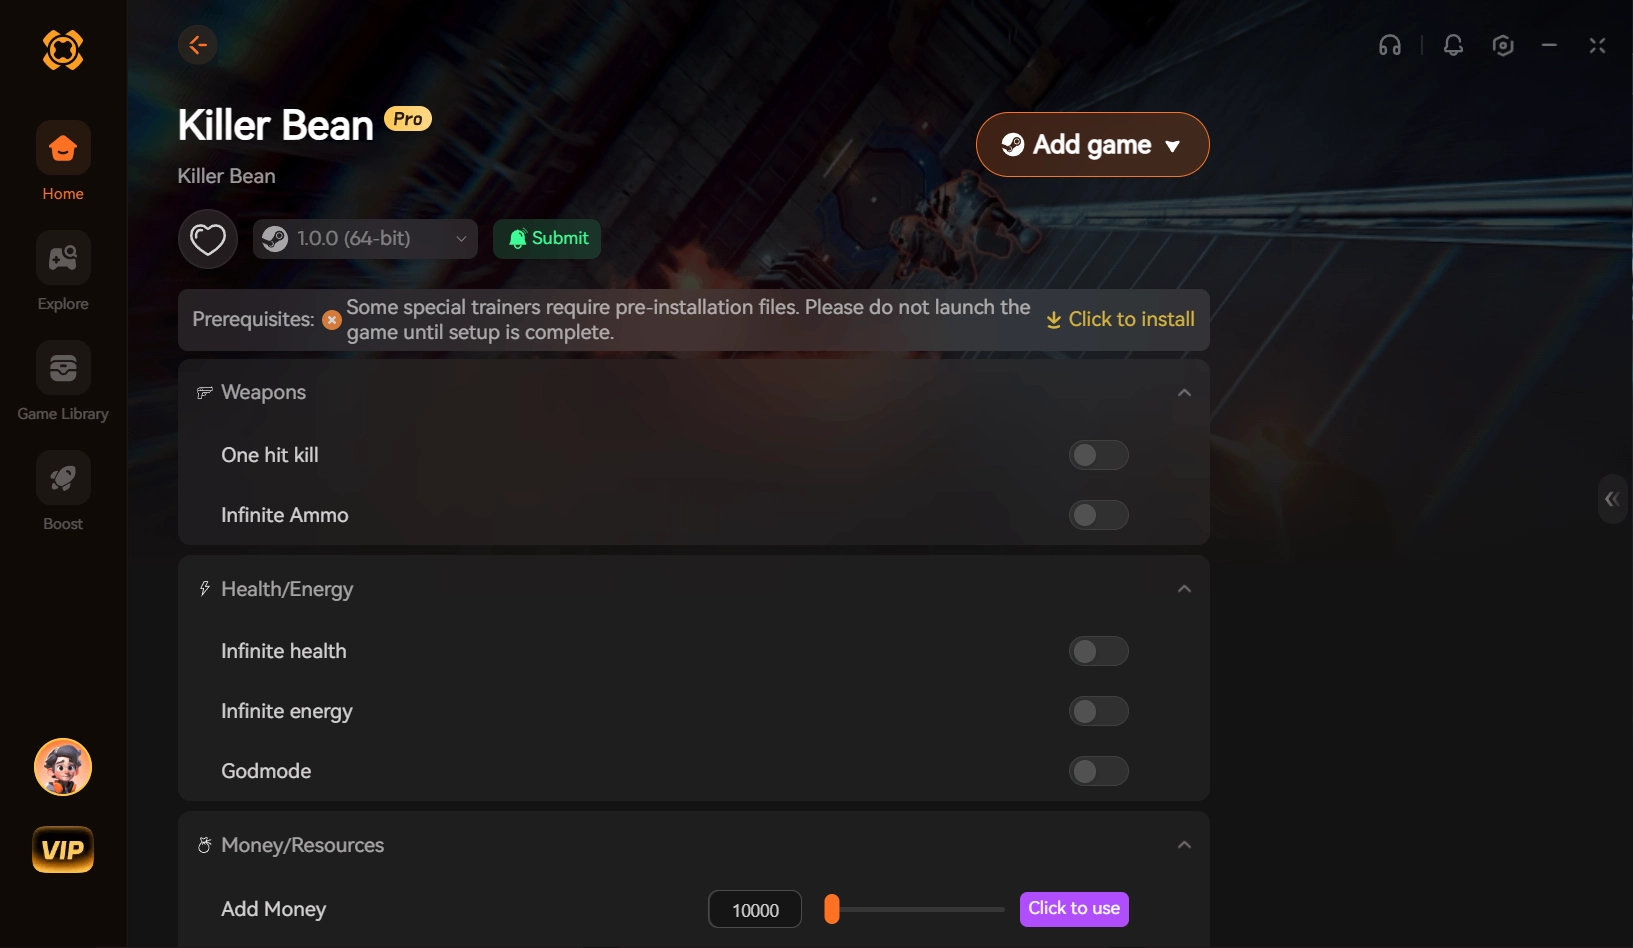
Safe presets vs high-risk presets (what to toggle and why)
A trainer is basically an external control panel. The safest approach is to create two presets:
one for practice/experimentation and one for “clean” runs. That separation prevents accidental over-tuning.
Preset A: Practice & learning (recommended)
- Slow-motion or time-scale for pattern study
- Small “mistake buffer” (if available)
- Teleport to arena / wave skip for drills
- Build sandbox: limited resource boosts
Goal: learn spikes and positioning, not “win by default.”
Preset B: QoL only (clean-ish)
- UI improvements / clearer pickups
- Minor convenience toggles (no stat boosts)
- Faster out-of-combat movement (optional)
- Performance-friendly visuals
Goal: reduce friction without changing outcomes.
Preset C: High-risk (avoid for real clears)
- Invincibility / infinite HP
- Massive damage multipliers
- Unlimited currency permanently enabled
- Forced drops that bypass progression
These remove tension and can destabilize saves.
Common mistakes: reverse fixes that solve most trainer problems
Trainers fail for predictable reasons: version mismatches, aggressive toggles, overlay conflicts, or save-state quirks.
The fastest approach is to troubleshoot in reverse—disable the most invasive features first.
Reverse-fix workflow (in order)
- Turn off infinite toggles first: these tend to touch core state.
- Disable multipliers next: damage/speed multipliers can desync systems.
- Then disable overlays: overlays can cause frametime spikes and input lag.
- Confirm version match: patch mismatches break hooks instantly.
- Test a fresh run: if a save is corrupted, it will “haunt” every test.
Symptom: trainer won’t attach
- Cause: game update changed memory patterns.
- Fix: use the matching trainer version.
- Fix: launch order: game first, trainer second.
Symptom: soft-locks or broken progression
- Cause: forcing drops or skipping gates.
- Fix: revert to clean preset and re-run the segment.
- Fix: avoid “spawn everything” toggles.
Symptom: input feels delayed
- Cause: heavy overlay or unstable frametime.
- Fix: disable overlay features and retest.
- Fix: prioritize frametime stability over peak FPS.
Honest experience (short): the fastest “fix” is often turning off one tempting toggle you didn’t need in the first place.
Best Jotunnslayer Hordes of Hel trainer setup by player type
Your “best” trainer setup depends on what frustrates you. Different players quit for different reasons: some hate grinding, others hate losing late-game to a single misread.
Build around your pain point and keep the rest clean.
Beginner: survive longer
- Practice preset for wave spikes
- Small mistake buffer (temporary)
- Readability improvements (telegraphs)
- QoL pacing (less downtime)
Tip: don’t chase DPS early—stabilize your movement first.
High-skill: optimize iteration
- Wave skip drills to practice end spikes
- Build sandbox with limited resources
- Disable all power boosts for real clears
- Performance stability tools
If you can reproduce a run, you can improve it.
Collectors: explore builds
- Sandbox for synergy discovery
- QoL that reduces menu friction
- Avoid forced drops that break progression
- Keep a clean preset for “earned” runs
Synergy hunting is the real endgame for many players.
Test cases: three trainer setups that keep skill intact
The easiest way to stay honest is to pick a metric and test one change at a time. That’s essentially player-driven tuning, similar to how
game balance decisions are evaluated.
Case A: “Learn the spike” drill
Goal: master the late-wave spike safely.
Method: wave skip/fast-forward to the spike, then practice positioning.
Metric: fewer panic pathing errors on real runs.
- Start with readability toggles enabled.
- Add a temporary mistake buffer only if needed.
Case B: “Build discovery” sandbox
Goal: test synergy paths quickly.
Method: limited currency boosts to explore upgrade branches.
Metric: faster identification of reliable mid-game transitions.
- Avoid forced drops that bypass progression gates.
- Turn it off when you lock the build plan.
Case C: “QoL-only clean runs”
Goal: reduce grind while keeping outcomes earned.
Method: keep only UI/comfort options; remove stat boosts.
Metric: more runs per session without burnout.
- If you feel “too safe,” you probably are.
- The best QoL is invisible after a week.
Accessibility-Friendly Dark UI Settings for Horde Fights
In Jotunnslayer Hordes of Hel, most deaths happen for one boring reason: you didn’t see the danger early enough.
When the screen fills with projectiles, hit sparks, and loot popups, a dark UI can either help you focus—or hide the exact cue you needed.
The goal is simple: make enemy telegraphs, damage zones, and cooldowns readable at a glance during late-wave spikes.
Horde-Fight Comfort Rules (Gameplay-First)
- Prioritize telegraphs: set enemy warning colors and ground indicators to stand out from blood/sparks, even if it looks less “cinematic.”
- Reduce clutter effects: tone down hit flashes, bloom, and excessive particle intensity so threat cues don’t get buried.
- Stabilize camera feedback: lower screen shake and heavy motion effects so you can track enemies while kiting.
- Lock critical reads: keep cooldowns, HP, shields, and dash stamina in a fixed position so you don’t “search” for them mid-spike.
- Make loot secondary: reduce loot glow or pickup text intensity during combat so it doesn’t compete with boss cues.
Practical result: fewer late-wave “I didn’t see that” deaths, especially when the arena is full.
Readable Combat Layout (Run-Friendly)
- Separate “combat” from “meta” info: keep damage numbers small or minimal; prioritize cooldown timers and hazard warnings.
- Use tiered emphasis: critical alerts (boss attacks, lethal zones) should be the brightest; everything else should be quieter.
- Short scan paths: cluster survivability info (HP/shield/dash) near your natural eye line while aiming or kiting.
- Wave spike visibility: during elite/boss waves, hide non-essential UI panels so the arena stays readable.
- Consistent spacing: avoid tiny icons packed together—misclicks or misreads cost runs more than they cost style.
If your eyes feel tired mid-run, it usually means your telegraph-to-decision time is being taxed by clutter.
If your Jotunnslayer Hordes of Hel trainer includes visual/UI toggles (contrast, highlight intensity, effect reduction),
use them to improve telegraph clarity—not to inflate stats. You’ll play better and keep runs meaningful.
Related concepts
If you enjoy optimizing runs, these topics explain why trainers feel impactful—and where the fun boundary usually is:
- Game design (feedback loops and challenge curves)
- Game balance (fairness and intended difficulty)
- Role-playing game (progression logic)
- Computer programming (how tools interact with systems)
- User experience (friction and flow)
- Human–computer interaction (interface ergonomics)
- Accessibility (inclusive design)
- PVP (fair-play expectations)
FAQ: what players search about Jotunnslayer Hordes of Hel trainer
Is using a trainer “safe” for my saves?
The safest approach is separation: use a practice preset for experimentation and keep a QoL-only preset for regular runs.
Avoid forced drops and permanent infinite toggles, which are the most likely to break progression states.
Why does the trainer stop working after an update?
Trainers often rely on specific version patterns. When the game updates, those patterns change. Use the trainer version that matches your game build,
and retest with minimal toggles first.
What’s the best “skill-friendly” way to use it?
Use it to shorten repetition: practice late-wave spikes, test build branches, and improve readability. Then turn off power-altering options for real clears.
If you still need the trainer to win, reduce the toggles and focus on positioning and pacing.
What’s the #1 troubleshooting rule?
Reverse-fix it: disable infinite toggles and multipliers first, then overlays, then retest on a fresh run. Most problems come from the most invasive options.
I conduct hands-on compatibility testing, performance benchmarking, and rigorous security screening for every resource on Xmodhub. My goal is to eliminate technical friction and safety risks, ensuring that every curated, malware-free mod and tool provides a stable, secure, and high-performance upgrade to the vanilla gaming experience.