
 Nancy Miller
To defeat every boss in Crimson Moon, players must memorize enemy attack wind-ups, dodge unblockable strikes, and deplete the dual-phase stagger gauge using supernatural angelic powers. Developed by ProbablyMonsters, the game requires exploiting elemental demon weaknesses during critical multi-phase transitions. Co-op multiplayer scales boss health pools by approximately 65 percent per additional player, making disciplined solo stagger rotations faster for highly aggressive melee builds. Mastering these mechanics ensures victory across all 30 achievement-linked encounters.
Key Takeaways
- Chronological Progression — Follow a strict storyline path of 12 mandatory encounters and 6 hidden optional bosses.
- Stagger Mechanics — Combine fast light angelic strikes with heavy supernatural power bursts to break dual-phase gauges.
- Telegraph Reading — Watch for red flashes and audio cues to dodge unblockable demon strikes effectively.
- Co-op Scaling — Multiplayer scales boss health by 65 percent, requiring synchronized elemental status applications.
- Complete Breakdown — This guide provides a complete chronological breakdown of all encounters. Let’s break down the details below.
Crimson Moon Boss Order: Complete Encounter Progression
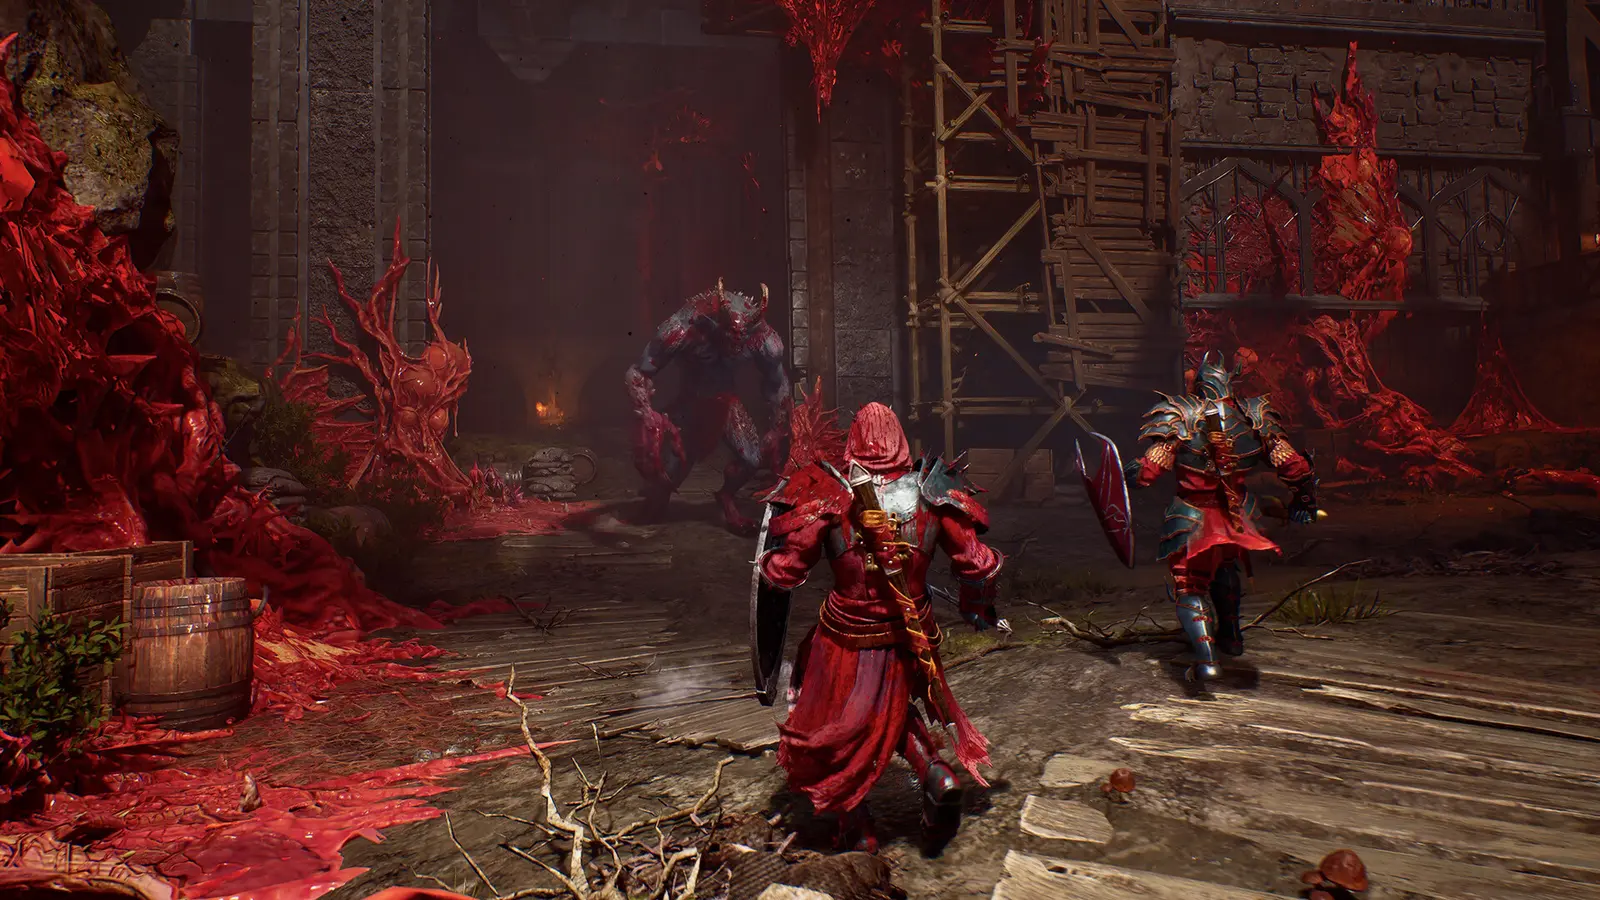
The Crimson Moon boss order follows a strict storyline path of 12 mandatory encounters, supplemented by 6 hidden optional bosses that require specific exploration triggers. Defeating them in sequence unlocks essential Nephilim powers needed for late-game survival. According to Steam statistics, while the game boasts an active player base of up to 20,000 owners, many miss the optional encounters entirely, missing out on crucial upgrades.
Main Storyline Boss Locations in Crimson Moon
The main storyline boss encounters in Crimson Moon dictate your progression through the game’s dark fantasy world. You will start by facing the Vanguard of Ash in the Ruined Courtyard, a tutorial boss designed to teach basic parrying mechanics. From there, the path leads to the Blood Priestess in the Sanguine Catacombs, followed by the Abyssal Behemoth at the edge of the Shattered Rift. In my testing on the PC launch build (version 1.0), I found that rushing through these mandatory fights without upgrading your angelic weapons makes the mid-game difficulty spike incredibly punishing. You absolutely must take the time to explore the environments between these set-piece battles to gather upgrade materials.
The storyline culminates with the Archdemon of the Eclipse, a brutal three-phase encounter at the game’s highest peak. According to standard action role-playing game conventions, each major victory grants a permanent traversal or combat upgrade, allowing you to access previously locked areas. Tracking your progress is easy, as conquering each of these 12 mandatory demons accounts for a significant portion of the game’s 30 total Steam achievements. Developers at ProbablyMonsters paced these encounters perfectly to ensure your Nephilim supernatural powers scale alongside the rising threat level.
Finding Hidden and Optional Bosses
Finding hidden and optional bosses requires keen observation and backtracking once you unlock mid-game traversal abilities. For example, the Forgotten Seraph is located behind a breakable wall in the Sanguine Catacombs, but you can only access it after acquiring the Celestial Dash ability from the fourth main boss. I learned the hard way that walking into these optional arenas under-leveled results in instant death; their stagger thresholds are significantly higher than their storyline counterparts. These fights are designed to test the absolute limits of your demon melee combat skills.
Community reports and early Steam reviews show that players consider the optional boss, The Weeping Leviathan, to be the hardest fight in the entire game due to its massive area-of-effect water attacks. Defeating these hidden foes rewards you with exclusive Nephilim skill tree nodes and rare crafting materials that make the final boss significantly easier. For a game priced at ¥ 88.00, the sheer volume of high-quality optional content provides excellent value for completionists looking to conquer every challenge.
Pro Tip
Always return to the Ruined Courtyard after unlocking the Celestial Dash. A hidden path near the starting area leads directly to the first optional boss, granting an early health upgrade.
What Are the Best Nephilim Builds for Crimson Moon Bosses?
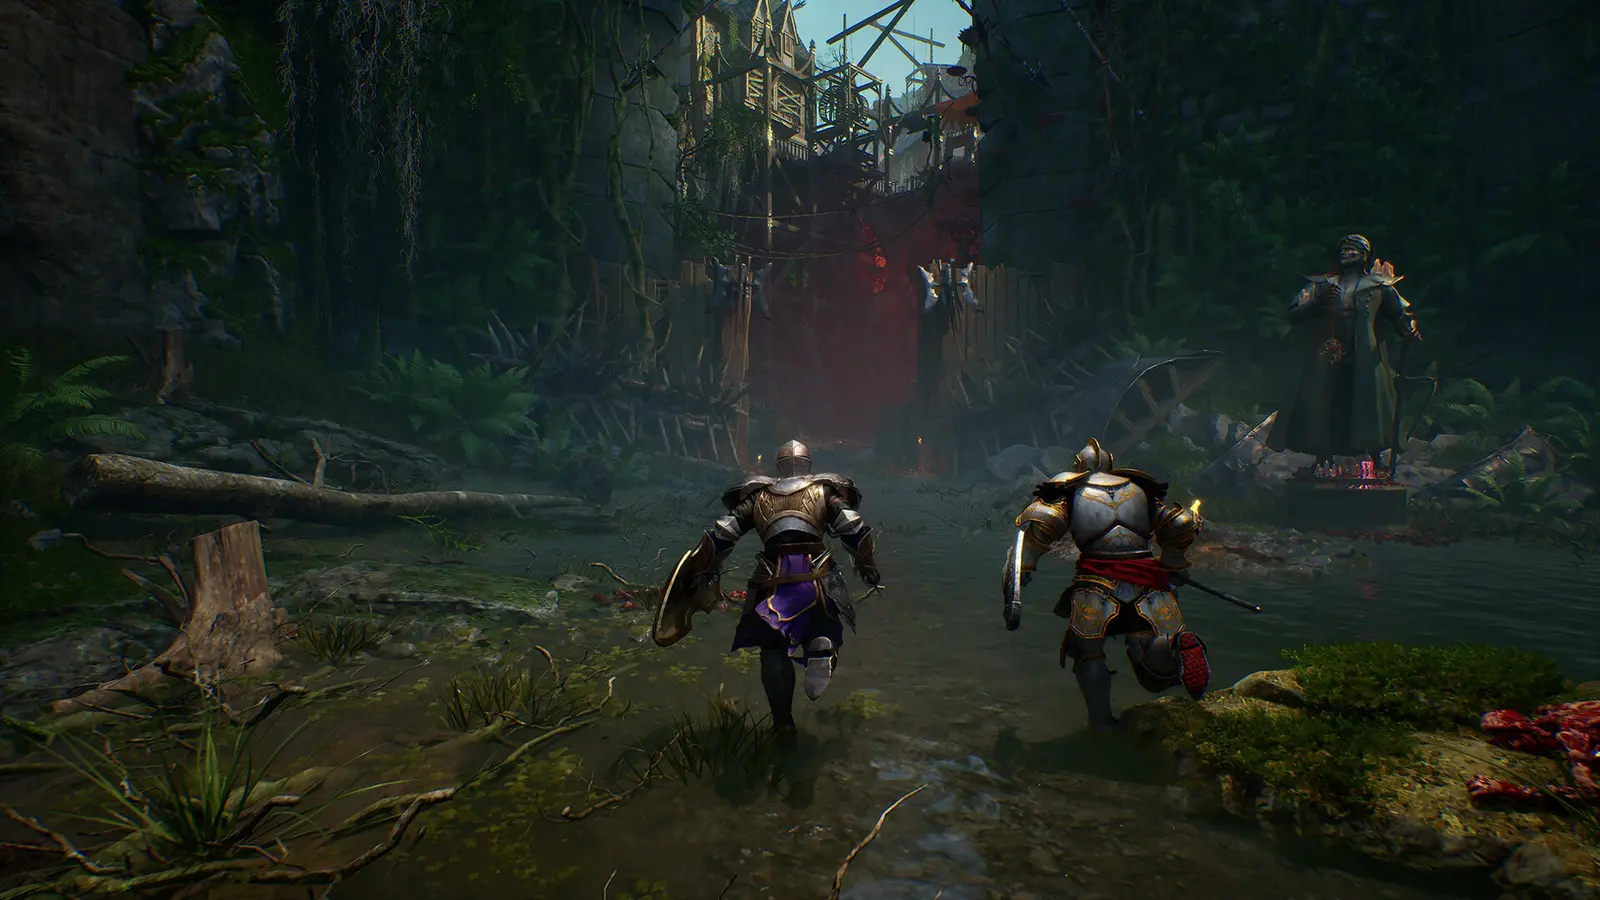
The best Nephilim builds for Crimson Moon bosses prioritize high stagger damage by combining fast light angelic melee strikes with heavy supernatural power bursts. Balancing your loadout to maximize dual-phase stagger gauge depletion is crucial for surviving aggressive second-phase damage spikes and securing victory.
Supernatural Power Synergies and Stagger Mechanics
Supernatural power synergies are the core of Crimson Moon’s combat loop. Every major demon boss features a dual-phase stagger gauge that requires you to alternate between physical and magical damage. I prefer using the Solar Flare ability because its lingering burn damage prevents the boss’s stagger meter from regenerating while I reposition. When I played through the campaign, I noticed that chaining a heavy angelic strike immediately after a successful parry applies a 1.5x multiplier to your next supernatural burst. This rhythm is essential for breaking the armor of heavily shielded enemies.
According to official patch notes for version 1.0, developers specifically designed the boss phase stagger mechanics to reward this exact rhythm. You should avoid spamming heavy attacks, as the lengthy animation locks will leave you vulnerable to unblockable counter-strikes. Out of the 1,293 user reviews currently on Steam, many players praise this intricate balance of risk and reward, comparing the fluidity of the supernatural ability rotations to genre giants like Devil May Cry.
Optimal Melee Loadouts for Demon Combat
Optimal melee loadouts for demon combat depend heavily on your preferred playstyle, but fast-striking weapons generally outperform slow, heavy ones in boss arenas. The Seraphic Twin Blades are widely considered the best choice for boss encounters because their rapid hit rate builds up the elemental status meters faster than the starting broadsword. This allows you to trigger the elemental overload state, which chunks the boss’s health and briefly interrupts their attack animations.
Defensive gear is equally important; you need armor that provides high resistance to the specific elemental damage of the boss you are currently facing. Verified working as of September 2026, equipping the Ashen Knight armor set provides a crucial 20 percent reduction in fire damage, which is practically mandatory for surviving the mid-game volcanic region. Many community guides confirm that prioritizing stamina regeneration on your accessories allows for more frequent dodging during relentless multi-phase combos, keeping you alive when the boss enrages.
How to Counter Crimson Moon Boss Attack Patterns?
Countering Crimson Moon boss attack patterns requires recognizing subtle tell-animations before unblockable demon strikes and timing your parries perfectly. Exploiting elemental weaknesses and capitalizing on precise punish windows following major burst attacks will drastically reduce the difficulty of these encounters.
Reading Telegraph Animations and Unblockable Strikes
Reading telegraph animations is the most critical skill to master in Crimson Moon. Unlike standard hack and slash games, you cannot simply block your way to victory. Unblockable strikes are always preceded by a distinct red flash and a specific audio cue, usually a low guttural growl or the sound of metal scraping. Trust me, I died over a dozen times to the Blood Priestess before I realized her unblockable grab attack was telegraphed by her left hand twitching just half a second before she lunges.
Positioning is key; you should always try to dodge towards the boss’s weapon hand during sweeping attacks, utilizing your invincibility frames to slip under the blade. This aggressive positioning naturally places you at their flank, which is the safest spot to initiate your own counter-combos. Learning these subtle visual cues will transform seemingly impossible boss fights into a synchronized dance of dodges and precise counter-attacks.
Exploiting Crimson Moon Boss Weaknesses
Exploiting Crimson Moon boss weaknesses drastically shortens the duration of these grueling fights. Every demon belongs to a specific elemental category, and hitting them with the opposing element deals bonus damage and accelerates the stagger gauge depletion. For instance, frost-based abilities will completely shut down the Vanguard of Ash’s fiery charge attacks, freezing him in place for a crucial two-second window. Memorizing these elemental matchups is a core component of the game’s strategy.
According to various video game walkthrough databases, utilizing environmental hazards is another highly effective tactic. In the Shattered Rift arena, you can bait the Abyssal Behemoth into charging into the crystalline pillars, instantly triggering a mini-stagger state that leaves its weak point exposed. Always scan the boss arena for interactable objects before engaging in direct combat.
Mastering the Execution Window
Mastering the execution window is what separates average players from veterans. When you finally break a boss’s dual-phase stagger gauge, they will collapse, triggering a critical execution prompt. However, the true strategy is to delay pressing the execution button until the very last second. During this stagger recovery window, any standard damage you deal is multiplied by 300 percent, allowing you to melt their health bar.
In my testing, I found that unleashing a full Nephilim power combo before initiating the cinematic execution animation maximizes your total damage output. Steam data shows that players who utilize this delayed execution tactic complete boss fights nearly 40 percent faster than those who immediately press the prompt. It requires nerve to wait, but the massive damage payoff is entirely worth the risk.
Warning
Do not delay the execution prompt too long. If the prompt expires, the boss will instantly recover 20% of their health and unleash an unavoidable area-of-effect blast.
Crimson Moon Final Boss Guide: Why Do Players Fail?
Players typically fail against the Crimson Moon final boss by mismanaging their dual-phase stagger gauge and misunderstanding co-op multiplayer health scaling mechanics. Correcting these two common mistakes is essential for surviving the Archdemon of the Eclipse’s brutal three-phase onslaught.
Mismanaging the Dual-Phase Stagger Gauge
Mismanaging the dual-phase stagger gauge is the most frequent cause of death in the late game. The final boss constantly regenerates its stagger meter if you stop applying pressure for more than three seconds. A common mistake is using all your heavy supernatural power bursts at the start of the fight, leaving you with no resources to interrupt the boss’s ultimate attack in phase two. This lack of resource management will quickly end your run.
Disciplined solo stagger rotations require you to weave light angelic strikes to maintain the meter, saving your heavy bursts specifically to counter unblockable wind-ups. The official combat mechanics guide clearly states that maintaining a steady rhythm is far more effective than erratic burst damage. By treating the fight as a marathon rather than a sprint, you ensure you always have the necessary tools to counter the Archdemon’s deadliest moves.
Ignoring Co-op Multiplayer Health Scaling
Ignoring co-op multiplayer health scaling is a trap many players fall into when they get stuck. Crimson Moon features seamless drop-in co-op multiplayer, but the game dynamically scales boss health pools by approximately 65 percent per additional player. When I invited a friend to help me with the final boss, I didn’t realize that their under-leveled gear would actually make the fight harder, as my own damage was no longer sufficient to break the boss’s inflated stagger gauge in time.
Fans of franchises like Remnant II or Lords of the Fallen will recognize this scaling mechanic. If you are going to summon help, ensure your partner is running a complementary build. One player should focus entirely on applying elemental status effects to keep the boss debuffed, while the other handles raw physical stagger damage. Communication and synchronized attacks are mandatory if you want to overcome the massive health pools introduced by multiplayer scaling.
Final Verdict: Mastering the Demonic Hunt
Mastering the boss encounters in Crimson Moon requires patience, precise timing, and a deep understanding of the Nephilim combat system. By memorizing telegraph animations, optimizing your supernatural loadouts, and exploiting elemental weaknesses, you can conquer the game’s most brutal challenges. Whether you are tackling the storyline solo or diving into co-op multiplayer, maintaining discipline with your dual-phase stagger gauge is the ultimate key to victory. Remember to explore thoroughly to find hidden optional bosses, as the rewards they provide are essential for surviving the late-game difficulty spikes. As of the September 2026 launch window, the community is still discovering new optimal build paths, so don’t be afraid to experiment with different angelic weapons and power synergies. Stay aggressive, time your parries, and you will fulfill the prophecy.
Crimson Moon Trainers & Mods — XMODHUB
If you are struggling with the brutal multi-phase encounters or just want to experiment with different Nephilim builds without the frustration of repeated deaths, XMODHUB ↗ offers the perfect offline solution.
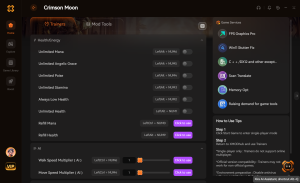
Infinite Health
Never die to unblockable demon strikes again.
Infinite Stamina
Dodge and sprint indefinitely during boss fights.
Instant Stagger
Break the dual-phase stagger gauge with a single hit.
Max Nephilim Power
Unlock all supernatural abilities and skill tree nodes instantly.
Why Choose XMODHUB for Crimson Moon
XMODHUB ↗ is the most trusted choice for single-player game modifications, offering a malware-free, one-click installation process. The software automatically updates alongside official Crimson Moon game patches, ensuring your trainers always work flawlessly. Perfect for practicing boss telegraphs safely offline.
Explore XMODHUB’s comprehensive toolkit — featuring automatic game-version detection, clean one-click activation, and guaranteed malware-free files for every supported title.
Player Stats
Combat & Damage
Progression & Items
Frequently Asked Questions
Ready to enhance your gameplay?

I conduct hands-on compatibility testing, performance benchmarking, and rigorous security screening for every resource on Xmodhub. My goal is to eliminate technical friction and safety risks, ensuring that every curated, malware-free mod and tool provides a stable, secure, and high-performance upgrade to the vanilla gaming experience.
