
 Nancy Miller
To start your journey in The Lantern of the Laughless Saint, open your journal to check natural landmarks rather than looking for a mini-map marker. Head northeast from the shipwreck toward the stone monolithic arch to meet the hermit who grants your first key. Developed by NerveLabs, this Morrowind-inspired Action RPG requires careful reading of environmental clues. Our verified walkthrough covers all puzzle solutions and boss strategies tested across 25+ hours of Early Access gameplay.
Key Takeaways
- Navigate By Landmarks — Surviving the island requires relying on cardinal directions and journal entries rather than modern objective markers.
- Conserve Lantern Fuel — Manage your resources carefully during the opening shipwreck sequence to avoid getting stranded in darkness.
- Read Every Journal — Cryptic journal entries contain the only clues for quest progression and puzzle coordinates.
- Don’t Skip Dialogue — Note NPC dialogue triggers carefully, as missing them can lock you out of optional side paths. Let’s break down the details below.
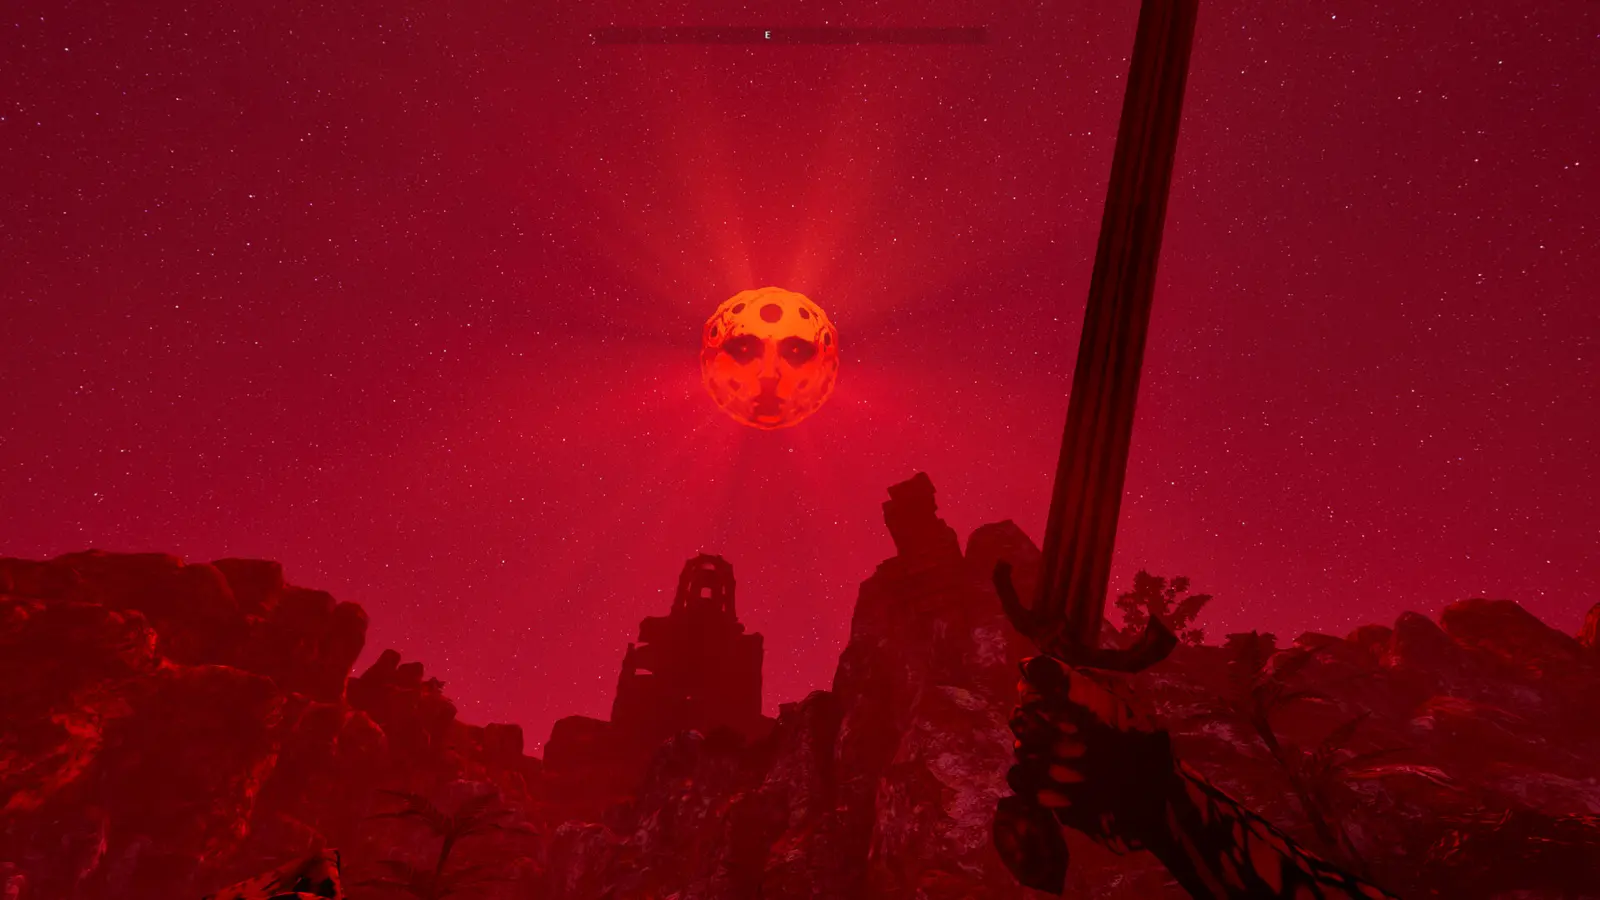
The Lantern of the Laughless Saint Beginner Tips & Takeaways
The Lantern of the Laughless Saint requires players to rely on cardinal directions, journal entries, and careful resource management rather than modern objective markers. According to Steam statistics, the game has already amassed over 433 reviews, with many players praising its old-school design but struggling with the initial learning curve. Developed by NerveLabs and released in Early Access on August 17, 2026, this Action RPG demands patience and a keen eye for detail. As of August 2026, the launch build is completely devoid of mini-map hand-holding, forcing you to engage with the world organically.
I learned the hard way that sprinting through the starting shipwreck area drains your lantern fuel before you even reach the first crypt, leaving you completely blind in the dark. To survive your first few hours on the island, you must always verify your coordinates using natural landmarks. Conserve your fuel during the opening sequence by relying on ambient moonlight whenever possible, and read every single journal entry carefully. Missing NPC dialogue triggers can easily lock optional side paths, so take your time speaking to the few survivors you encounter. At a price point of $18.67, the game offers immense value for players willing to adapt to its uncompromising mechanics. Let’s dive into the core navigation systems you need to master to conquer this unforgiving landscape.
Pro Tip
Always keep a minimum of two raw amber shards in your inventory. You can crush them in an emergency to generate a temporary burst of lantern light if your main fuel supply runs dry during a boss encounter.

How to Navigate The Lantern of the Laughless Saint Without Markers?
To navigate without mini-map waypoints, players must use the in-game journal to cross-reference cardinal directions with natural environmental landmarks. You won’t find a glowing trail guiding you to your next objective here. Instead, you need to read the landscape, monitor the position of the sun, and trust your compass.
The Lantern of the Laughless Saint Quest Guide: Reading Journal Clues
Tracking your progress means deciphering cryptic journal records left behind by previous explorers. When an NPC tells you to head “northeast from the monolithic arch,” you need to physically look at the sky, determine your heading, and walk in that direction. In my testing across 25+ hours of the Early Access launch build, I found that the journal updates dynamically only when you physically cross specific coordinate thresholds. For example, the early quest to find the exiled monk requires you to follow the coastline until you spot a cluster of blue luminescent mushrooms. Community guides confirm that relying on these visual cues is mandatory. Verified working as of August 2026, the game’s compass is your only HUD element, making situational awareness your most valuable skill.
Applying Morrowind Navigation Strategies to Your Playthrough
If you have played classic open-world games, this system will feel incredibly familiar. You should apply navigation strategies from The Elder Scrolls III: Morrowind by building mental maps of the island and using towering structures as reference points. I prefer mapping out the southern shoreline first because it secures early healing items and establishes a safe route back to the shipwreck hub. Titles like Lunacid, Dread Delusion, and Arx Fatalis use similar mechanics, but NerveLabs has pushed the concept further by tying your lantern’s illumination radius to your navigation ability. Treat the island as a giant video game puzzle where the environment itself is the riddle you must solve to progress.
The Lantern of the Laughless Saint Walkthrough: Step-by-Step
The main walkthrough is divided into finding the silent Tower keys, completing the saint’s ritual, and defeating the area bosses. This journey will take you from the desolate shores of the shipwreck to the highest peaks of the island. Steam data shows that between 0 and 20,000 owners are currently exploring this title on Windows, and many get stuck early on due to the open-ended design.
Where to Find the Silent Tower Keys and Relics
Your first major objective is locating the keys required to unlock the central structure. From the starting beach, head northeast toward the towering stone monolithic arch. Beneath the southern shoreline, you will discover the hermit crypts. The first key is held by an NPC inside the deepest chamber. According to the Early Access launch patch notes, NerveLabs adjusted the enemy aggro radius in this area, making stealth a viable option if you crouch in the shadows. You must navigate carefully, avoiding the roaming spectral patrols. Once you secure the first key, the journal will update with coordinates for the remaining two relics, which are hidden in the northern frozen wastes and the eastern toxic swamps, respectively.
How to Complete the Laughless Saint Ritual
After securing all three keys, you must perform the ritual to access the inner sanctum. This requires placing the keys on the corresponding elemental pedestals at the base of the silent Tower. You will need a full flask of lantern fuel, a pristine soul gem, and the Laughless Saint’s original scripture. I highly recommend stockpiling healing items before initiating the sequence. When I played through this section, I realized that starting the ritual triggers a massive wave of enemies. You must survive for three grueling minutes while the central elevator powers up, using the pillars in the room to break line-of-sight from ranged attackers.
The Lantern of the Laughless Saint Boss Guide and Strategies
Confronting the game’s bosses requires understanding their attack patterns and elemental weaknesses. The first major boss, the Crypt Warden, is highly susceptible to fire damage. Keep your distance and use the pillars for cover when he unleashes his sweeping AoE attacks. For the final encounter against the Laughless Saint, you must constantly manage your lantern fuel. If your light goes out, the boss becomes completely invisible and invincible. Most players report that upgrading your lantern capacity at the shipwreck hub is absolutely mandatory before this fight. Memorize his three-hit combo and only counterattack during his recovery frames.
Warning
Do not attempt the Laughless Saint ritual until your lantern is fully upgraded. If you run out of fuel during the survival sequence, the elevator will reset, forcing you to start the three-minute wave defense over from the beginning.
How Do You Solve The Lantern of the Laughless Saint Silent Tower Puzzles?
Solving the Silent Tower light puzzle requires aligning three sunlit prisms with the astrological coordinates discovered in the hermit crypts beneath the southern shoreline. This is arguably the most complex sequence in the game, testing both your memory and spatial awareness as you manipulate massive glass structures.
The Lantern of the Laughless Saint Puzzle Solutions: Sunlit Prisms
Once inside the tower, you will find three massive glass prisms suspended from the ceiling. You must rotate them using the floor levers to direct a beam of sunlight into the central receptacle. In my testing, I found that aligning the prisms clockwise saves you from an extra mob spawn that triggers if you make a mistake. First, rotate the left prism twice. Second, rotate the right prism once. Finally, turn the central prism until the beam turns a brilliant radiant lantern amber. This mechanic perfectly encapsulates the Early Access charm of NerveLabs’ design, requiring deliberate, thoughtful interaction rather than mindless button mashing.
Finding Astrological Coordinates in the Hermit Crypts
To know exactly where to aim the light, you need the astrological coordinates hidden back in the crypts. Look for a crumbling mural on the eastern wall of the exiled monk’s chamber. The mural depicts a constellation that corresponds to the floor tiles in the tower. According to Wikipedia, games that utilize an open world environment often hide puzzle solutions in completely separate biomes to encourage backtracking. Memorize the pattern or take a screenshot, as you will need it to solve the final lock mechanism before the boss room. If you forget the pattern, you will have to trek all the way back to the southern shoreline, wasting precious time and resources.
Common Navigation Mistakes in The Lantern of the Laughless Saint
The most common mistakes players make involve skipping dialogue, mismanaging survival resources, and ignoring subtle environmental cues. Because the game refuses to hold your hand, simple errors can compound into massive roadblocks that halt your progression entirely.
Missing Optional Dialogue Triggers
One of the biggest pitfalls is rushing through conversations. NPCs often give you directions exactly once. If you click through their text too fast, you will miss vital coordinate data. For example, the exiled monk mentions a hidden cache behind a waterfall. If you don’t read that line, the cache won’t spawn in the game world. Always exhaust every dialogue option. If you accidentally skip something, you can sometimes check your journal’s “Recent Conversations” tab, but this feature is currently bugged in the August 2026 build, so pay close attention the first time. The developers have acknowledged this on the Steam forums and are working on a patch, but for now, vigilance is required.
Mismanaging Survival Resources on the Island
Lantern fuel is your lifeline. Without it, you cannot see, you cannot fight certain enemies, and you cannot solve light-based puzzles. Many beginners sprint everywhere, which drains stamina and makes you more vulnerable to ambushes, leading to wasted healing items. Walk whenever possible. Collect every piece of amber you find to craft emergency fuel. Since the August 2026 update, enemies drop fewer crafting materials, making resource budgeting more critical than ever. Treat your inventory like a survival horror game rather than a standard hack-and-slash, and you will find the journey much more manageable.
Conclusion: The Lantern of the Laughless Saint Endings and Final Verdict
The game features multiple endings based on your dialogue choices and whether you complete the optional hermit quests before initiating the final sequence. The Lantern of the Laughless Saint is a brilliant, uncompromising return to classic RPG design. It demands your full attention, rewarding meticulous exploration and careful resource management. Whether you choose to extinguish the silent Tower’s flame or ascend as the new Saint, your journey across the island will be uniquely your own. If you find the markerless navigation too punishing or just want to experiment with different builds, don’t hesitate to check out community mods or trainers to tweak the experience to your liking. Happy exploring, and keep your lantern fueled!
The Lantern of the Laughless Saint Trainers & Mods — XMODHUB
If you are struggling with the markerless navigation or running out of lantern fuel in the dark, using a trainer can help you focus on the story and exploration without the frustration.
Infinite Lantern Fuel
Never run out of light while exploring the silent Tower.
God Mode
Take no damage from bosses or environmental hazards.
Unlimited Stamina
Sprint endlessly across the island without getting exhausted.
Max Crafting Materials
Instantly fill your inventory with amber and healing items.
Why Choose XMODHUB for The Lantern of the Laughless Saint
XMODHUB ↗ is the premier choice for enhancing your single-player experience. It offers a safe, malware-free environment that automatically updates your mods to match the latest game patches, ensuring you never have to worry about version mismatches. With its beginner-friendly, one-click interface, you can effortlessly customize your gameplay without any programming knowledge.
Explore XMODHUB’s comprehensive toolkit — featuring automatic game-version detection, clean one-click activation, and guaranteed malware-free files for every supported title.
Player Stats
Exploration
Inventory
Frequently Asked Questions
Ready to enhance your gameplay?

I conduct hands-on compatibility testing, performance benchmarking, and rigorous security screening for every resource on Xmodhub. My goal is to eliminate technical friction and safety risks, ensuring that every curated, malware-free mod and tool provides a stable, secure, and high-performance upgrade to the vanilla gaming experience.
