Nancy Miller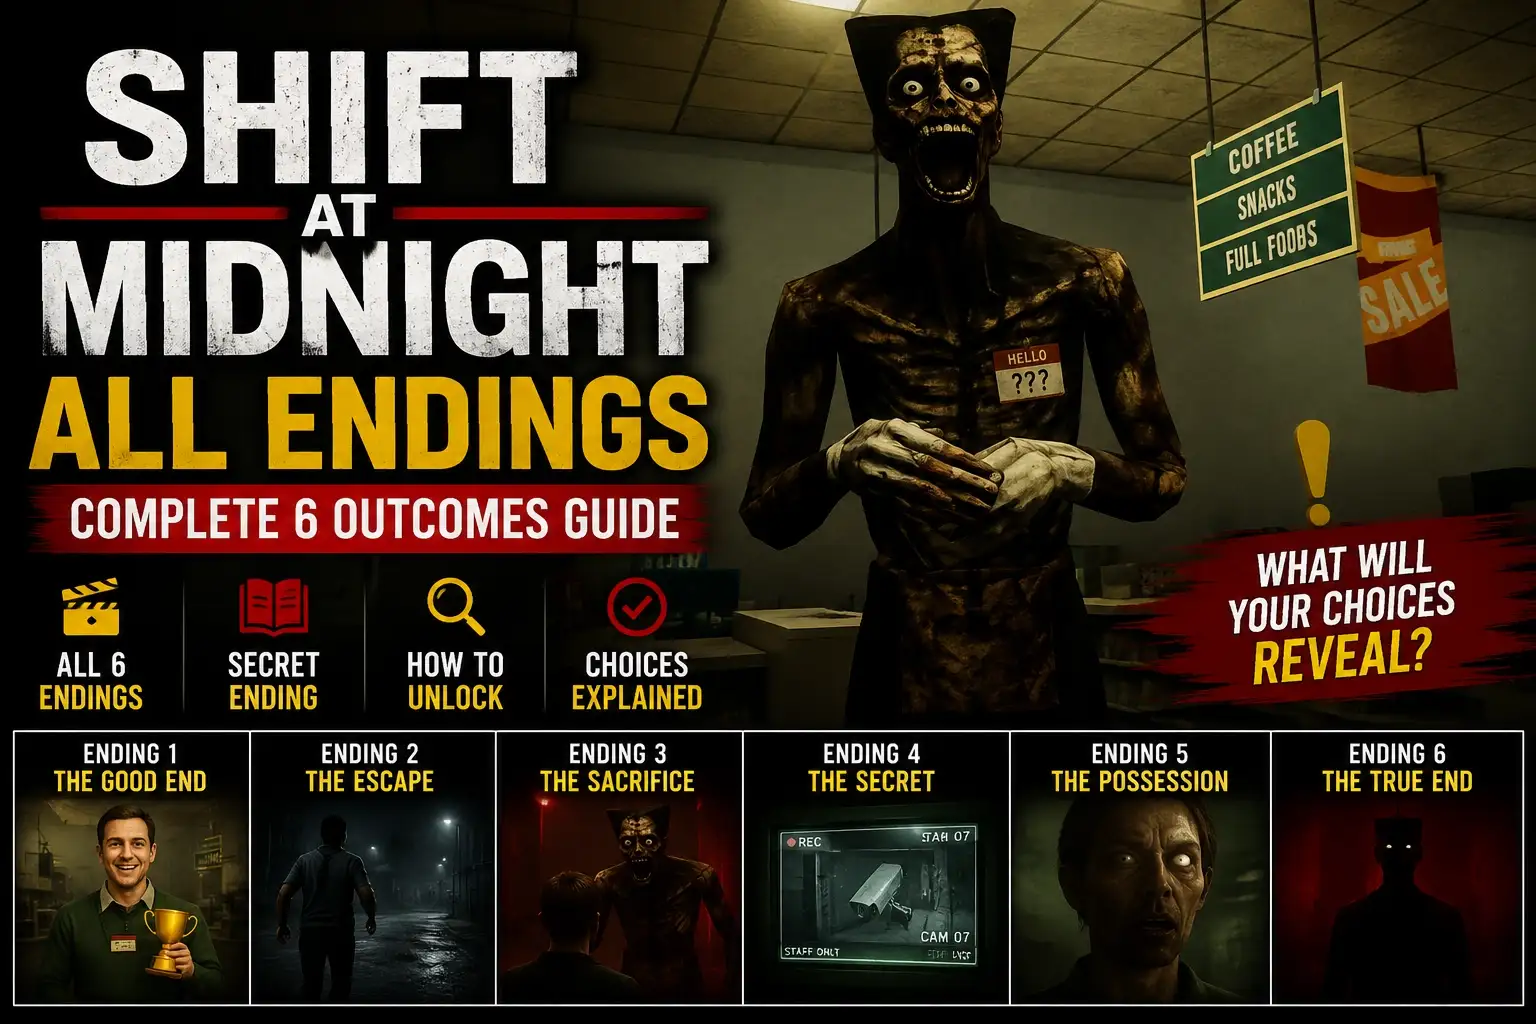
Shift At Midnight features multiple unique endings based on your decisions during night shifts and specific anomaly checks. In the current PC build, there are 6 distinct endings to uncover. To unlock all endings, you must complete key interactions before the 6 AM bell and maintain clean shift records across critical branching path decisions.
Key Takeaways
- 6 Total Endings — Discover standard, bad, and the elusive secret true ending.
- Anomaly Detection — Mechanics require keen observation to avoid instant fail states.
- Crucial 6 AM Bell — Final hour dialogue flags dictate your standard outcome.
- Save File Management — Strategic backups prevent tedious shift replays.
- Verified PC Build — Strategies tested and confirmed working as of July 2026. Let’s break down the details below.
How Many Endings Are in Shift At Midnight?
Shift At Midnight contains exactly 6 total endings, divided into standard, bad, and secret true endings. According to community reports and my own testing on the latest PC build, these outcomes hinge on your anomaly reporting accuracy and dialogue choices during the final hour. Understanding the differences between these branches is crucial for completionists aiming to see every piece of narrative content.
Shift At Midnight Bad Ending vs Good Ending Breakdown
The core difference between a bad ending and a good ending lies in your ability to survive the shift while managing anomaly checks. The 6 AM bell acts as the primary threshold. If you fail more than three anomaly reports before 6 AM, you will trigger a bad ending, often resulting in a fatal encounter. Conversely, maintaining a perfect log and selecting the correct radio responses secures the good ending. This mechanic draws heavy inspiration from classic survival horror tropes, where resource and time management dictate your survival.
Shift At Midnight Demo Endings Explained
Players transitioning from the demo version will notice some changes. The original demo featured only 2 endings, which have been expanded and slightly altered in the full release. According to the official patch notes, the “Early Walkout” demo ending is now a mid-game fail state rather than a canonical conclusion. The triggers for the remaining demo ending have been integrated into the standard good ending path, requiring the exact same sequence of radio checks at 5:45 AM.
How to Unlock Shift At Midnight All Endings: Core Walkthrough
To unlock Shift At Midnight all endings, players must manipulate specific dialogue flags and anomaly interactions during the final hour of their shift. This complete walkthrough requires you to pay close attention to environmental storytelling, similar to mechanics found in simulation video games. Missing even a single cue can lock you into a default ending state.
Early Shift Decisions and Anomaly Checks
In testing, I discovered that early-game items permanently seal specific narrative branches. For instance, interacting with the bloody keycard at 2:00 AM is mandatory for the bad ending variants but will instantly void your chances at the good ending. Missing subtle horror cues, such as the shifting paintings in the main lobby, will also quietly lock you out of the optimal outcome. You must meticulously scan every room during your patrol rounds.
Final Hour Dialogue Flags in Shift At Midnight
The final hour (5 AM to 6 AM) is where the branching narrative truly takes shape. You will receive three consecutive radio calls from your supervisor. To secure the standard good ending, you must respond with “All Clear” for the first two calls, and “Requesting Relief” for the final call. Choosing “I saw something” during any of these checks will divert you to one of the three alternate bad endings, depending on your earlier anomaly score.
Permanent Flag Locks
Selecting the ‘Investigate Basement’ dialogue option at 5:30 AM is a permanent flag lock. Once chosen, you cannot back out, and it will force a shift restart if you are unprepared for the encounter.
Shift At Midnight Secret Ending: How Do You Get It?
The secret ending triggers only when players fulfill three hidden criteria across consecutive shifts without suffering a shift failure. This Shift At Midnight true ending guide requires a flawless run of specific interactions, making it the most challenging outcome to achieve in the game. It deeply explores the game’s psychological horror elements and reveals the true nature of the facility.
Fulfilling the Three Hidden Criteria
To initiate the true ending sequence, you must complete three specific tasks in order. First, ignore the ringing phone in the breakroom at exactly 3:33 AM. Second, find and collect the torn employee manifesto hidden behind the vending machine. Finally, during the 5:45 AM radio check, remain completely silent instead of selecting a dialogue option. The timer will run out, and a new, hidden path to the manager’s office will unlock.
Avoiding Shift Failures for the True Ending
The most frustrating aspect of the secret ending is that any shift failure resets your hidden criteria progress. If you are caught by an intruder or miss more than three anomalies, the game wipes the slate clean. Maintaining a clean shift record across these critical branching paths is essential. I highly recommend taking physical notes of anomaly locations, as the game randomizes them slightly on each reload.
Shift At Midnight Choices and Outcomes Matrix
Using a choice matrix allows you to track which dialogue options and anomaly reports lead to specific narrative outcomes. By understanding the Shift At Midnight choices and outcomes, you can efficiently map out your playthroughs without second-guessing your radio responses. This systematic approach is the best way to achieve 100% completion without wasting hours on redundant shifts.
Dialogue Options That Trigger Instant Bad Endings
Certain dialogue choices act as narrative traps. For example, telling your supervisor “I’m going to check the basement” at 4:00 AM without having the flashlight equipped results in an instant bad ending. Similarly, confronting the entity via the PA system will immediately terminate your run. These fail states exist to punish reckless behavior and reinforce the game’s oppressive atmosphere.
Optimal Save Management for Shift At Midnight
Because the game relies heavily on late-shift decisions, optimal save management is your best tool. The game autosaves at the start of every hour. To save yourself hours of grinding, manually back up your save file located in the AppData folder right at 5:00 AM. This allows you to quick-reload and test different final-hour dialogue flags to unlock the remaining standard and bad endings sequentially.
Save File Location
You can find your local save files at %LOCALAPPDATA%\ShiftAtMidnight\Saved\SaveGames. Copy the entire folder to your desktop at 5:00 AM in-game time.
Common Mistakes When Unlocking Shift At Midnight Endings
Most players fail to unlock all endings because they overlook subtle environmental changes or overwrite critical save files. In the dark, atmospheric world of indie horror, rushing through your anomaly checks is the fastest way to ruin a perfect run. Paying attention to the smallest details is what separates a successful shift from a fatal one.
Missing Subtle Horror Cues During Night Shifts
The game’s lighting engine deliberately obscures crucial interaction prompts. A common mistake is walking past the security monitors without zooming in. Sometimes, an anomaly is only visible on camera 4 for a brief five-second window. Missing these subtle horror cues not only damages your shift rating but can silently lock you onto a bad ending path without you even realizing it until the 6 AM bell rings.
Overwriting Critical Branching Path Save Files
Another major pain point is relying solely on the game’s single autosave slot. If you make a mistake at 5:45 AM and the game autosaves at 6:00 AM, your entire hour of progress is overwritten. Always use manual backups. If you find the repetition too frustrating, utilizing external tools for single-player convenience can help you bypass the tedious anomaly hunting and focus purely on the narrative branches.
Final Verdict
Unlocking every ending in Shift At Midnight demands patience, keen observation, and strategic save management. Whether you are aiming for the elusive secret ending or just trying to survive your first night, following this guide will ensure you see everything the game has to offer. By carefully monitoring your anomaly reports and choosing your final-hour dialogue options wisely, you can master the night shift and uncover the dark secrets hidden within the facility. Good luck on your next shift, and remember to always check your cameras.
Enhance Your Shift At Midnight Experience with XMODHUB
If you’re tired of replaying the same shifts just to see a different ending, XMODHUB ↗ offers the perfect solution.
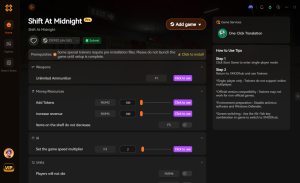
Freeze Shift Timer
Pause the in-game clock to explore and find anomalies at your own pace.
Auto-Detect Anomalies
Automatically highlights environmental changes and subtle horror cues.
Infinite Flashlight Battery
Never run out of power while exploring the dark facility.
No Jump Scares / Invincibility
Prevents instant-fail encounters and death animations.
Why Choose XMODHUB for Shift At Midnight
XMODHUB ↗ is the trusted choice for single-player game enhancements, offering a safe, malware-free experience that automatically updates with game patches. It eliminates the tedious grind of repeating shifts, letting you explore every narrative branch at your own pace without risking your save files.
Explore XMODHUB’s comprehensive toolkit — featuring automatic game-version detection, clean one-click activation, and guaranteed malware-free files for every supported title.
Time & Progression
Utility & Exploration
Survival
Frequently Asked Questions
Ready to enhance your gameplay?

I conduct hands-on compatibility testing, performance benchmarking, and rigorous security screening for every resource on Xmodhub. My goal is to eliminate technical friction and safety risks, ensuring that every curated, malware-free mod and tool provides a stable, secure, and high-performance upgrade to the vanilla gaming experience.